Tuesday, 17 March 2015

How I pick out patterns

So far, nearly all the items I've blogged about making have been successful, and I would recommend you try those specific patterns if you're interested in making similar things. However, I don't want you to think when reading my blog that I'm just saying nice things so that everyone likes me. I thought I could counter this by sharing a few fails, but, other than projects that are hibernating because I got bored of them or needed to do something else more urgently, I don't actually have all that many full on fails, and for those that didn't work out as well as I hoped, the pattern isn't usually to blame.

Instead I thought I'd share my process on picking a pattern and how I try to avoid fails as early on in the process as possible.

I find almost all the patterns I use on Ravelry. I have two major processes for starting projects - either I want to give someone a specific thing, or I have some nice yarn and want to find something to make to show it off.

I have two main principles for picking patterns - find something that's well written, and find something that works for me.
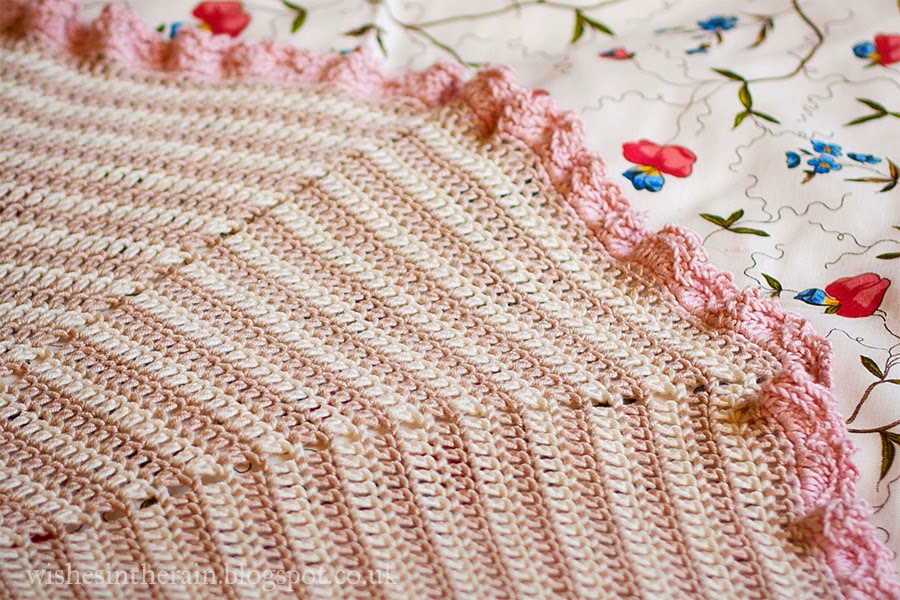
crochet baby blanket

Finding something well-written

Pictured above is something that could have been a fail - the spiral baby blanket I made for my youngest niece when she was born. The middle of this blanket was really difficult to do and I don't think I ever really got it right, but I got it working well enough that I could continue to make the rest of the blanket. My niece is two and a half now, and I'm a more experienced crocheter. I would still say this pattern is worth trying if you're a little more experienced, because the tricky bit is right at the beginning, so you can frog and do something else without losing a lot of work, and the finished object got a lot of compliments and is still in use albeit as a throw as my niece has grown out of it.

I could have avoided the angst if I wanted though - other people had made this project and also had problems getting started. There are many projects for it on Ravelry, and several of them have described their difficulties. I knew what I was getting into, to an extent. 

When I pick patterns I pay attention to:
  • Photos, their quality and number - do you have pictures of the back? of all sides? if the designer hasn't posted any, there may be some in the projects. They don't have to be super artistic, just clearly showing what the finished project should look like.
  • Projects and comments - have other people made this? Are their results good? For example, if I wanted to make a circular blanket, I would avoid one that no one had been able to get flat (if they're using the hook/yarn weight combo recommended). If no one else's project looks good, the chances are mine wouldn't either.
  • Reputation - if there's a new pattern you'd like to try, and especially if it's one you'd have to pay for, has the author published other patterns that people have liked? If they have then it's worth taking the risk.
If someone's charging $5 for a pattern for which they've provided one small photo and no one else has made it, I'm not going to be the first. But if there are several pictures by the artist, showing the pattern in different yarns, I'm happy to take the risk.

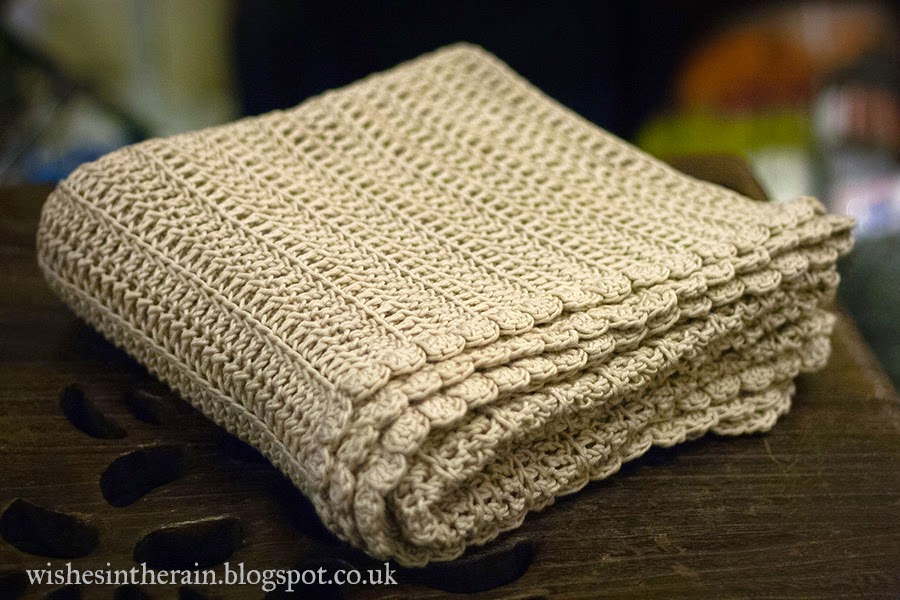
folded crochet blanket

Finding what works for me

The classic baby blanket was my real fail, but that wasn't the pattern's fault, it was all mine. The pattern calls for worsted weight yarn. I would have liked to use wool, but the daughter of the person I made it for is allergic, so I thought it was likely her new baby may be allergic too. I didn't want to use acrylic, and the pattern recommends cotton, but I couldn't easily get an appropriate cotton worsted at the time so I used double knitting weight instead. I used a smaller hook to make up for it but not small enough, and the dk I wound up using was bamboo cotton and was on the light side of dk.

My first struggle was getting an appropriate tension on my beginning chain - using the same size hook as for the rest of the body left it much too tight. After I thought I fixed that, I carried on crocheting and got a long way on the blanket, only to find that it was no longer rectangular - it had gradually got wider despite my best efforts.

Finally, wet-blocking it made the rib texture completely fall out. It was lovely and drape-y because of the bamboo in the yarn, but it wasn't remotely how I had pictured it from the pattern. Because it was cotton/bamboo, I wasn't even able to block it to be properly rectangular, as you can tell from the picture above - the edges were as even as I could make them, but not all that even.

Happily, the person I made it for, not having preconceived notions of what it should have looked like, was very happy with it, and she was very appreciative of the time and care I had put into making something for her, regardless of the outcome. And I learned a lot from it too. For example I learned that I find making blankets in that style stressful, and I'd rather make granny squares or circular blankets, because the errors tend to get distributed more evenly and the final results are better.

When picking patterns I try to:
  • Look for patterns that suit my style. I enjoy things that don't require a lot of counting or loads of concentration, because I like to crochet in front of the tv and I find counting stressful. I also find sewing lots of pieces together in amigurumi stressful too. Your style may be different, and it's always worth trying new things, but I can look at some patterns and say, no, that's not for me.
  • Have examples similar to what I'd like to do. I went wrong on the classic baby blanket because I used the wrong hook/yarn weight combo. I should have looked more carefully at what other people were doing, and thought more carefully about how the characteristics of the yarn I chose would work with the pattern. Looking through other people's projects is a great way of finding combinations that work well, and things to avoid.
  • Not be afraid to change things. If a pattern starts with a huge number of chains and then a plain row of dcs, for example, I switch out for a foundation dc row. Or if it says make 6 sts into the second chain, I will substitute a magic ring. I prefer both of those techniques, and in most cases it won't make a difference to the finished item.
Know when to quit
It's good to give a tough pattern a chance, but it's important to know when something is proving to be more trouble than it's worth. It may be you, it may be the pattern, but time is limited and there's no point wasting it if you hate what you're doing.
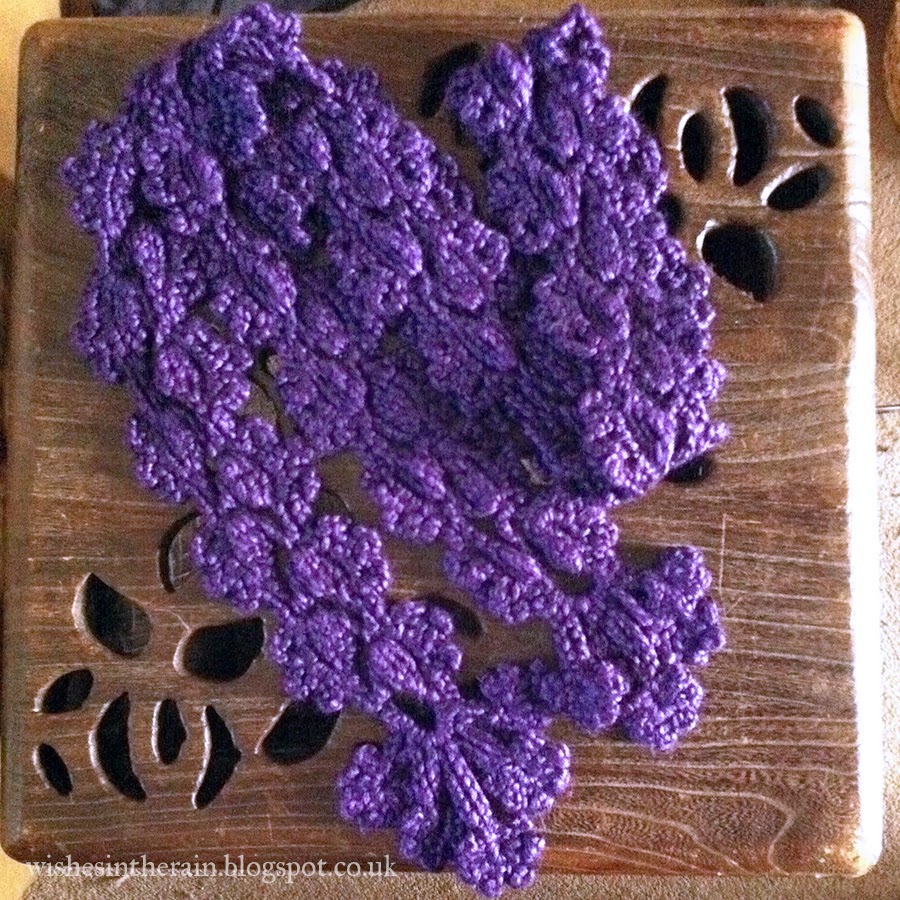
crochet lace scarf


For example, the first time I tried the flowering clematis scarf, I used really pretty Noro yarn (silk garden I think) that just didn't work for me with the pattern, and I thought it looked horrible. Rather than finish I frogged it and tried again with a much more appropriate yarn.

Share your results
If you make something and it works out well, or if you make something and it doesn't work out but you know why, share. Blog it, make a project on Ravelry - you'll be helping the next person who comes along. Plus it's always nice to have a little show-off from time to time!

Wednesday, 11 March 2015

What I made: Lara Doll and Dress

 crochet dress and amigurumi doll

Hello. My name is Joanna, and I am sewing-machine phobic. When I was a young, my mum told me she did really well at her sewing classes at school by basically having her teacher do it, and when I tried using a sewing machine in school textiles classes it felt dangerous and out of control, and I managed to get my teacher to do a lot for me too.

This was all fine and dandy until I thought it would be a nice idea to make a gift for my niece, and a friend of mine suggested making her a dress, and a doll wearing a matching dress.

crochet dress

 The dress pattern is called Beautiful Red Dress by Janette Williams on The Green Dragonfly blog. The nice thing about this pattern is that the skirt is really really simple - the most basic A-line you can get, perfect for someone like me who is a complete beginner. But it's also a very flexible pattern, and would be easy to make to fit practically any size. You can see from the picture above my sewing was far from perfect, but it did the job and my niece loved it. She called it her princess dress! I followed the pattern as given for the top part of the dress too but with a smaller hook because I was making it for a smaller child. You can see details of yarn etc. on my Ravelry project page.


crochet dress closeup with buttons
I discovered a new love when I made this: self cover buttons. If you don't know, they're metal or plastic buttons you get in pieces, and you wrap them in fabric, then clip them together and you have a button covered with the fabric you choose. It's a perfect way to make matching buttons for anything, or for custom accessories like hair clips etc. One thing I did find though was that following the instructions on the back of the packet didn't always work - I eventually found a tutorial like this which worked much better.

doll elara amigurumi
The doll for me was a lot easier! The pattern is Doll Elara by Jana Ganseforth. I named this doll Lara. It's such a cute pattern - I spent a long time looking at different dolls and this was my favourite by a long way. I didn't make the dress on the pattern, though; I used the same pattern as for my niece's dress. I guess that shows exactly how flexible it is! I used another cover button to make her hair ornament. I did use safety eyes for this even though it was for a two year old because I knew my niece would be supervised playing with Lara, and even if the worst happened and the eyes broke, it would be all right. But if you're concerned, don't use plastic eyes, just embroider them instead. The only thing I found hard about the doll was the hair - it took me a couple of tries to get it just right. But the tutorial is very clear, I think my problems were more from me not taking enough care.

I did make a hair clip for my niece as well, but it was a bit heavy and didn't work too well in her hair. I think I'll leave it until she's six or so until I try again.

Should I make one? Yes. A doll and dress combo is sure to be a winner, and you can make them as girly or not as you like by your choice of fabric. You can get something worthwhile out of the dress pattern even if you are completely hopeless at sewing like I am. Definitely worth spending the time for a little girl you care about!

Friday, 6 March 2015

What I made: Willow and Anya throws

Willow
circular lace crochet throw


Who couldn't love patterns named after Buffy the Vampire slayer characters? You can never watch that show too much; I frequently find myself losing hours at a time crocheting and watching it on TV. Willow is the character I identify with most too - she works hard, she's bright, but she's not all sweetness and light.

I crocheted the Willow (Doily Blanket) by Lisa Gutierrez as a goodbye present for a friend who was moving to London. I had had my eye on the pattern for a while, and I was really pleased to have a reason to make it, but sorry that I was losing a friend to the Big Smoke.

crochet lace

Making this pattern lived up to my expectations. It was the first time I'd done anything really lacy - I find the idea of crocheting with cotton and tiny hooks intimidating, though I do now have a 1mm hook so maybe I will try one of these days.  I really enjoyed the way that every row added something new to the design. It was mostly pretty easy to do but frustrating at times since because it's in rounds, so unless you're very careful (something which I try to be but fail at quite often) you only find the error you make a round later, leading to a lot of frogging and re-doing, especially towards the end.

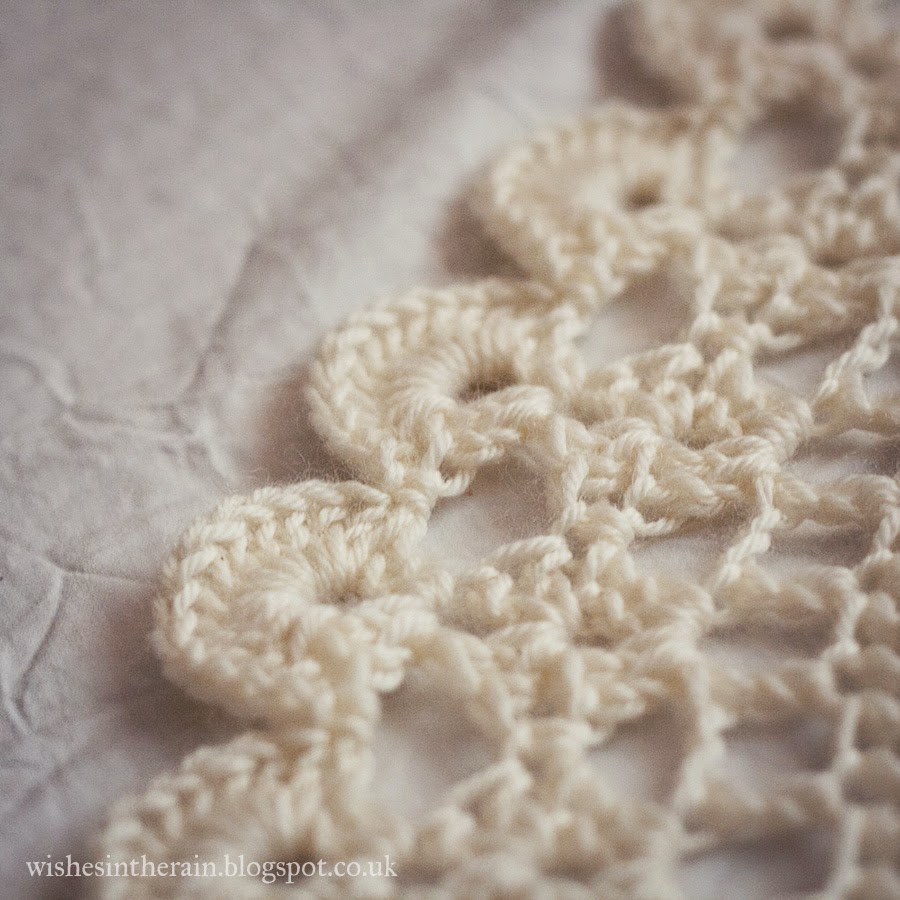
crochet lace fan edging

The edging on this throw was so pretty, even though it took a long time to do - there are a lot of stitches there. Circular things always start really quickly but the last rounds can seem endless. But this pattern really held my attention to the end.

The only sad part about it was having to give it to someone I wasn't going to see for a long time. Still, there's always facebook.

You can see details about which yarn and hook I used on my Willow Project page on Ravelry.

Anya Throw
crochet lace throw

After making the Willow throw, I was looking for an opportunity to make the Anya throw by the same designer. I really wanted to make them for my own home, but my two cats made me think that this would be a terrible idea. They've ruined about five throws that I've bought so far with their little claws, and I know that they would probably destroy all my hard work. And it took forever for anyone I knew to move house! So frustrating. But finally a friend of mine moved out of a flat into a house, so I immediately bought wool for a house-warming present.

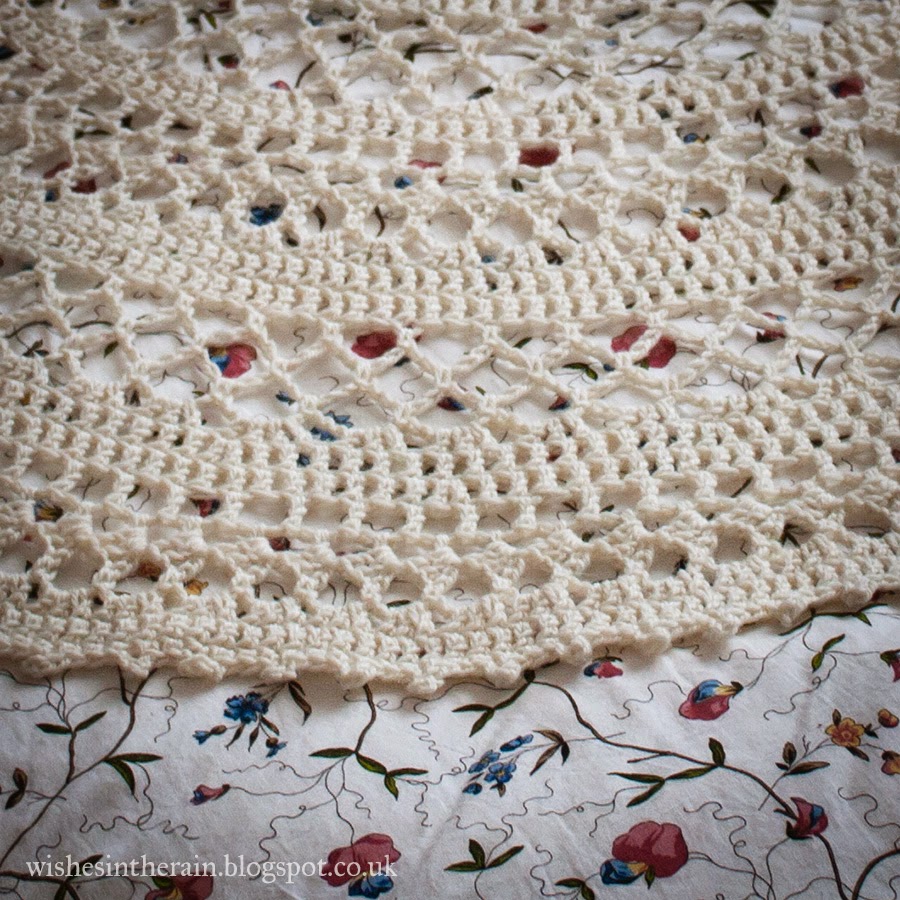
crochet lace fabric
Anya, probably true to the character on Buffy, was harder work! This throw is bigger, and therefore took longer than I was anticipating, since I had the memory of the fast progress I made on Willow in my mind. On the other hand, I think I made fewer mistakes on this one, so it was easier in that respect.
crochet lace picot edging

The edging on Anya is understated but elegant. I don't think you can really go wrong with picots.

crochet throw over the back of a sofa

I wasn't sure what furniture belonged to my friend and what belonged to her flat when she moved, so I had no idea about her décor. So I was delighted by how happy she was with her throw, and how good the neutral cream colour looked on her dark blue sofa. One of these days I'm going to make a Willow throw to go on her other sofa!

Should I make one too? These make great gifts, but probably not if your recipients have pets. They also wouldn't go with a more modern décor, but they're pretty flexible other than that. Willow is quicker than Anya to make.

Saturday, 7 February 2015

What I Made: Hungry Caterpillar/Butterfly

crochet hungry caterpillar toy
Hungry Caterpillar
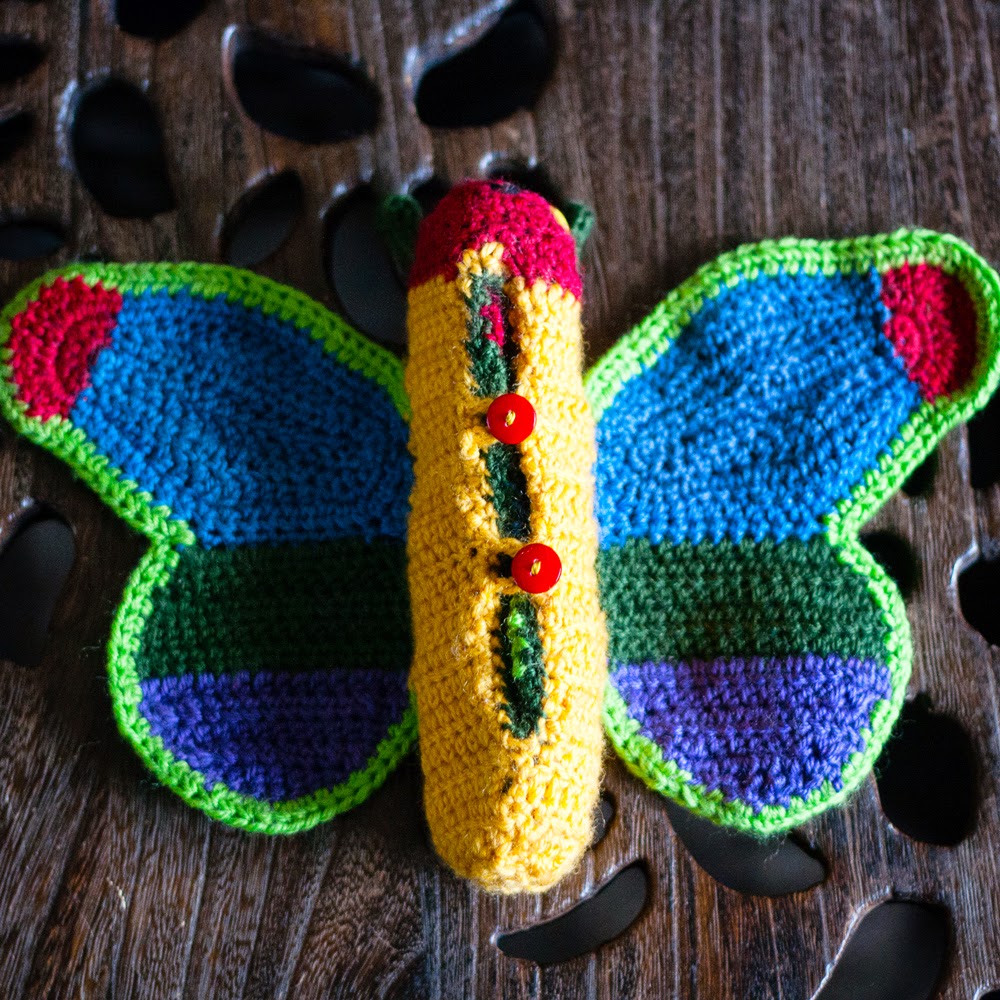
First, a confession. As a child, I never read The Hungry Caterpillar. I read lots and lots of wonderful books but it just wasn't part of my childhood. However, it is a part of my niece's, and so when I saw the Caterpillar to Butterfly Metamorphosis pattern on Ravelry I knew I had to make it for her third birthday in The Hungry Caterpillar colours.

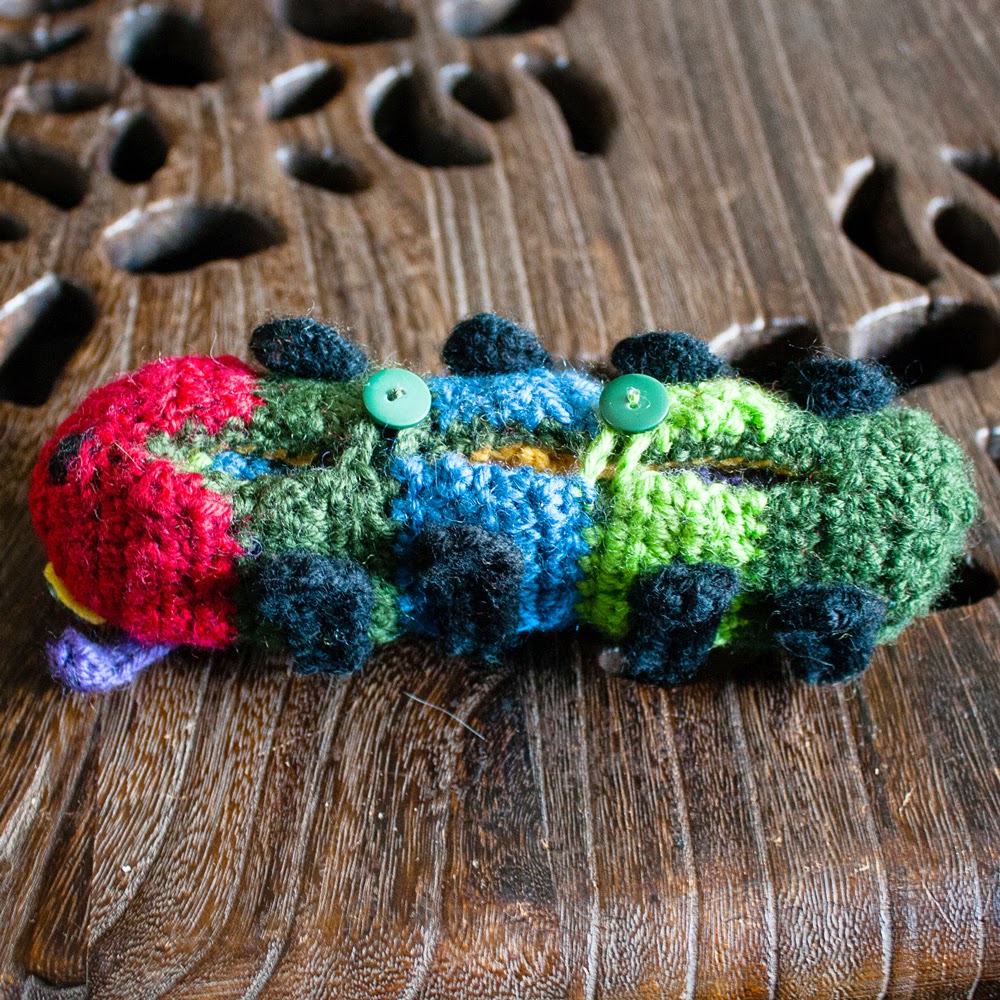
bottom of crochet hungry caterpillar toy
Caterpillar's under side
 Doing this for the body was pretty straight forward. I couldn't exactly capture the beautiful colours in the book, but I think I got close enough for a toy. Pro-tip: Don't do like I did and try to crochet the legs in black at night. If you're anything like me you'd be much better off waiting until daylight when you can actually see what you're doing!

hungry caterpillar toy wings being unfolded
Metamorphasis
The wings were much more of a challenge. The wings in the pattern aren't the same shape as the wings in the book at all. I did think about trying to get them similar but in the end I tried to compromise and just use similar colours. It was straight forward apart from the red bit, which I had to think about and do over a couple of times to get it right, but even that wasn't too hard.

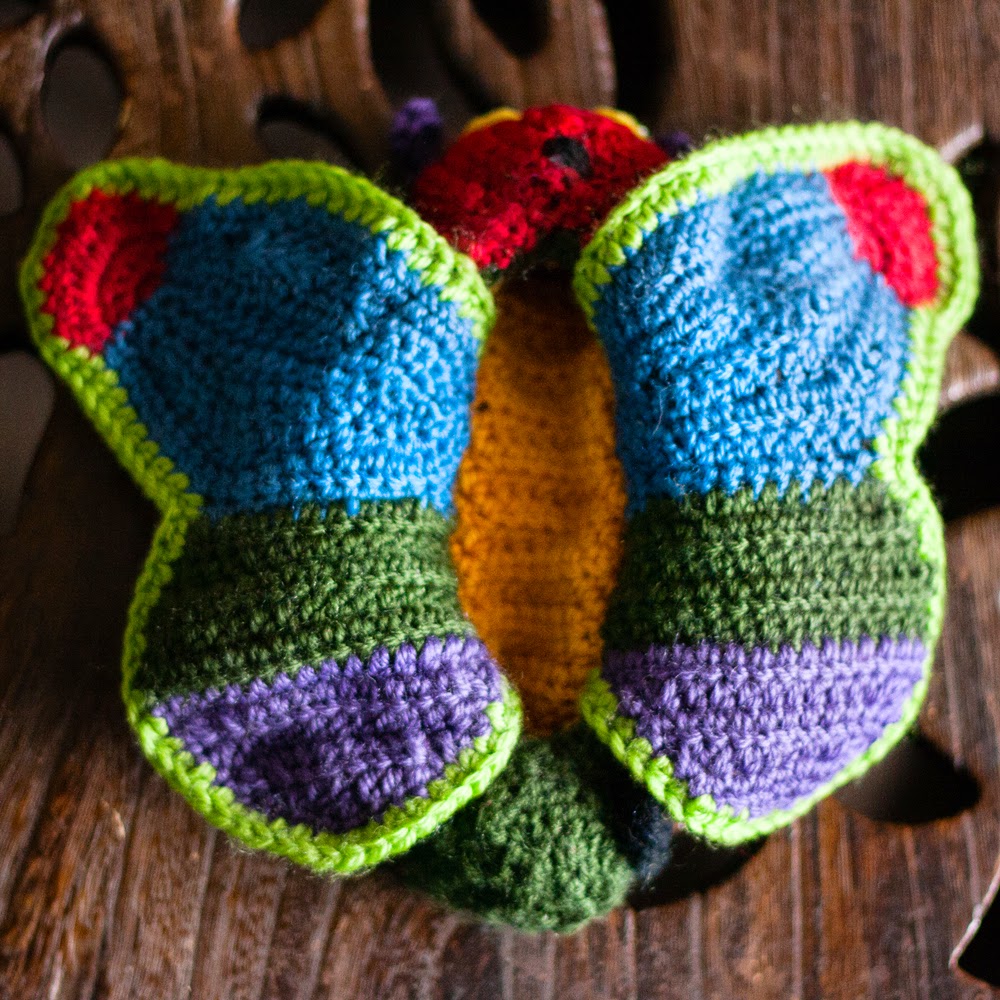
bottom of hungry caterpillar butterfly
butterfly underside
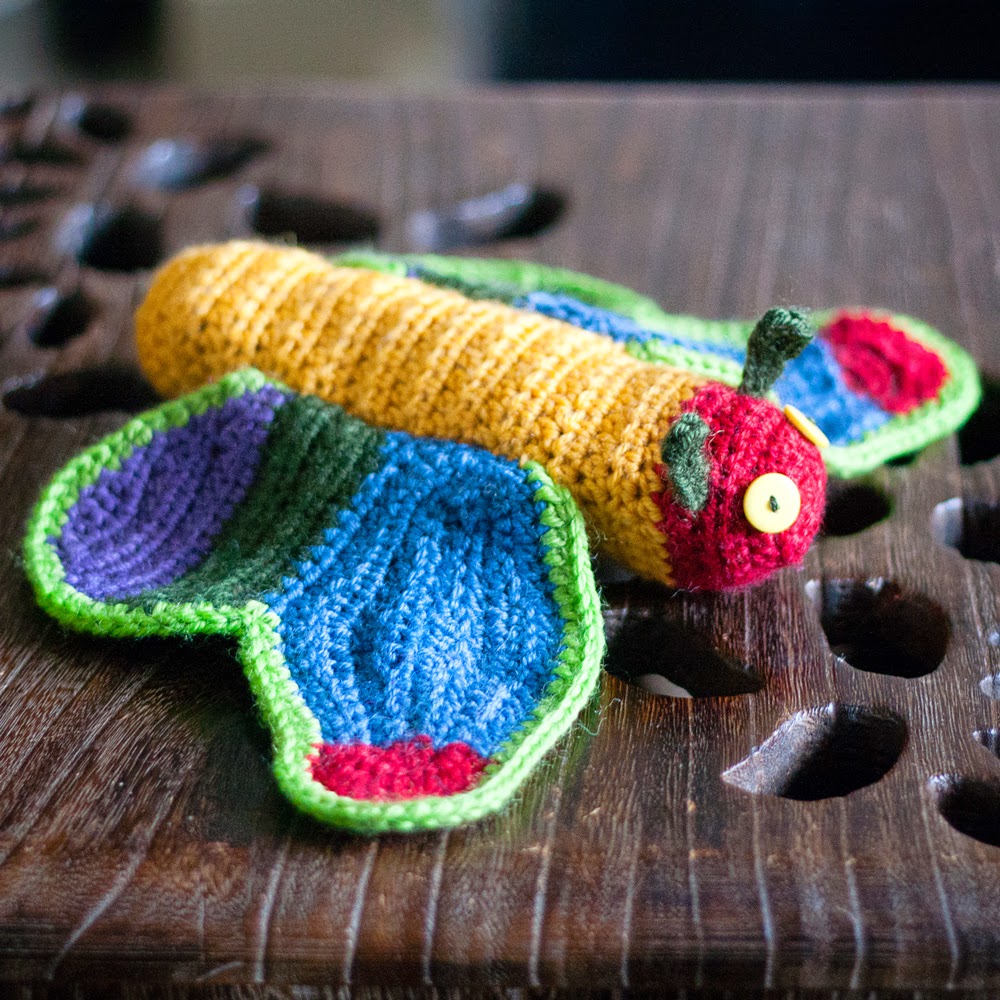
The genius part of this pattern is the way it folds inside out. You basically make the caterpillar and the butterfly separately, put one inside the other and sew them together. I was worried that this might be tricky but it was easy- I got it right first time. The turning inside out process was a bit too difficult for my niece to manage by herself, but she did enjoy telling her mum to change it from one creature to the other!
hungry caterpillar toy butterfly side out
butterfly!

I would definitely make one of these as a gift in the future, though maybe for a slightly older child who has enough finger strength to turn it inside out themselves

Should I make one too? Yes! It's a lovely idea regardless of colours, and if you have a Hungry Caterpillar fan in your life you have to make one for them.

Monday, 21 July 2014

What I Made: kawaii octopus


multi-coloured crochet octopus amigurumi
octopus!
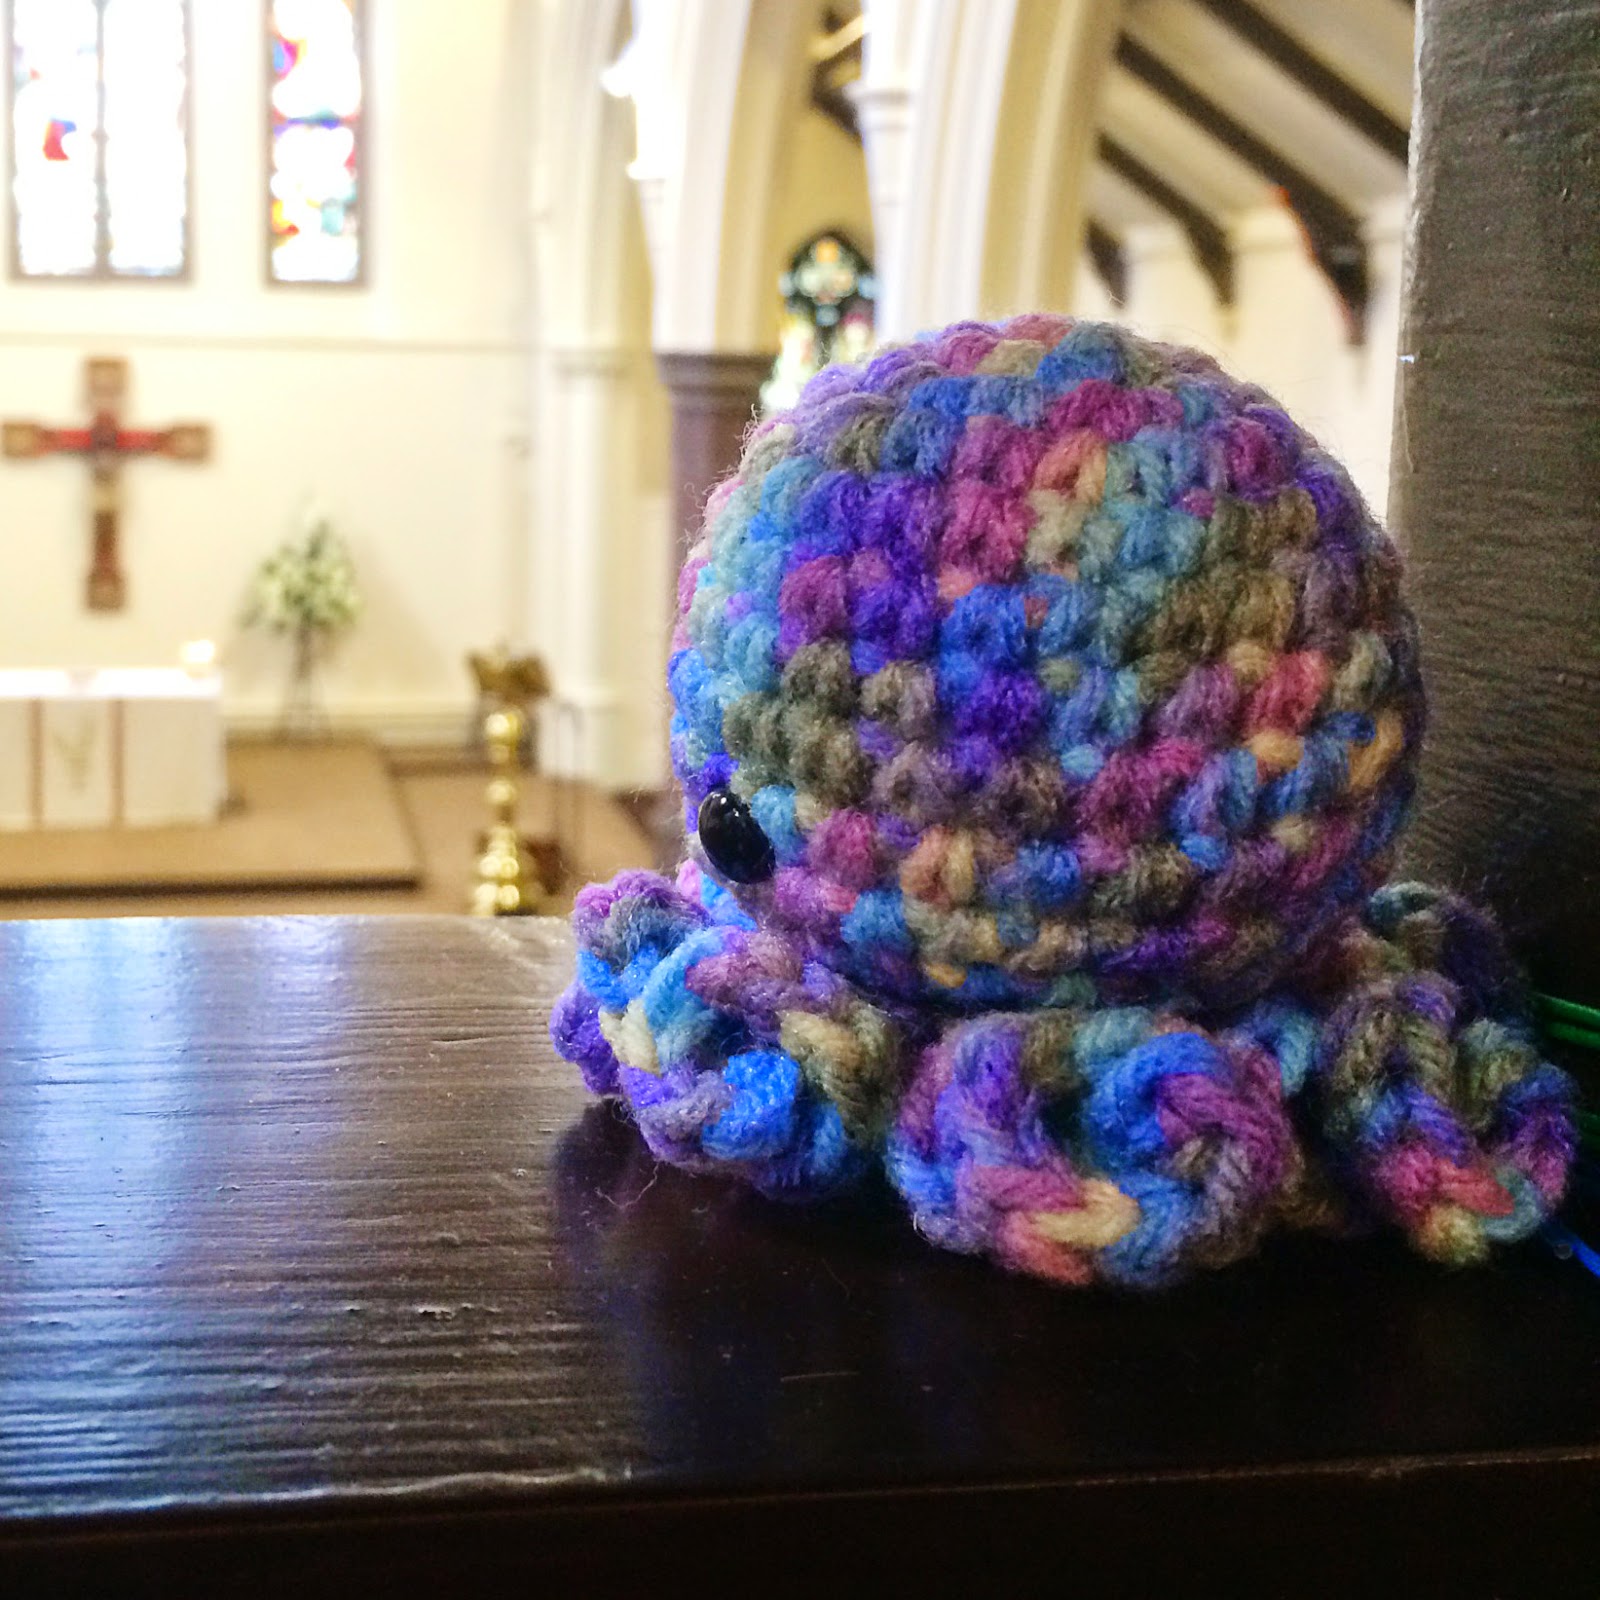
Be honest: don't you think this little guy is super cute? I decided to look for some easy Amigurumi patterns the other day, because I thought it would be fun to make some toys, and I found this on ravelry. The pattern is Kawaii Octopus Amigurumi. I used some Red Heart Super Saver yarn my husband picked up in America last time he had a conference there, and a 4.5mm hook, although the pattern now suggests 3.75mm. I really struggle to find things to do with variegated yarn like this so I was very happy with how he turned out.


octopus amigurumi at church
octopus met his new owner at church

Making the legs were a bit tricky but the photos in the pattern are really helpful. Overall, though, I was really pleased by how quick it was to make. So easy in fact that I made another - this is rare for me because normally I'm all about the new shiny!

mini crochet octopus amigurumi
little octopus
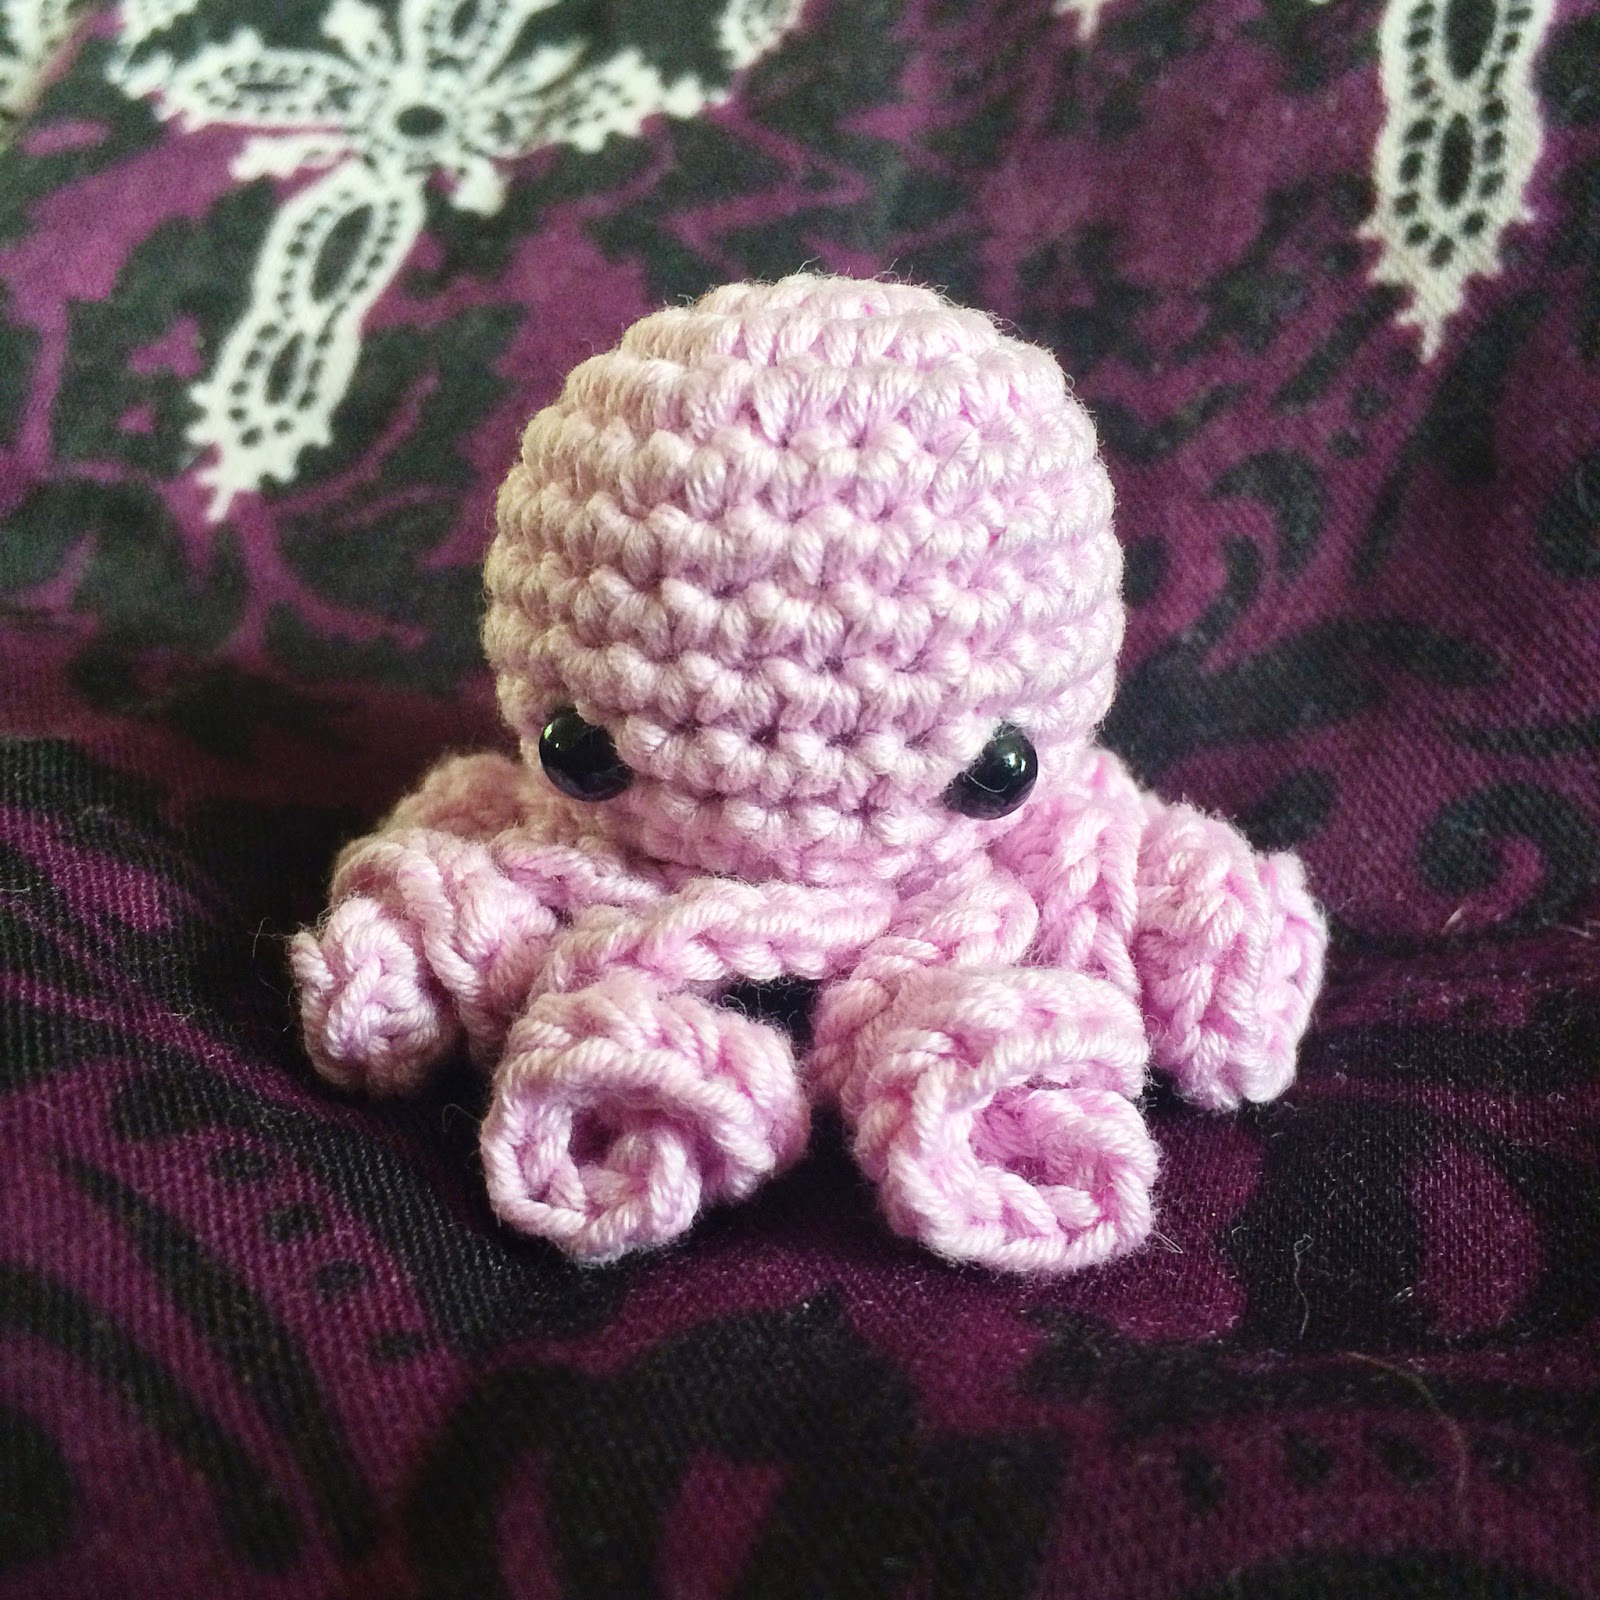
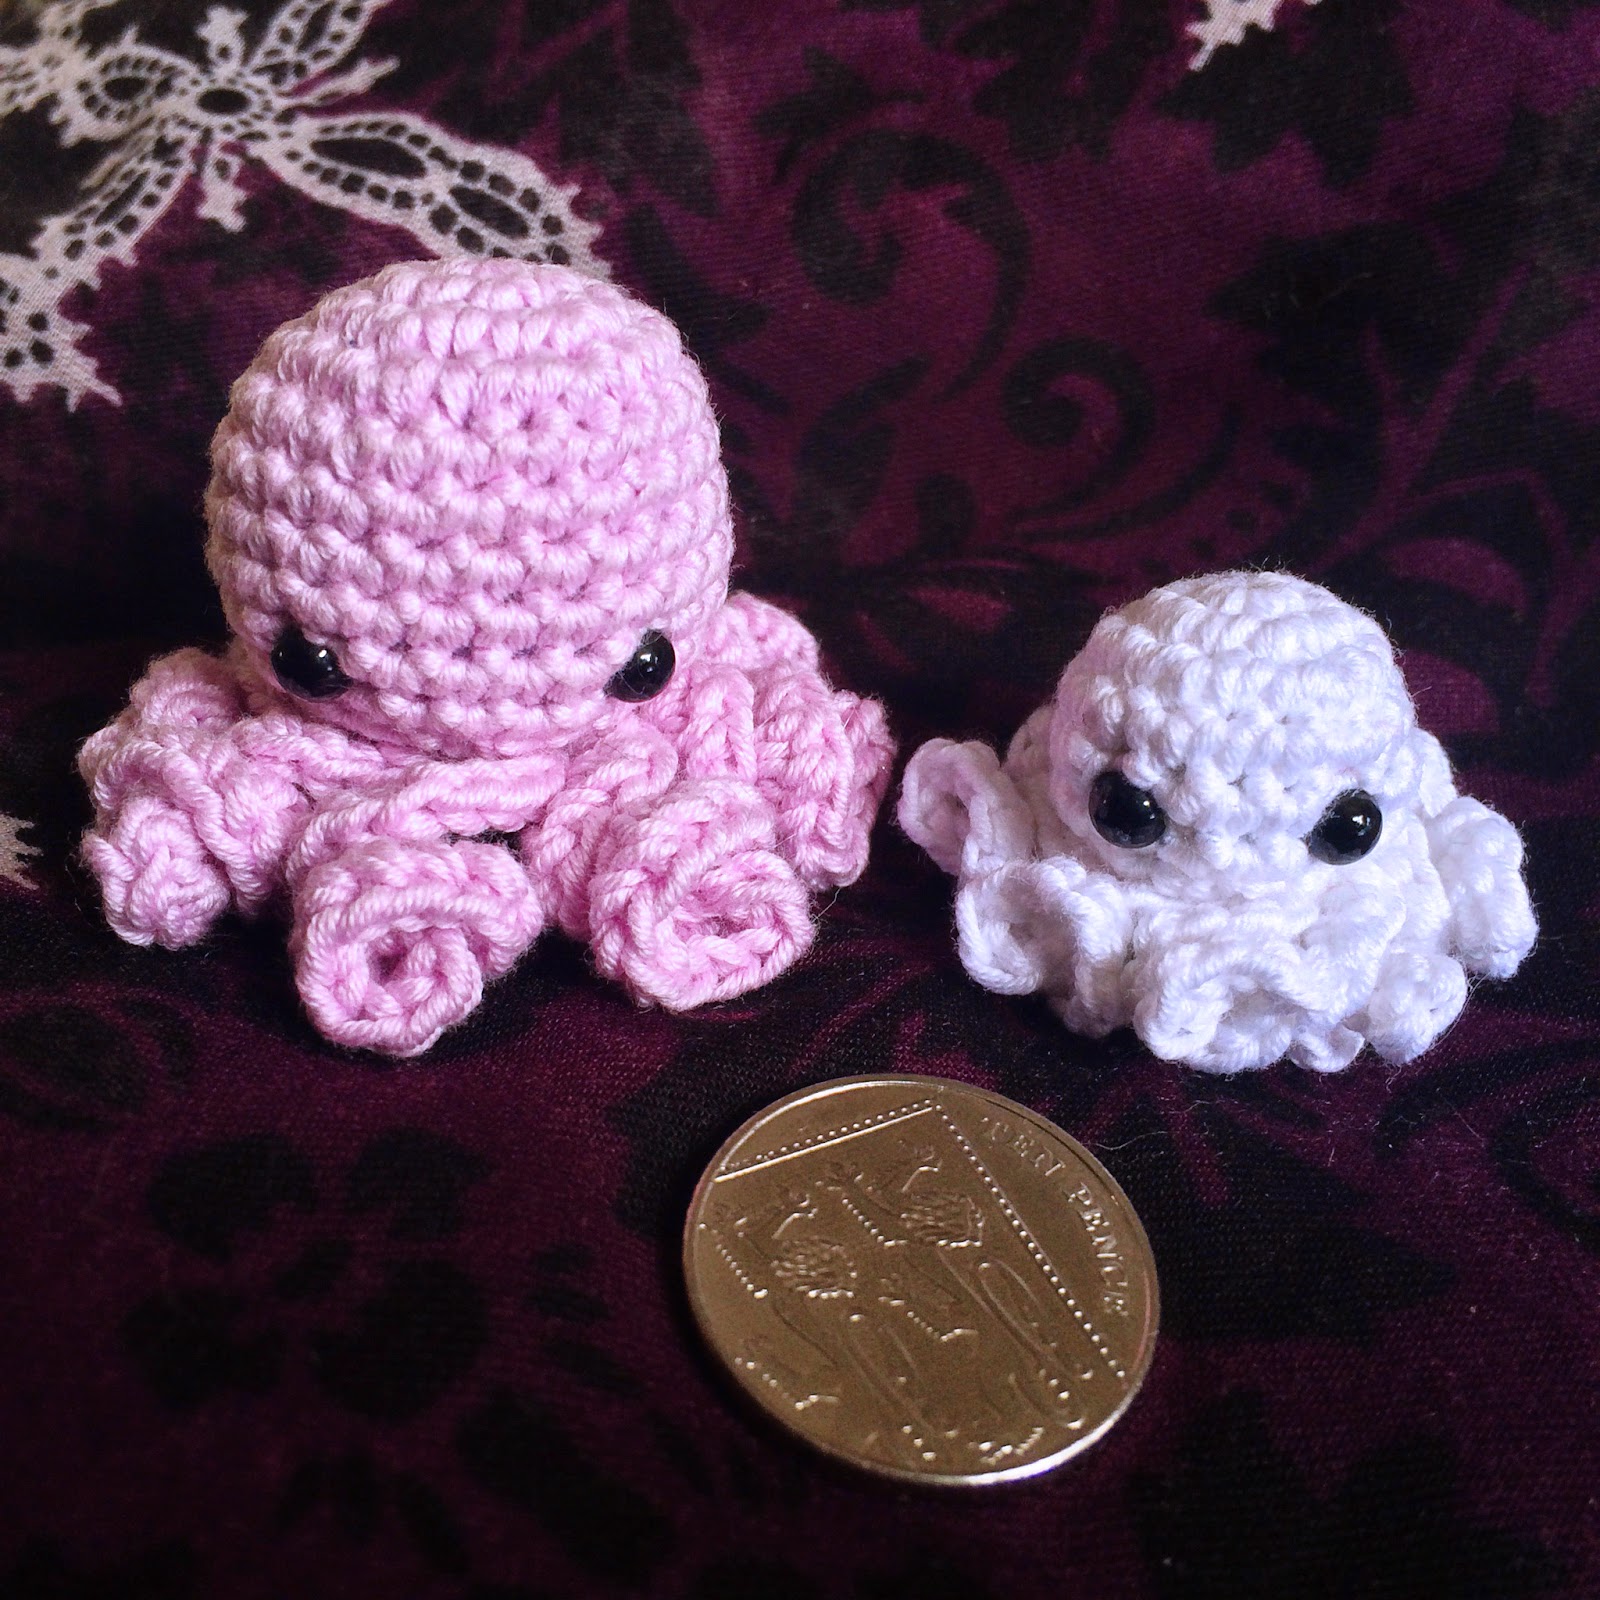
The second one I made was much smaller - I made him with a 2.5mm hook and DMC Natura Cotton which is 4 ply weight, and my new 3mm safety eyes that my friend UnicornReality kindly sent me. Then I saw the Baby Kawaii Octopus pattern.
two tiny crochet ocotopus amigurumis with coin
little octopus and tiny baby octopus, with 10p for reference
The baby one is so tiny! I should probably have embroidered the eyes but I'm happy with him. I really liked both of these patterns, and I can definitely see myself making them again in the future.

Should I make one too? Yes, especially if you need to make a last minute gift for a young child, but bear in mind, safety eyes are probably not safe for children under 3 unless you know they will be closely supervised when playing with the toy.

Sunday, 20 July 2014

What I Made: epoxy sticker pendants


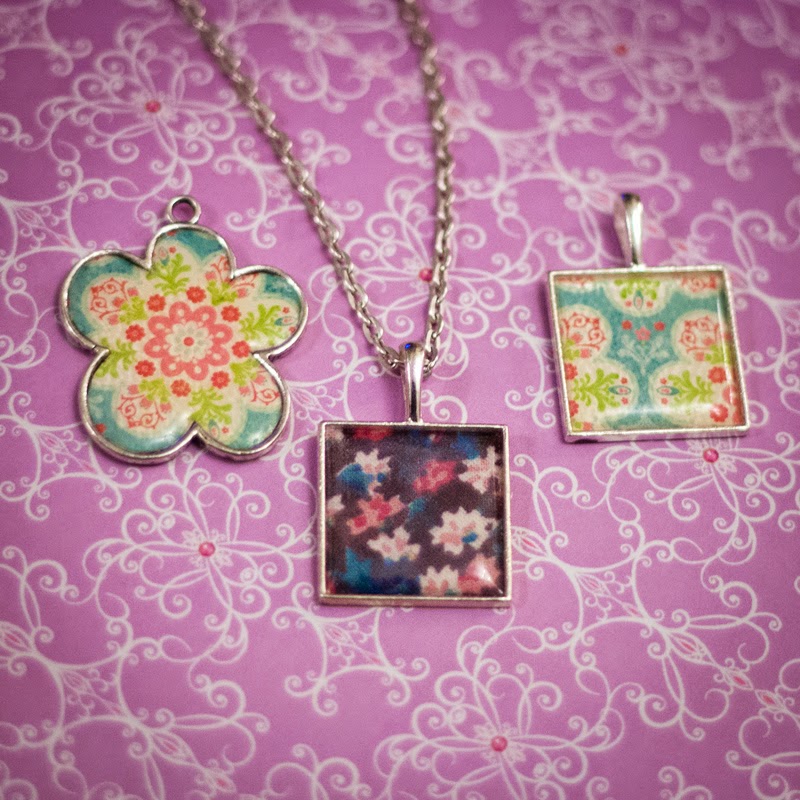
three epoxy sticker pendants

I love making jewellery, and a while ago I experimented with making pendants with epoxy stickers and pendant trays from www.jasminestudiocrafts.com. I bought them because I thought it would be fun to make jewellery with my art in it, but these are just practice attempts, the outer two with cardstock, and the inner one with thin cotton fabric from a dress I made for my niece.

The card was too thick and textured, really, to work well with the stickers, and it was really really difficult to cut in curves! But they're pretty as long as you don't study too too closely.

I was really pleased with the way the middle one turned out - I didn't know what to expect with gluing the fabric because I'd never used Mod Podge with fabric before, but it worked really well!

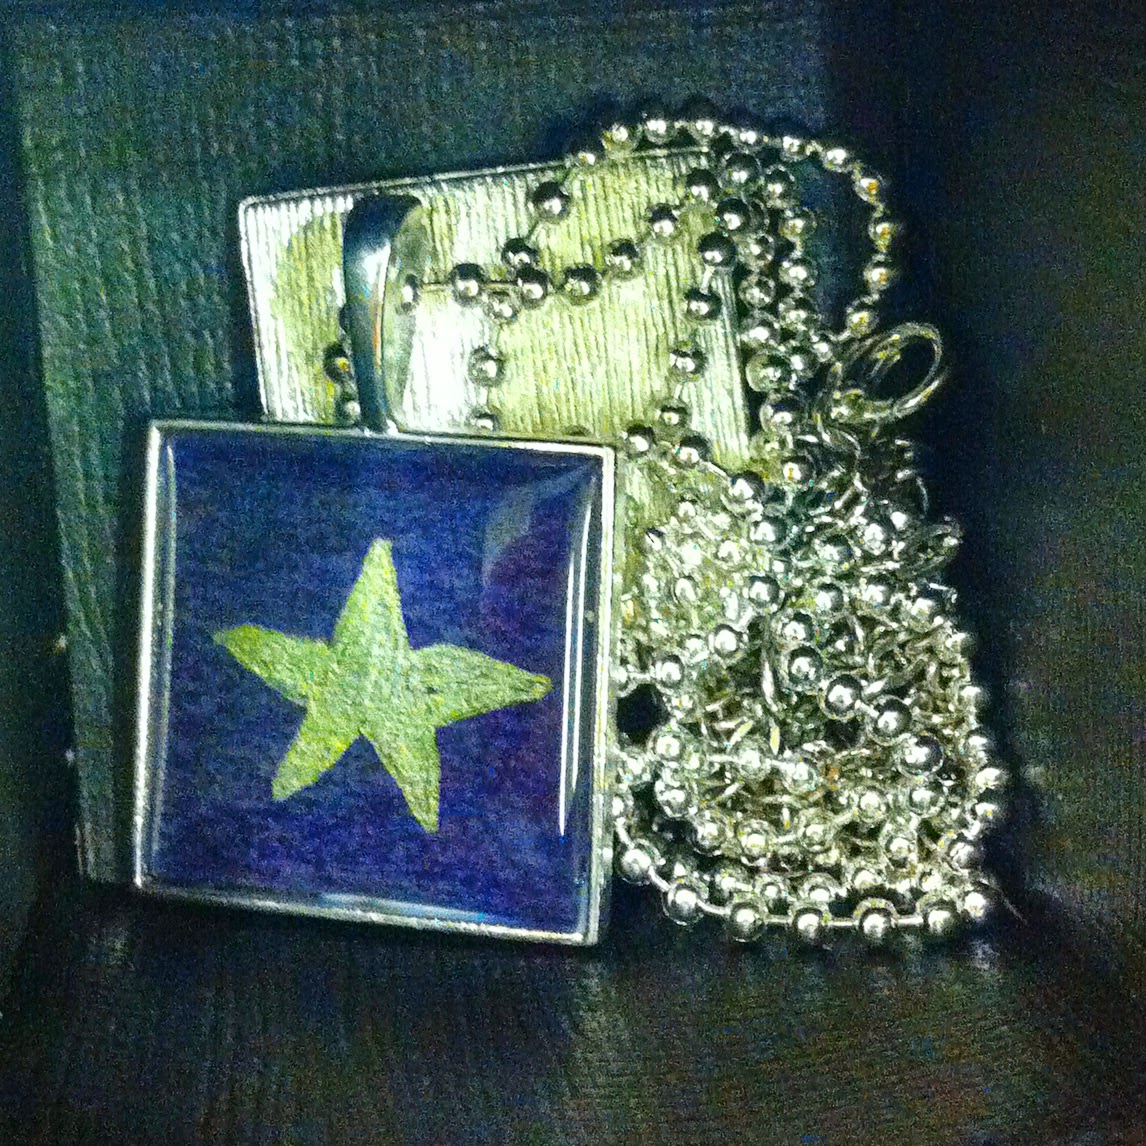
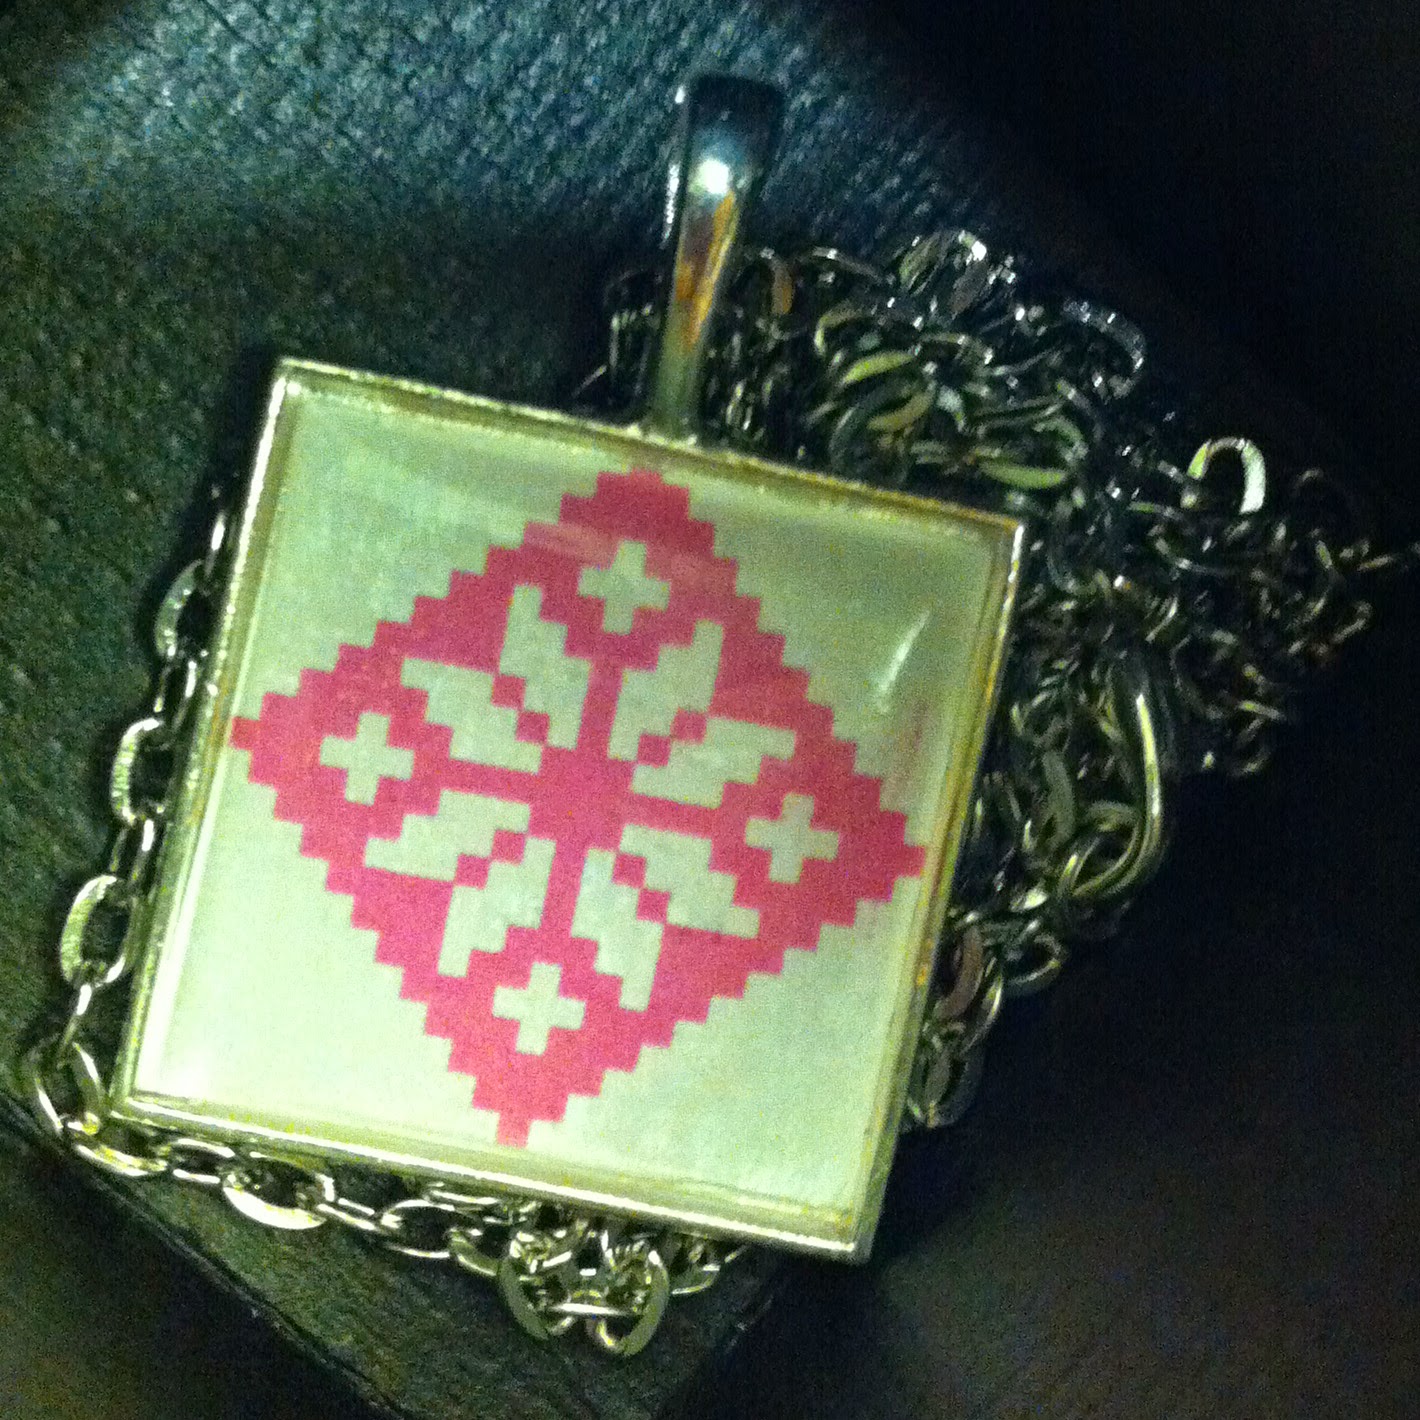
Later, I thought it would be really nice to try this with children, particularly the children at my church Holy Innocents Fallowfield, as a chance for them to make a few Christmas presents. I got some dark coloured card, some metallic gel pens, and some Christmas wrapping paper. I also got some little boxes to put them in for gifts. Here are some not particularly good pictures of the results:

a christmas tree pendant in a box

a pendant with a geometric pattern in a box
The girls had a lot of fun, and I think they were pleased with the results too. They made two or three each in the space of about half an hour. The older girls (I'm not sure of their exact ages but they're all in primary school) were able to do the whole thing by themselves, and I helped the slightly younger ones out by cutting the card to size for the pendants after they'd stuck the stickers on.

Should I make some too? Yes. It can be a bit of a gateway drug craft into more elaborate experiments with glass domes and resin, though, so be warned! Particularly try this if you make art and would like another idea for how to use it, or if you have children you need to entertain for an hour or so.

What I Made: Autumn Flowers Shawl

shawl draped over the back of a chair


I made this a couple of years ago, when I bought some cream fingering weight yarn and some beautiful Debbie Bliss Party Angel in brown with gold flecks, and I spent quite some time deciding what to do with them. I found the Creeping Daisy Shawl pattern on Ravelry, and was struck immediately by how lovely it looked.

I started off in cream but pretty quickly decided that the fingering weight yarn was too light, even though that's what others had used to make the shawl, so I dragged my husband to the yarn store again and got some green Wendy merino DK.

The first part of the shawl was deceptively easy, and while it took me a couple of evenings to complete, I'm sure if I'd concentrated I could have done it quicker. I then blocked that part because the edges were curling over.

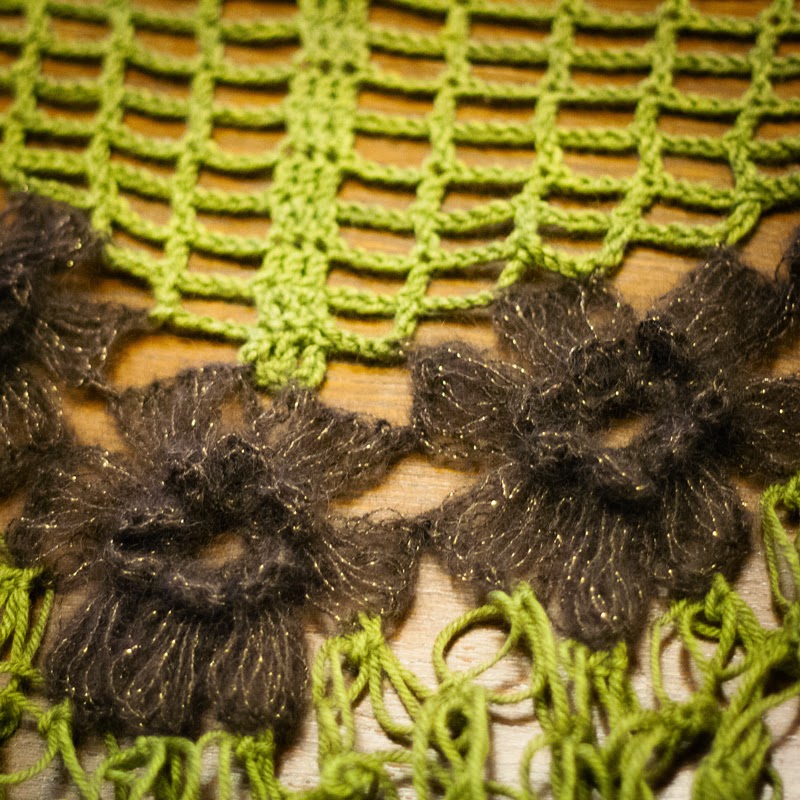
closeup photo of crocheted flowers
flowers detail

The flowers were more difficult, however. I think this was partly because it used a stitch I wasn't used to, but also because the  Party Angel yarn is hard to work with- it's really hard to unravel mistakes and, in the colour I used, even see the stitches. I did them over two evenings and most of the weekend. They were extremely pretty when done though.

closeup of crochet edging
edging detail
The love/Solomon knot edge looked as though it was going to be really quick and easy, and was reasonably fast until my inner perfectionist collided with the puff stitches. I had to do the first few over and over again until I got the right number of loops to make the puffs look puffy. I got much faster as I went a long. The daisy chain that weaves through it was easy and fast, and I decided to mix it up a bit with different sizes of flowers.

This is a lovely shawl, and I've continued to wear it on and off for a couple of years now. I've had a lot of compliments on it! I'd like to make another at some point, though possibly using an easier to handle yarn for the flowers. It took a little longer than I thought it would, but by comparison to the other patterns I've tried it's pretty fast.

Should I make one too?  Yes, especially if you want to give someone a unique and eye-catching gift, something a little different from the average handmade shawl.