Showing posts with label amigurumi. Show all posts

Thursday, 23 April 2015

Free Pattern: Sailor Seagull


My nephew turned one a couple of months ago, and I wanted to make him a fun little toy for his birthday. I had some little bird chirping noise toy inserts  and we saw this cute little top at The White Company-


I thought it would be cute to make a little toy inspired by the seagull on the jumper, a little bit like the doll and dress I made for my niece a couple of years ago. I knew a one year old wouldn't appreciate how they match, but his parents would!

You can hear the bird sound maker on a little video I put on my instagram account (do follow me there if you'd like to see what I'm currently working on). It makes a squeaky, whistling sound - a nice change from a rattle.


After making a duck for the little yellow duck project last week, I thought it would be a good idea to test the pattern and make another duck at the same time, especially as a girl found my duck and was pleased with it. I did a plain 'jumper' style for the duck instead of stripes.


Since the duck isn't a sailor and it's been lovely and sunny here these past few days, I changed up the hat a little to make it more like a sun hat. I made the seagull with a 4mm hook and acrylic yarn, and the duck with cotton yarn and a 5mm hook.

Pattern:
(Instructions for the duck are in brackets where they differ from the seagull.)

You will need:
  • 4mm hook (or 5mm if you prefer a larger toy)
  • Aran/worsted weight yarn in grey, white, red, yellow, and light and dark blue. I used a mixture of Sirdar Supersoft Aran, and Caron Simply Soft worsted - Red Heart Super Saver would work well too. (For the duck I used Rico Creative Cotton aran in pink, yellow and orange. Lily Sugar'n cream would be another good choice.)
  • tapestry needle
  • stitch marker
  • safety eyes / black yarn of any weight
  • toy stuffing for head/body and hat
  • optional rattle/bird noise maker
Stitches used: ch, sl st, sc, hdc, fphdc,  dc, magic ring, invdec (invisible decrease - put hook through front loops of next two sts, yarn over, pull through two loops, yo, pull through two loops), inc = 2sc in one st. US terms are used throughout; if you prefer UK ones please use this conversion chart.

Unless otherwise noted, the pattern is worked in spirals throughout. Do not join at the end of a round, but use the stitch marker to keep track of the beginning of the round that you're on. 

Head/Body

In grey (yellow)

Round 1: 6 scs into magic ring
Round 2: Inc in each st around (12)
Round 3: (Inc, sc) six times (18)
Round 4: Sc, (inc, sc in next 2 sts) 5 times, inc, sc (24)
Round 5: (Inc, sc in next 3 sts) 6 times (30)
Round 6: (Sc in 9 sts, inc in next st) three times (33)
Rounds 7-12: Sc in each st around (33)
Round 13: (Sc in 9 sts, invdec) three times (30)

At this point I sewed on the eyes, and made the beak and sewed it on too. You could sew eyes and the beak on after but definitely use safety eyes now if you're going to.

Round 14: (Invdec, sc in next 3 sts) 6 times (24)
Round 15: Sc, (invdec, sc in next 2 sts) five times, invdec, sc (18)
Round 16: (Invdec sc) six times (12)

Stuff head, Change colour to white.

Note that for the body, you may need to change where in a round you switch colour to ensure the changes are at the back of the toy. Rounds should begin and end in marked stitch as usual.

Rounds 17, 18: Sc in each st around (12)
Change colour to red
Round 19: (Inc, sc) six times (18) (Change colour to pink for duck)
Round 20: Sc, (inc, sc in next 2 sts) 5 times, inc, sc (24)
Round 21: (Inc, 7 scs) three times (27)
Change colour to white
Rounds 22-24: Sc in each st around (27)
Change colour to red
Rounds 25-27: Sc in each st around (27)
Change colour to white (yellow for duck)
Rounds 28, 29: Sc in each st around (27)
Round 30: Invdec, 7sc (24)
Change colour to grey
Round 31: Sc (invdec, sc in next 2 sts) five times, invdec, sc (18)
Stuff body, and put in rattle or noise maker if desired
Round 32: Invdec, sc all around (12)
Stuff body a little more
Round 33: Invdec in each pair of sts all around (6) bind off and sew shut. Sew end back through body and trim off excess to hide.

Beak
In yellow (orange)
Round 1: 4 scs into ring
Round 2: (Inc, sc) twice (6)
Round 3: (2sc, inc) twice (8)
Round 4: Sc in each stitch around
Round 5: (Inc, 3scs) twice. Sl St into next St and bind off, leaving tail to sew to head. (10)

Tail
In yellow (orange)
Round 1: Work 4hdc into magic ring. Pull tight but do not join. Make sure you have enough of a tail to sew to body.
Round 2: Ch1, turn, 2 hdcs in first st, hdc in next 2 sts, 2 hdcs in last st
Round 3: Ch1, turn, 2 hdcs in first st, hdc in next 4 sts, 2 hdcs in last st. Bind off, weave in end.


Feet - make 2
In yellow (orange)
Round 1: 7 hdcs into magic ring. Pull tight but do not join. Make sure you have enough of a tail to sew to body.
Round 2: Ch1, turn, (hdc, fphdc) three times, hdc, bind off, weave in end.


Wings - make 2
In white (yellow)
Ch7, Sc in 2nd ch from hook, sc, 2hdc, dc, dc6 into last ch.
Working down the other side of the initial chs: Dc, 2hdc, 2sc, sl St into 1st chain, bind off, leaving tail to sew to body (you'll need to weave the tail back through the wing first).


Hat - Sailor
In dark blue
Round 1: 6sc into ring
Round 2: Inc in each st around (12)
Round 3: (Inc, sc) six times (18)
Rounds 5, 6, 7: sc in each st around. Bind off.
Attach light blue yarn, turn
Round 8: In back loops, (inc, 2sc) all around (24)
Round 9: (Sl St, sc, hdc twice, dc, four times, hdc, twice, sc, sl st) (x2) (24)
Bind off, leaving tail to sew to head.

Hat - Sun hat
(In pink)
Rounds 1-7: as above but don't bind off or change yarn. Turn.
Round 8: As above, sl st into first st of round
Round 9: Ch 1, (hdc in 5 sts, 2 hdc in next st) four times. Bind off, leaving tail to sew to head.

Scarf
In red (pink)
Row 1: Ch 31
Row 2: Sl st in 2nd ch from hook, and next 13 chs. Sl st through both next ch and post of st at the back of where the head and body join twice to attach the scarf at the back. (See image below - you can skip this if you'd prefer to just sew the scarf). Sl st into remaining sts & bind off.

Style the scarf as you like and sew in place with ends of yarn.


Assembly

Stuff hat and sew hat to head. I put most of the stuffing in before sewing the hat but I stuffed it a little more before sewing it closed. Positioning is up to you, but I think it looks cute slightly off to one side.

Sew wings to body with the round side at the top. You can sew all the way round or just at the top and leave the rest of the wing loose.

Sew feet next to each other to the base of the body.


Sew tail to the back of the body at the bottom. Weave in any ends that are left, and enjoy your little bird!


Sunday, 12 April 2015

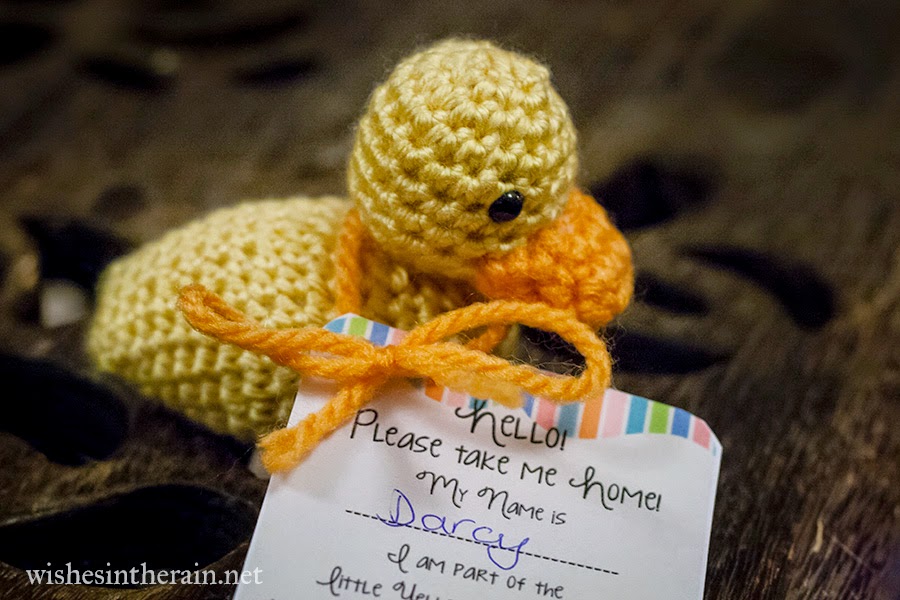
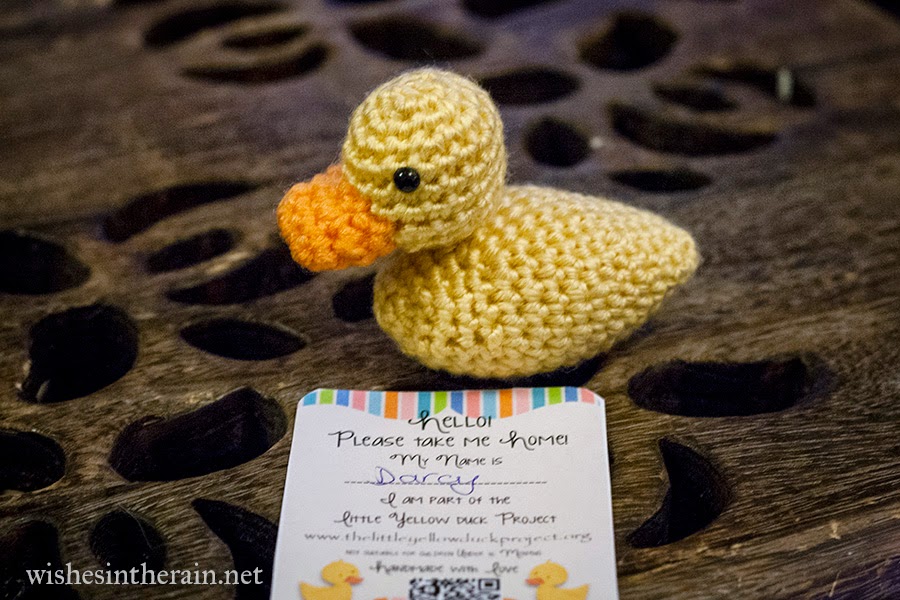
What I made: Little Yellow Duck


This evening I made a little yellow duck, to support the Little Yellow Duck project. Two years ago, Emma Harris, creator of the project lost a friend, Clare Cruickshank, to Cystic Fibrosis. She might have been saved had she had an organ donor. The idea is that you make a yellow duck, tag it, and leave it somewhere for a stranger to find who will hopefully visit the site, log it and read some information on organ, blood or stem cell donation.


I made the duck from Lisa Van Klaveren's Just Ducky Lovey, one of the patterns suggested by the project. It was pretty quick to make - each part only has a few rounds - and it was very straight forward too. I named the duck Darcy, because I don't know if Darcy is a boy or a girl duck. (Or neither. Though I don't think this Darcy would do all that well in a lake!)


Should I make one too? Yes, although you don't need to make the one I made. The project has a pattern page with knitting, crochet and sewing patterns. Take a look and see what you like. I will be leaving my duck somewhere on Wednesday, the first anniversary of the project, but ducks for the project are welcome all year round.

Tuesday, 24 March 2015

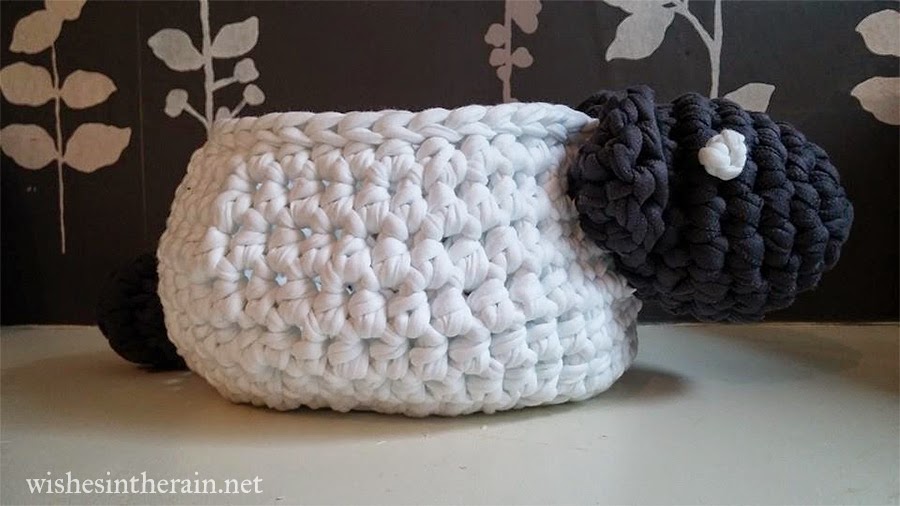
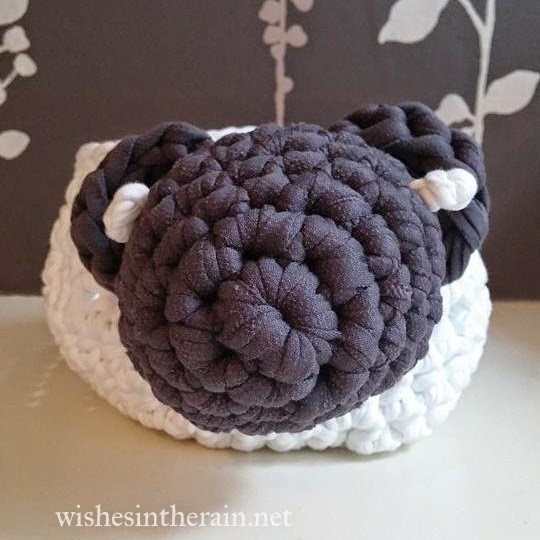
Free Pattern: Siobhan the Sheep Bowl

sheep crochet bowl

I promised another sheep related post after the cupcakes! A good friend of mine from University moved to Manchester last year, and I thought I should make her a house-warming gift to say welcome to the city. It wound up being very late since she moved here last summer! Her husband is Chinese, so when we were invited to celebrate the Chinese New Year with them, I thought a Sheep Bowl would be a perfect gift - fun and useful, and a nod to the time of year. She named her sheep bowl Siobhan, so that's the name of this pattern. Also I have the Shaun the Sheep theme on my brain now.

Since I decided to make a gift at the last minute, I wanted something which would be quick to do. I would have loved to make another Willow throw but I only decided on a Thursday and I needed it ready that Saturday evening. Hoooked Zpaghetti seemed to be the perfect yarn for this project - it works up extremely quickly although it can be hard work, and it's hard wearing - you can even make rugs from it.

Gauge is not important for this project, and it does actually work in lighter weight yarn and corresponding hook, though you will wind up with a very small bowl. I tried made the bowl part in worsted weight with a 3.5mm hook, and it's just about big enough for a few usb sticks for my desk at work. 

small crochet bowl

Pattern 
You will need: 
  • 35-45yards white hoooked zpagetti/t shirt yarn, (a little under a third of a 120m ball)
  • small amount dark grey/black zpagetti/t shirt yarn.* 
  • 9mm & 10mm crochet hooks
  • big tapestry/darning needle
  • stitch marker
  • Toy stuffing & pair of tights / scraps of fabric for stuffing
*It's possible to make your own t shirt yarn - have a look at this tutorial if you'd like to know how. You could also use super bulky 'normal' yarn or a few strands held together.

Stitches used: ch, sl st, sc, hdc, dc, trc (triple crochet), invdec (invisible decrease - put hook through front loops of next two sts, yarn over, pull through two loops, yo, pull through two loops), hdc dec (hdc decrease - yarn over, draw up loop through st, yo, draw up loop through next st, yo and pull through all five loops on hook), magic ring.
US terms are used throughout, if you prefer UK ones please use this conversion chart.

Bowl/Body
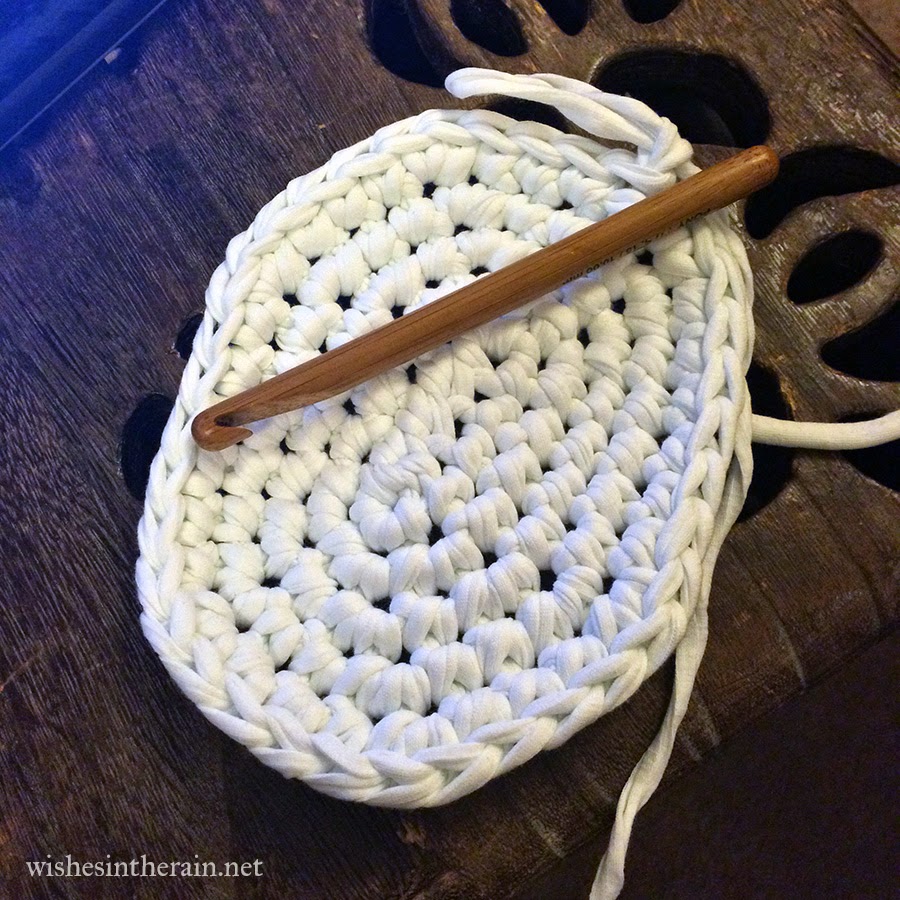
The base of the body is an oval worked in rounds. The sides of the body are worked in a continuous spiral. The initial chain is done with a smaller hook to minimise holes in the base of the bowl.

Foundation: With 9mm hook ch6. 
Change to 10mm hook

Round 1: Sc in 2nd ch from hook, sc in next 3 chs. 3 sc in last ch (crochet over the tail as you do these three sts and the rest of the first round.)
Working down the other side of the foundation chain, sc in next 3 chs, 2 scs in the last ch. Join with sl st into first sc. (12sc in total).

Round 2: Ch1, 2sc in same st, sc in next 3 sts, 2sc in next 3 sts, sc in next 3 sts, 2sc in next 2sts. Join with sl st into first sc. (18sc)

Round 3: Ch1, 2sc in same st, sc in next 4 sts, (2 sc into next st, sc into next st) three times, sc in next 3 sts, (2 sc into next st, sc into next st) twice. Join with sl st into first sc. (24sc)

Round 4: Ch1, 2sc in same st, sc in next 5 sts, (2 sc into next st, sc into next 2 sts) 3 times, sc in next 3 sts, (2 sc into next St, sc into next two Sts). Join with sl st into first sc. (30sc)

Round 5: Ch1, 2sc in same st, sc in next 6 sts, (2 sc into next st, sc into next three sts) 3 times, sc in next 3 sts, (2sc into next st, sc into next three sts. Join with sl st into first sc.(36sc)

The base should look something like this (but bear in mind I crochet left handed!):

bowl base


Round 6: Ch1. In back loops only, (2 hdc into st, hdc in next 11 sts) three times (39hdc)
Do not join.

Round 7: In both loops, hdc into first hdc of previous round & place marker into st just made, 5 hdc, (2hdc into next st, hdc in next 12 sts) twice, 2hdc into next st, 6 hdcs (42hdc)

Round 8: (2hdc into st, hdc in next 13 sts) three times (45hdc)

Rounds 9,10: hdc in each st around. Keep moving marker up a row to keep track of where rows begin and end. (45hdc)

Round 11: (hdc dec, 13 hdcs) three times. (42hdc)

Round 12: 6hdc, (hdc dec, 12hdcs) twice, hdc dec, 6hdc. Join with sl st into first hdc of round. (39hdc)

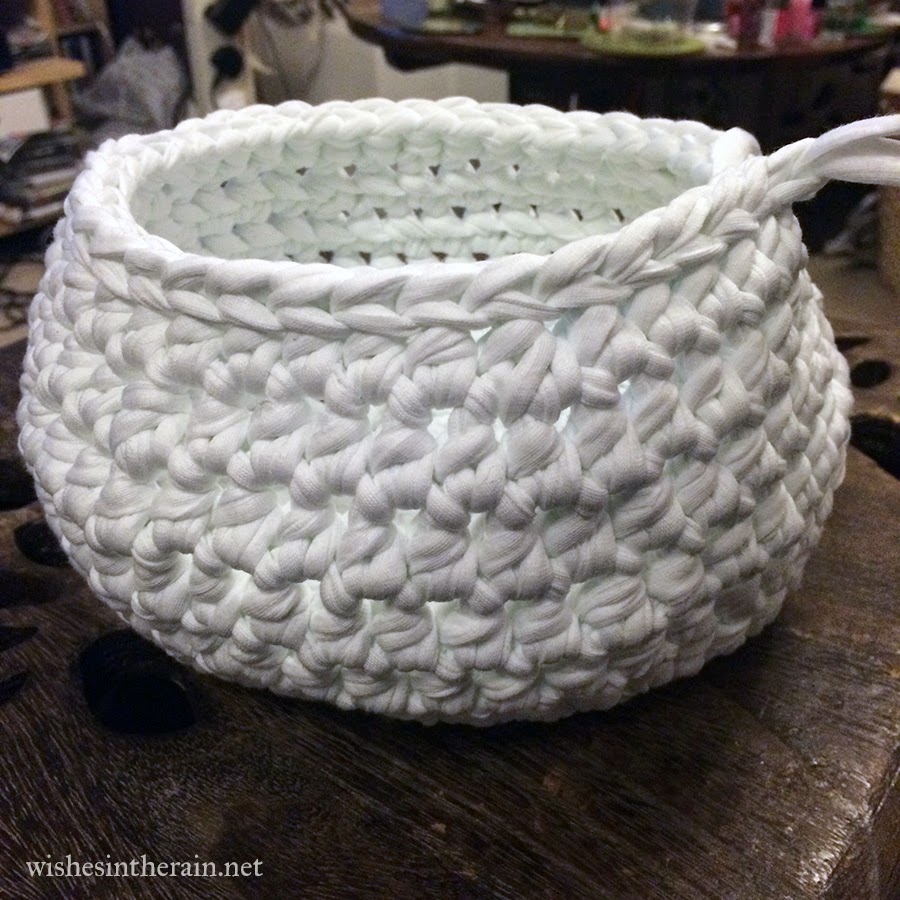
Round 13: Sl st in each St around. Bind off and weave in ends.

crochet bowl


Head
Use 9mm hook to make this tight, if you can - it's hard work! The head is worked in spirals - don't join at the end of each round, but use a stitch marker to keep track of the first stitch in each round.

Round 1: 6sc in magic ring.

Round 2: 2sc into each st around.

Round 3: (2sc into st, sc into next 3 sts) three times.

Round 4: (2sc into st, sc into next 4 sts) three times.

Round 5: (2sc into st, sc into next 5 sts) three times.

Round 6: Sc in each st around.

Round 7: (Invdec, sc into next 5 sts) three times. Bind off, leaving a long tail to sew it to the body. 

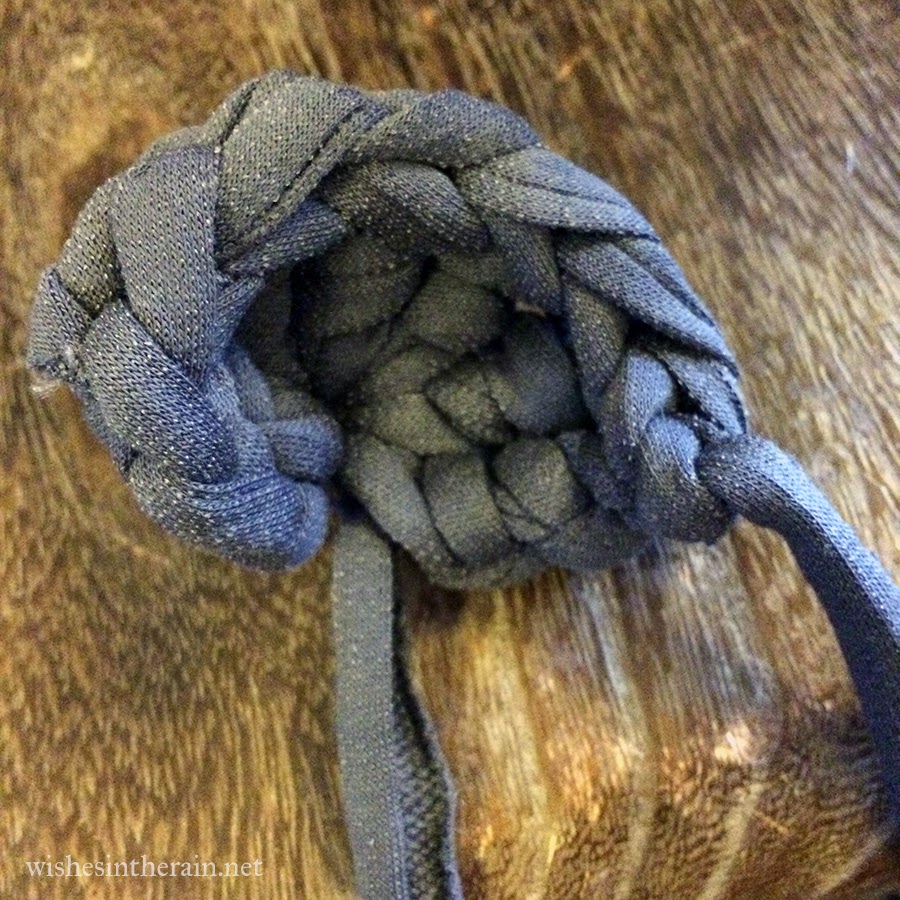
crochet sheep head in progress
just before binding off


Eyes
Sew the eyes onto the head with white yarn.
Here is how I did it, but feel free to use a different method.
1: Draw your yarn through a gap in the head with your needle.

2: Create a knot.


3. Pull knot tight

4: knot loose end underneath the knot.

5. Pull tight and draw yarn back through the same hole.

6. Secure the ends into the head on the inside to anchor the eye securely (so it can't be pulled through), and trim excess yarn.


7. All done!
yes that is one of my cats in the background.


Ears (make 2)
Using 9mm hook:
Make magic ring
Round 1: Ch 3, tc 6 times into ring. Pull ring tight and bind off, leaving a tail to sew the ear onto the head. Sew in other end.

crochet sheep ear


Tail
Using 9mm hook, working in spirals:
Round 1: 6sc into magic ring 

Round 2: 2sc in each st around

Round 3: Sc in each st around

Round 4: invdec in each st around & bind off, leaving a tail to sew to the body.

crochet sheep tail

Assembly

First stuff the head. I cut off the foot from a cheap pair of black tights, and stuffed regular toy stuffing into it. Then I tied a little knot in the end and stuffed it into the head. This way the tights show up in the gaps between stitches, which looks better, and the stuffing can't come out. You could also use scraps of fabric to stuff the head.


The stuffed head.
Then sew the ears to the top edge of the head.

Stuff the tail with a few scraps of tights/fabric. It doesn't need much.

Finally sew the head and ears to the top of one side of the body, and the tail to the bottom of the other. (See the picture at the top of the post). Weave in ends and then you're done! Your Siobhan is ready to hold your trinkets :)


crochet sheep bowl facing forward

Wednesday, 11 March 2015

What I made: Lara Doll and Dress

 crochet dress and amigurumi doll

Hello. My name is Joanna, and I am sewing-machine phobic. When I was a young, my mum told me she did really well at her sewing classes at school by basically having her teacher do it, and when I tried using a sewing machine in school textiles classes it felt dangerous and out of control, and I managed to get my teacher to do a lot for me too.

This was all fine and dandy until I thought it would be a nice idea to make a gift for my niece, and a friend of mine suggested making her a dress, and a doll wearing a matching dress.

crochet dress

 The dress pattern is called Beautiful Red Dress by Janette Williams on The Green Dragonfly blog. The nice thing about this pattern is that the skirt is really really simple - the most basic A-line you can get, perfect for someone like me who is a complete beginner. But it's also a very flexible pattern, and would be easy to make to fit practically any size. You can see from the picture above my sewing was far from perfect, but it did the job and my niece loved it. She called it her princess dress! I followed the pattern as given for the top part of the dress too but with a smaller hook because I was making it for a smaller child. You can see details of yarn etc. on my Ravelry project page.


crochet dress closeup with buttons
I discovered a new love when I made this: self cover buttons. If you don't know, they're metal or plastic buttons you get in pieces, and you wrap them in fabric, then clip them together and you have a button covered with the fabric you choose. It's a perfect way to make matching buttons for anything, or for custom accessories like hair clips etc. One thing I did find though was that following the instructions on the back of the packet didn't always work - I eventually found a tutorial like this which worked much better.

doll elara amigurumi
The doll for me was a lot easier! The pattern is Doll Elara by Jana Ganseforth. I named this doll Lara. It's such a cute pattern - I spent a long time looking at different dolls and this was my favourite by a long way. I didn't make the dress on the pattern, though; I used the same pattern as for my niece's dress. I guess that shows exactly how flexible it is! I used another cover button to make her hair ornament. I did use safety eyes for this even though it was for a two year old because I knew my niece would be supervised playing with Lara, and even if the worst happened and the eyes broke, it would be all right. But if you're concerned, don't use plastic eyes, just embroider them instead. The only thing I found hard about the doll was the hair - it took me a couple of tries to get it just right. But the tutorial is very clear, I think my problems were more from me not taking enough care.

I did make a hair clip for my niece as well, but it was a bit heavy and didn't work too well in her hair. I think I'll leave it until she's six or so until I try again.

Should I make one? Yes. A doll and dress combo is sure to be a winner, and you can make them as girly or not as you like by your choice of fabric. You can get something worthwhile out of the dress pattern even if you are completely hopeless at sewing like I am. Definitely worth spending the time for a little girl you care about!

Saturday, 7 February 2015

What I Made: Hungry Caterpillar/Butterfly

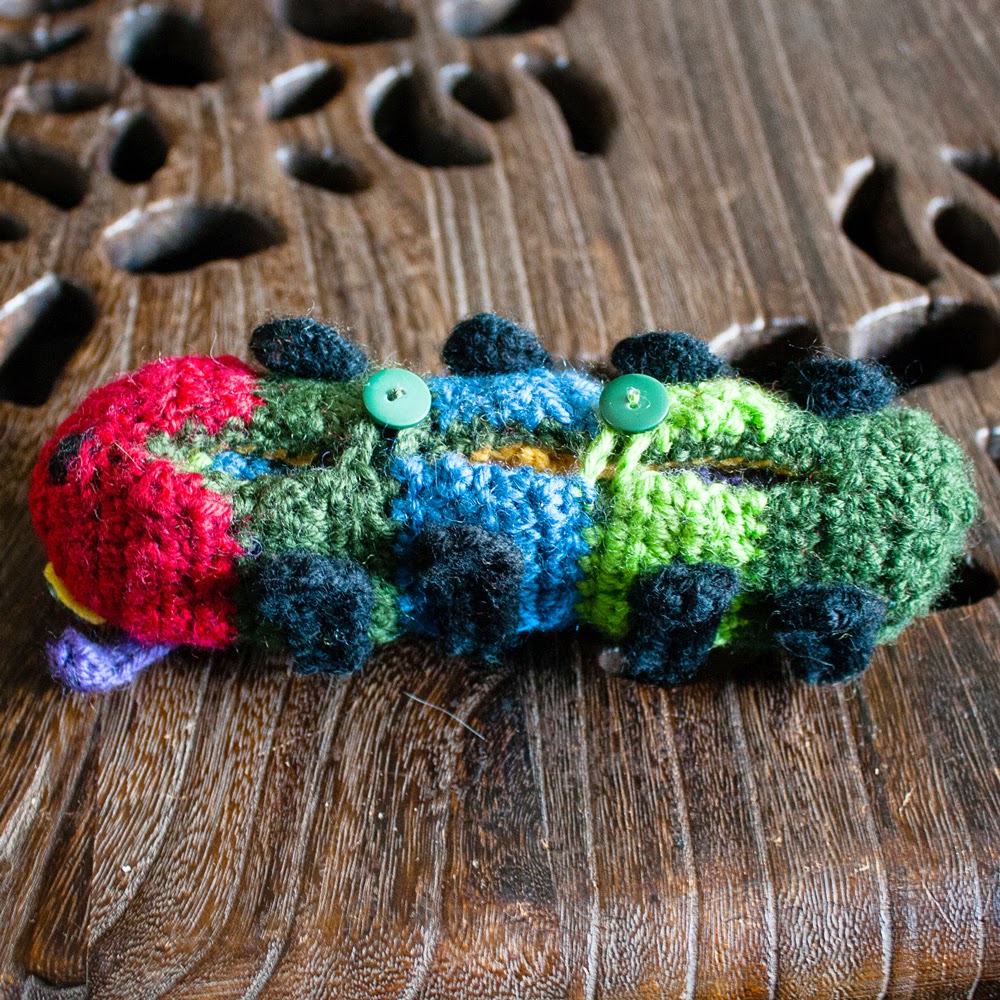
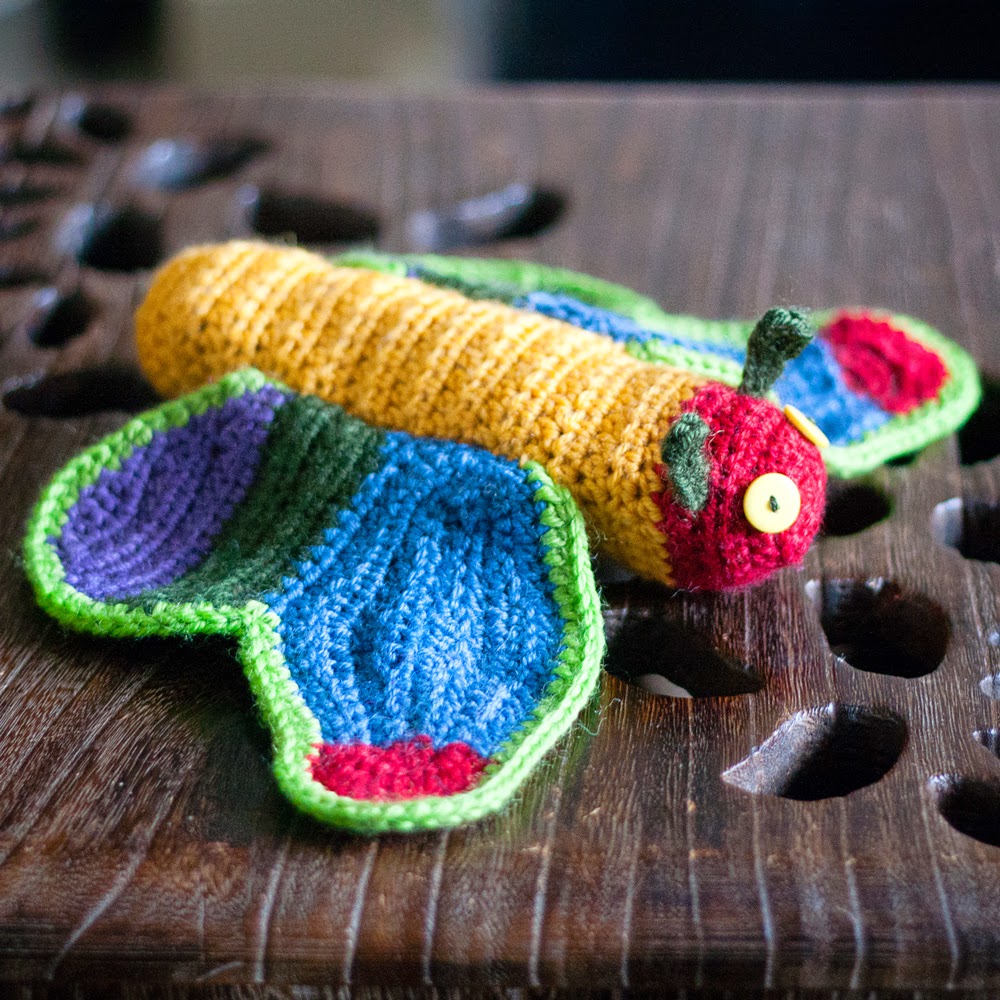
crochet hungry caterpillar toy
Hungry Caterpillar
First, a confession. As a child, I never read The Hungry Caterpillar. I read lots and lots of wonderful books but it just wasn't part of my childhood. However, it is a part of my niece's, and so when I saw the Caterpillar to Butterfly Metamorphosis pattern on Ravelry I knew I had to make it for her third birthday in The Hungry Caterpillar colours.

bottom of crochet hungry caterpillar toy
Caterpillar's under side
 Doing this for the body was pretty straight forward. I couldn't exactly capture the beautiful colours in the book, but I think I got close enough for a toy. Pro-tip: Don't do like I did and try to crochet the legs in black at night. If you're anything like me you'd be much better off waiting until daylight when you can actually see what you're doing!

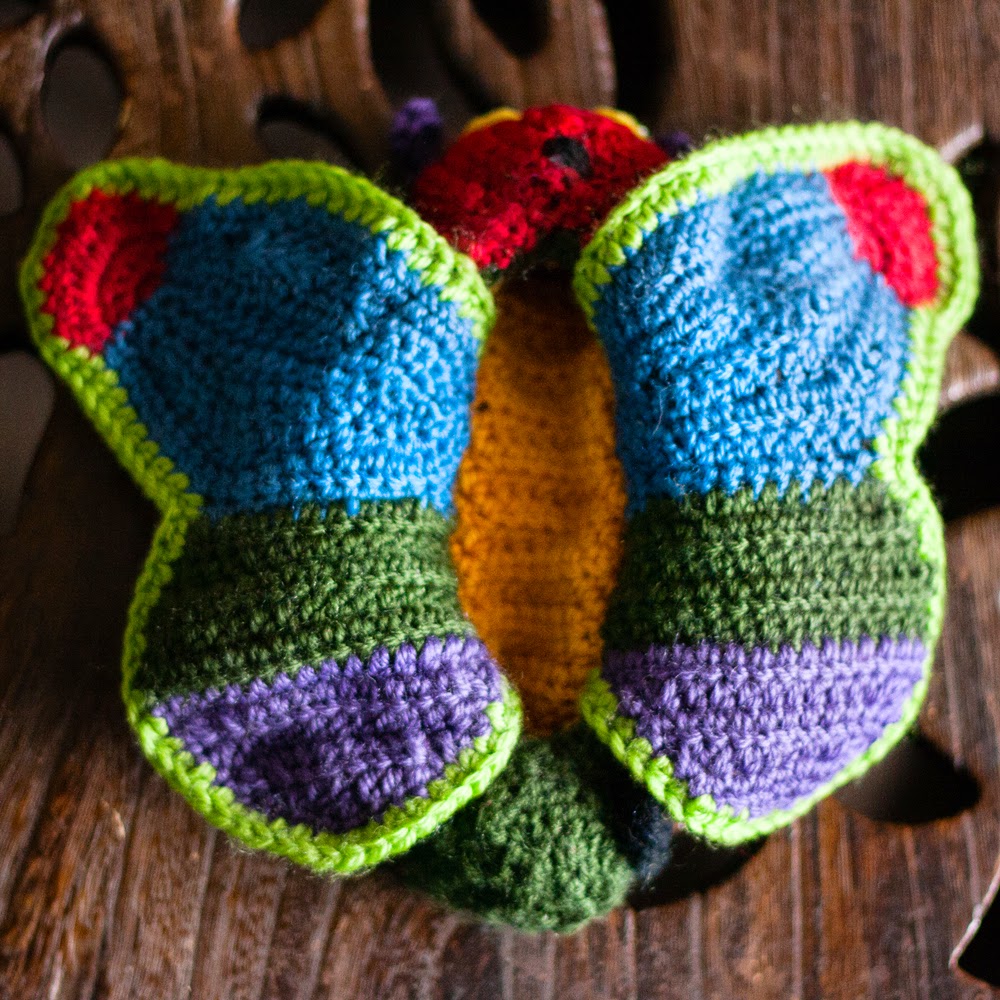
hungry caterpillar toy wings being unfolded
Metamorphasis
The wings were much more of a challenge. The wings in the pattern aren't the same shape as the wings in the book at all. I did think about trying to get them similar but in the end I tried to compromise and just use similar colours. It was straight forward apart from the red bit, which I had to think about and do over a couple of times to get it right, but even that wasn't too hard.

bottom of hungry caterpillar butterfly
butterfly underside
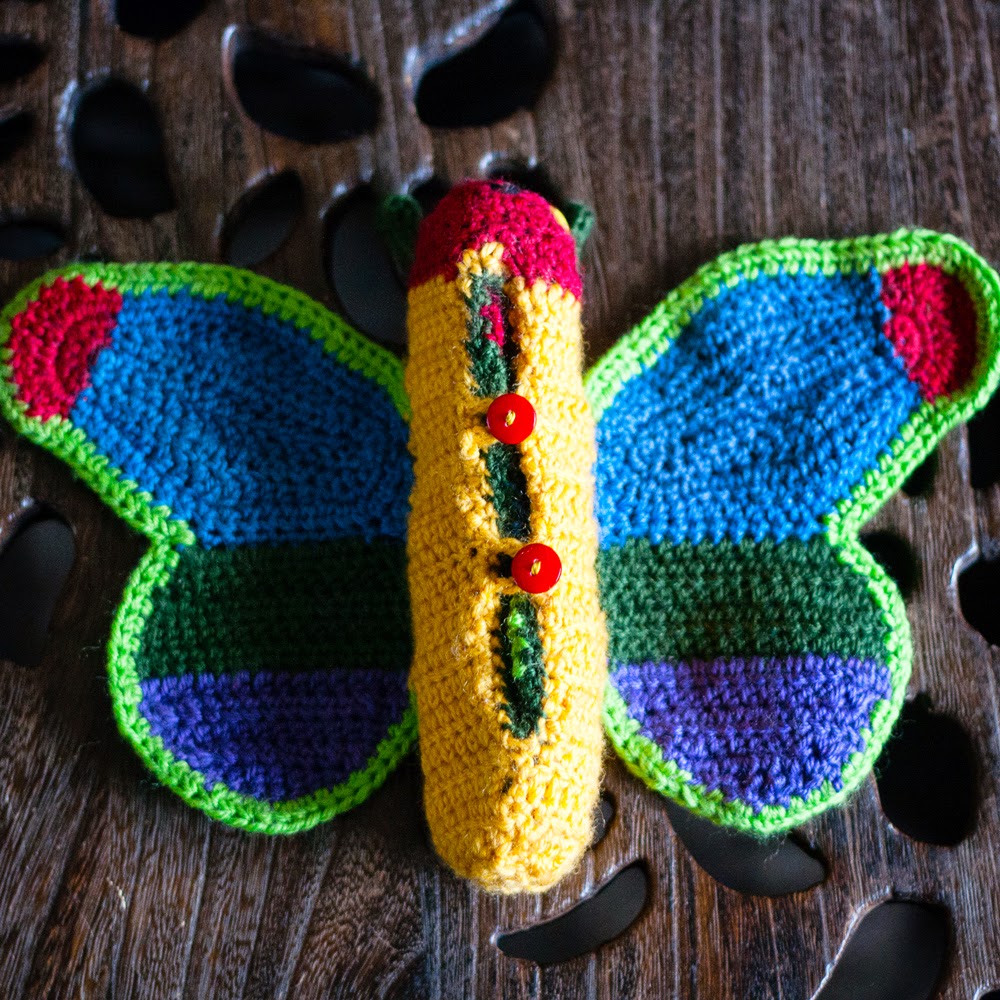
The genius part of this pattern is the way it folds inside out. You basically make the caterpillar and the butterfly separately, put one inside the other and sew them together. I was worried that this might be tricky but it was easy- I got it right first time. The turning inside out process was a bit too difficult for my niece to manage by herself, but she did enjoy telling her mum to change it from one creature to the other!
hungry caterpillar toy butterfly side out
butterfly!

I would definitely make one of these as a gift in the future, though maybe for a slightly older child who has enough finger strength to turn it inside out themselves

Should I make one too? Yes! It's a lovely idea regardless of colours, and if you have a Hungry Caterpillar fan in your life you have to make one for them.

Monday, 21 July 2014

What I Made: kawaii octopus


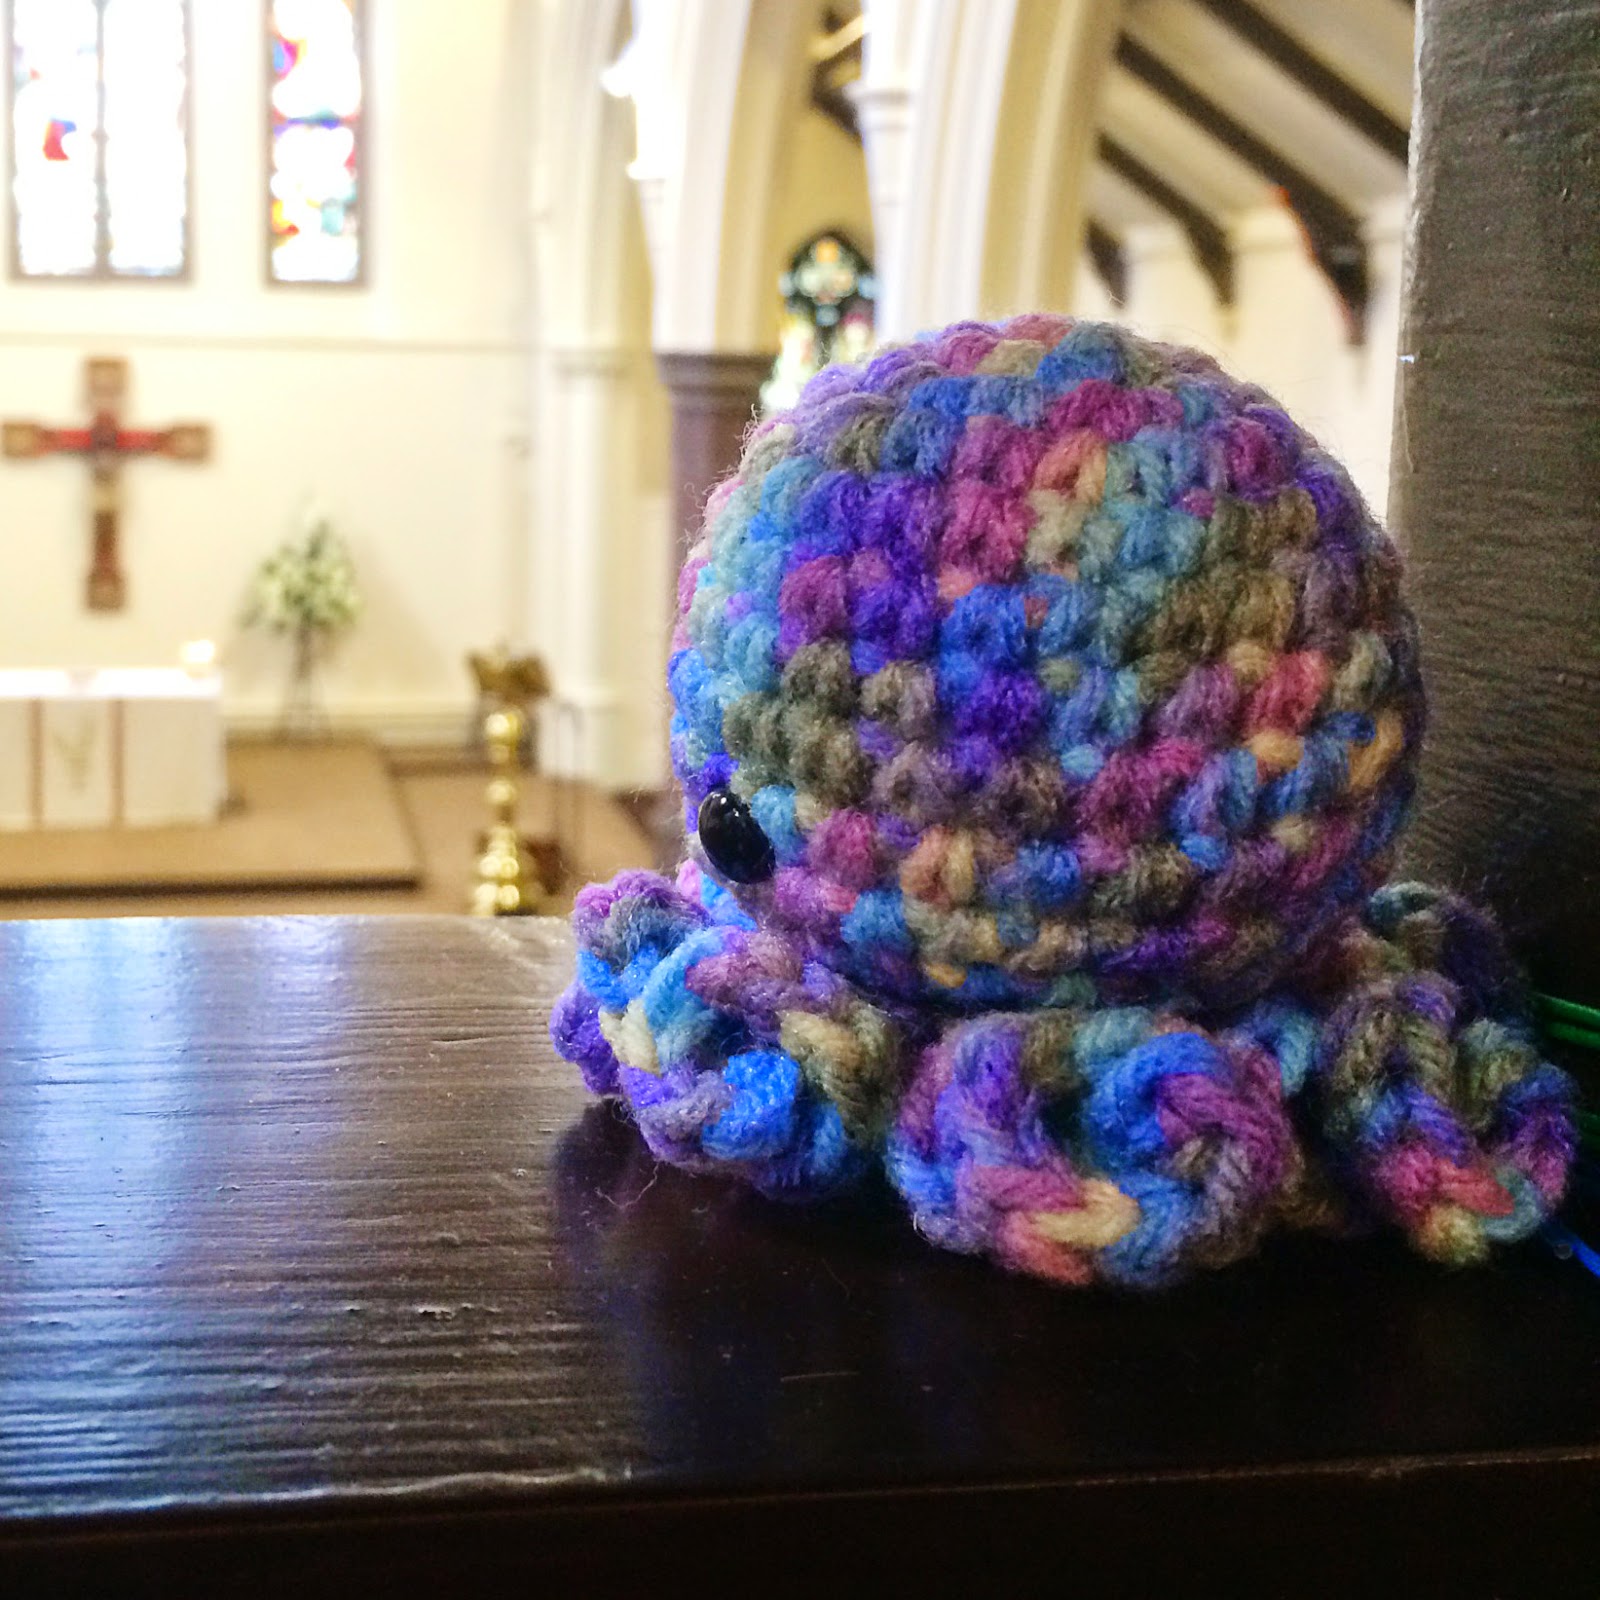
multi-coloured crochet octopus amigurumi
octopus!
Be honest: don't you think this little guy is super cute? I decided to look for some easy Amigurumi patterns the other day, because I thought it would be fun to make some toys, and I found this on ravelry. The pattern is Kawaii Octopus Amigurumi. I used some Red Heart Super Saver yarn my husband picked up in America last time he had a conference there, and a 4.5mm hook, although the pattern now suggests 3.75mm. I really struggle to find things to do with variegated yarn like this so I was very happy with how he turned out.


octopus amigurumi at church
octopus met his new owner at church

Making the legs were a bit tricky but the photos in the pattern are really helpful. Overall, though, I was really pleased by how quick it was to make. So easy in fact that I made another - this is rare for me because normally I'm all about the new shiny!

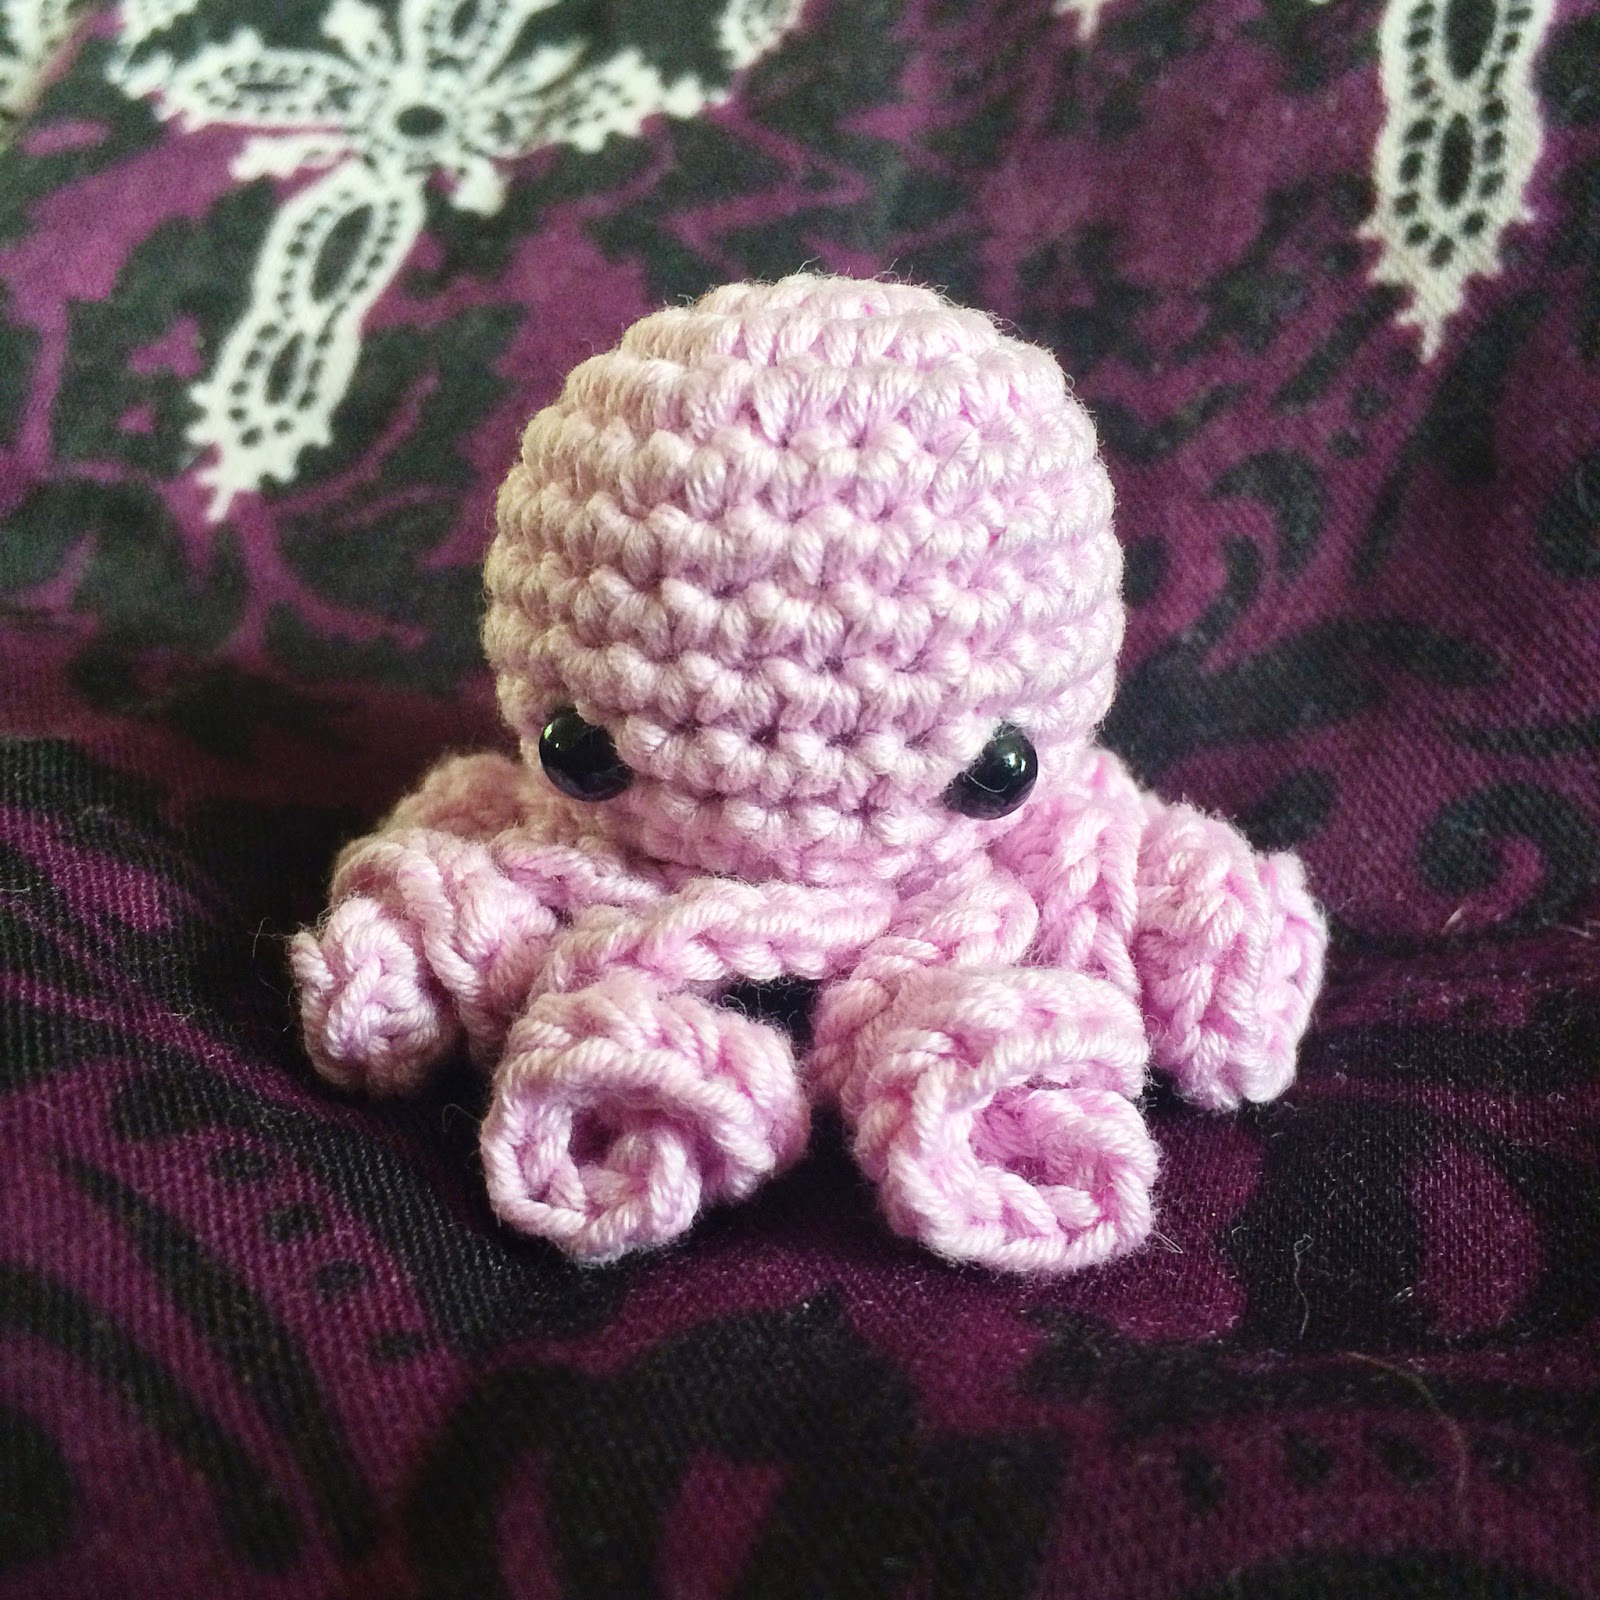
mini crochet octopus amigurumi
little octopus
The second one I made was much smaller - I made him with a 2.5mm hook and DMC Natura Cotton which is 4 ply weight, and my new 3mm safety eyes that my friend UnicornReality kindly sent me. Then I saw the Baby Kawaii Octopus pattern.
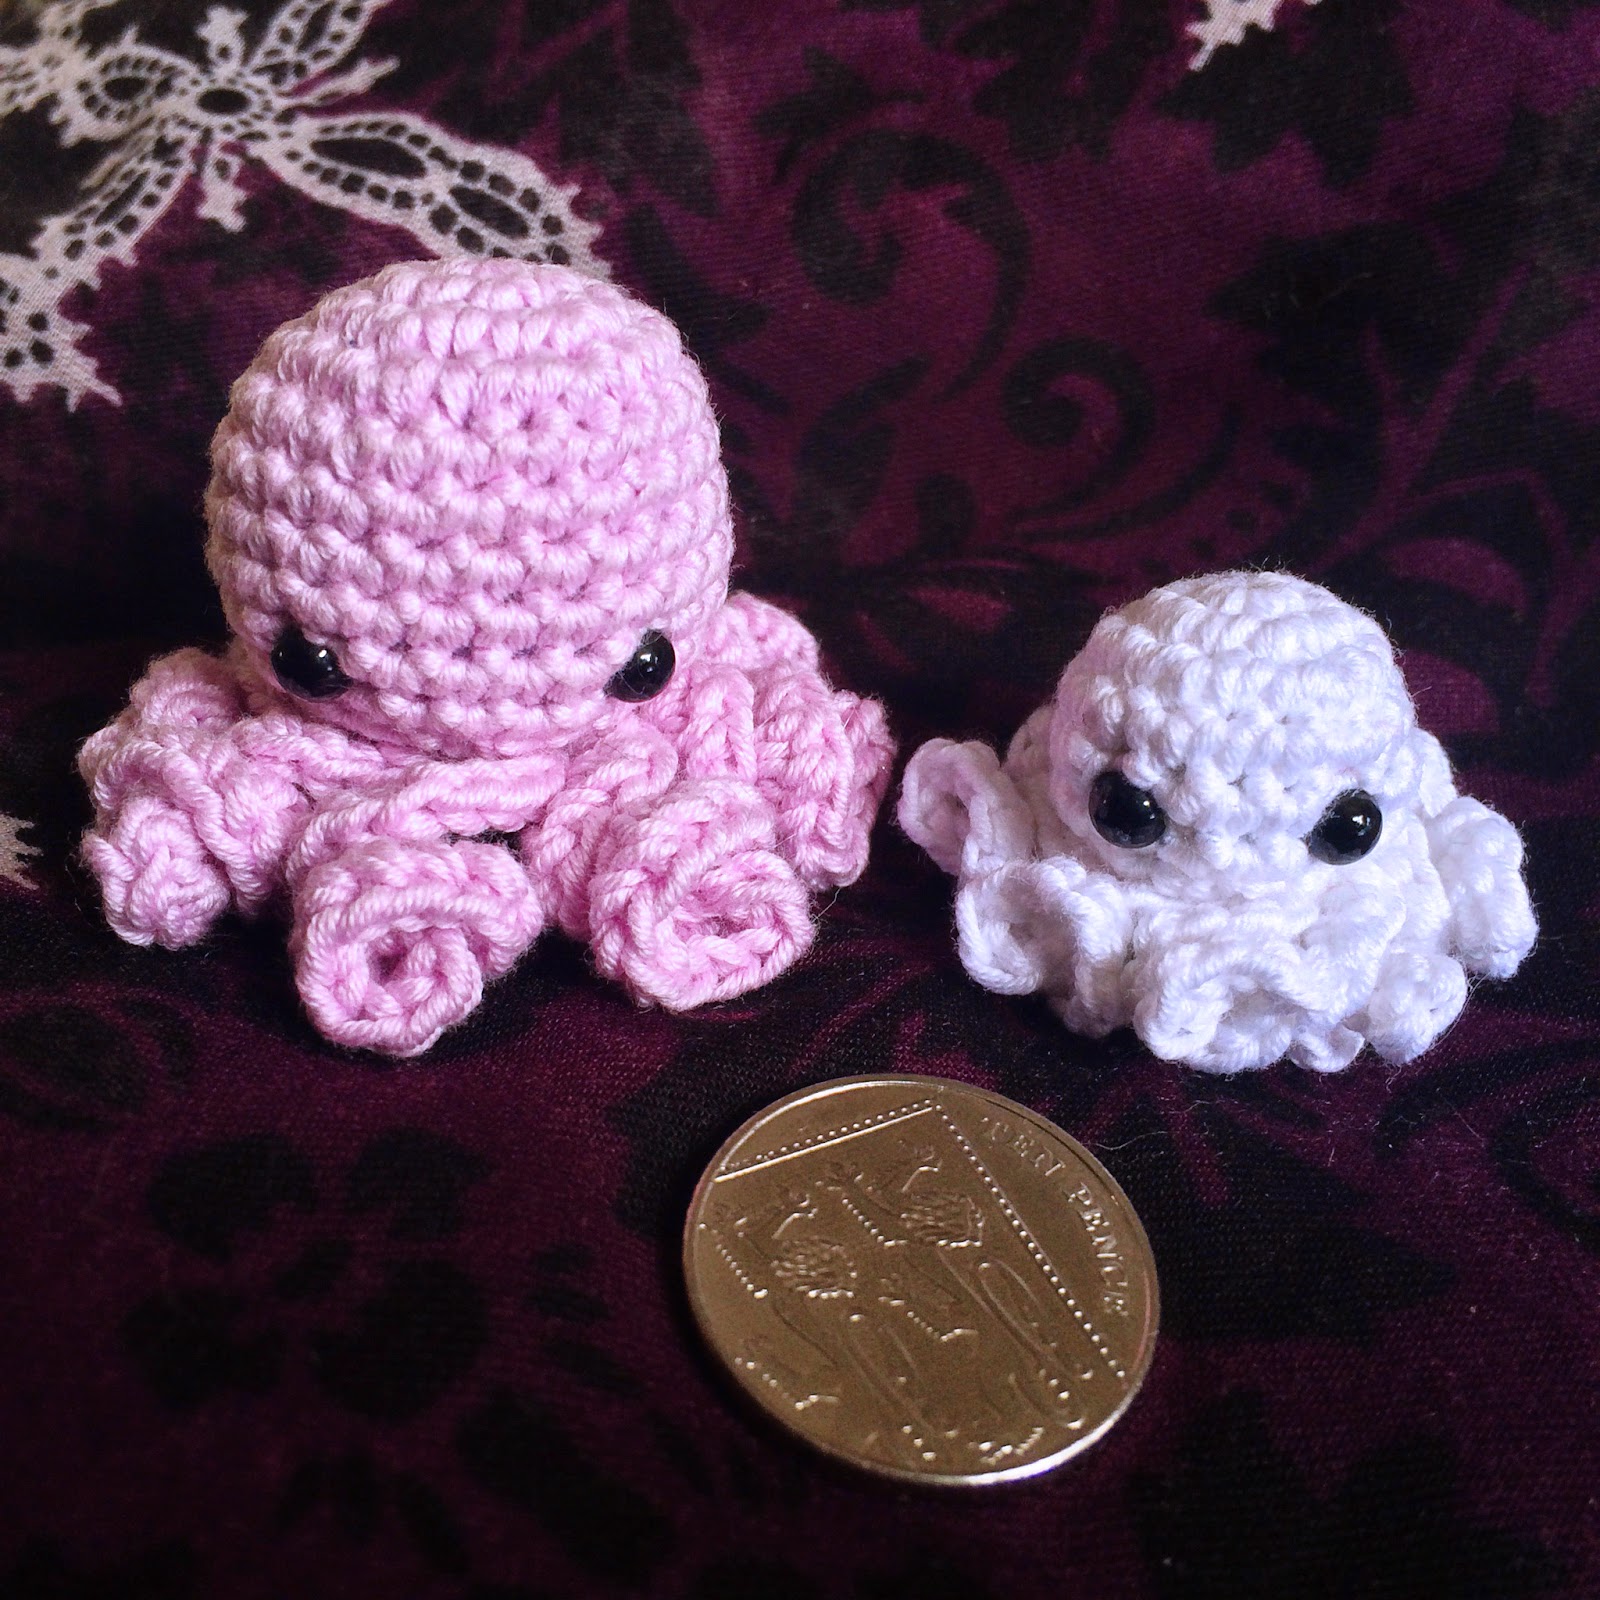
two tiny crochet ocotopus amigurumis with coin
little octopus and tiny baby octopus, with 10p for reference
The baby one is so tiny! I should probably have embroidered the eyes but I'm happy with him. I really liked both of these patterns, and I can definitely see myself making them again in the future.

Should I make one too? Yes, especially if you need to make a last minute gift for a young child, but bear in mind, safety eyes are probably not safe for children under 3 unless you know they will be closely supervised when playing with the toy.