A childhood friend of mine became a father for the first time this summer, and, since I was going to see his parents today, I thought it would be nice to make a hat for his baby. Since I'm all about snowflakes right now it was easy to decide what type of hat to make!
I used Elizabeth Roggasch's Half Double Crochet Beanie as a base for the hat. Hdcs are my favourite stitch to use for a hat because it doesn't take too long to grow, they have give, and they're really easy to attach things to afterwards. This is a really nice pattern because it gives measurement guidelines so you know even if your gauge is off (mine always is) that your hat will be the right size.
I used Caron Simply Soft yarn in Blue Mint for the main body of the hat. I used White in the same yarn for the edging and snowflake, held together with Twilleys of Stamford Goldfingering in white. It's hard to see from the photo, but it gives it a little bit of sparkle.For more information on specific yarns etc, see my project on Ravelry.
I intended to make the 3-6 month size, but lost concentration and wound up with 54 stitches on round 6 instead of 50. However, I have tight tension and when I measured it seemed to be the correct size (even though it wound up being the 6-9month size as written). Also I wanted to end up with a multiple of three stitches on the last round. The other main modification I made was working in a spiral rather than rounds; this meant I avoided having a seam. I finished up with a border of scs in white with a picot (ch3, sl st into first ch) every three stitches.
For the snowflake, I used a 3.5mm hook to make my Snowflake Wishes 2 snowflake. I sewed it on to the hat making sure to sew down the ch5s from the snowflake to the hat to prevent it from curling.
I'm really pleased with how this came out, especially since it was so simple to do! Worth bearing in mind making something like this for a last minute Christmas present :)
Showing posts with label tried and tested. Show all posts
Saturday, 5 December 2015
Sunday, 12 April 2015
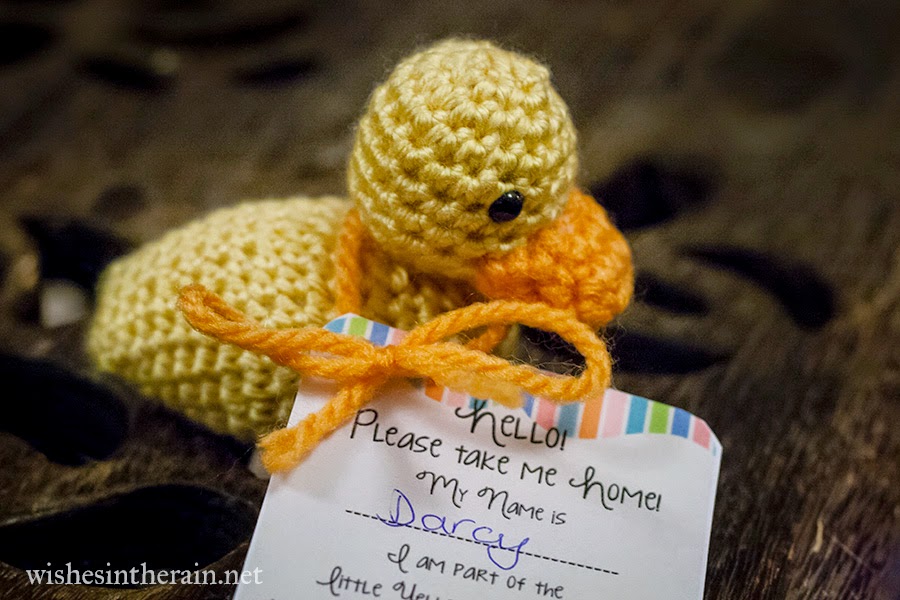
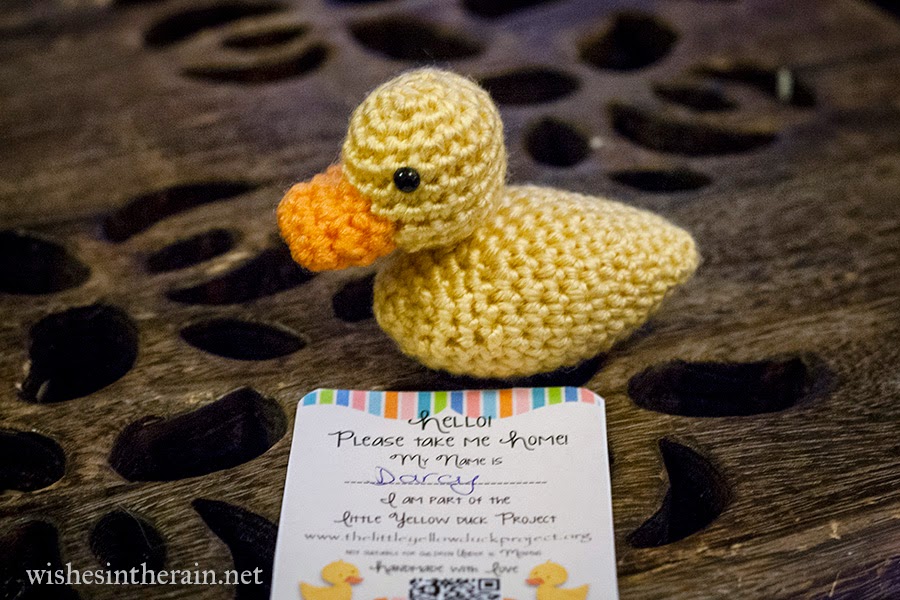
What I made: Little Yellow Duck
This evening I made a little yellow duck, to support the Little Yellow Duck project. Two years ago, Emma Harris, creator of the project lost a friend, Clare Cruickshank, to Cystic Fibrosis. She might have been saved had she had an organ donor. The idea is that you make a yellow duck, tag it, and leave it somewhere for a stranger to find who will hopefully visit the site, log it and read some information on organ, blood or stem cell donation.
I made the duck from Lisa Van Klaveren's Just Ducky Lovey, one of the patterns suggested by the project. It was pretty quick to make - each part only has a few rounds - and it was very straight forward too. I named the duck Darcy, because I don't know if Darcy is a boy or a girl duck. (Or neither. Though I don't think this Darcy would do all that well in a lake!)
Should I make one too? Yes, although you don't need to make the one I made. The project has a pattern page with knitting, crochet and sewing patterns. Take a look and see what you like. I will be leaving my duck somewhere on Wednesday, the first anniversary of the project, but ducks for the project are welcome all year round.
Friday, 10 April 2015
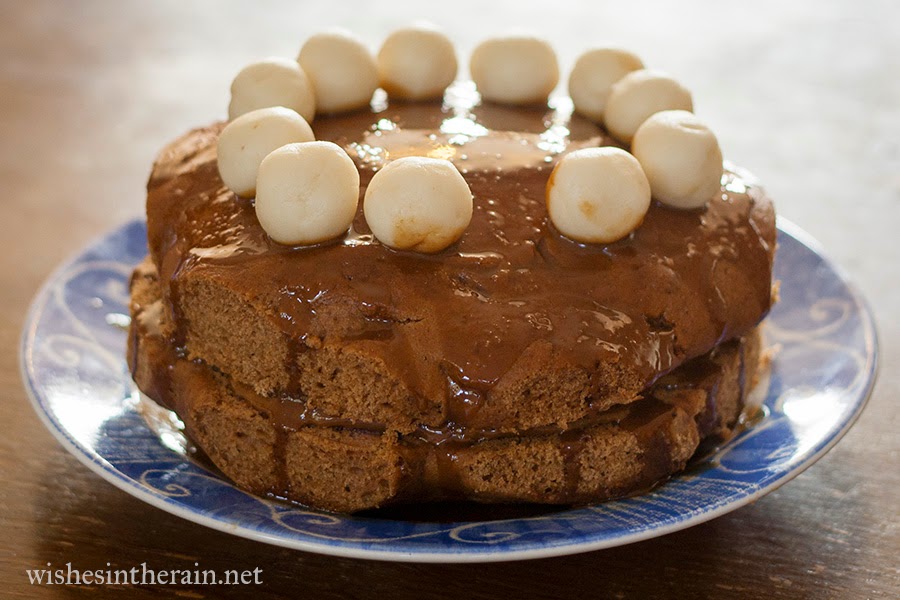
What I baked: Gluten-free, Vegan, Coconut Sugar Cake
I love baking, but I have a lot of friends who can't have regular cakes for whatever reason. I thought it would be a good idea to blog my attempts at gluten, egg and/or dairy free baking so I can remember what worked and what didn't, and maybe help someone else out.
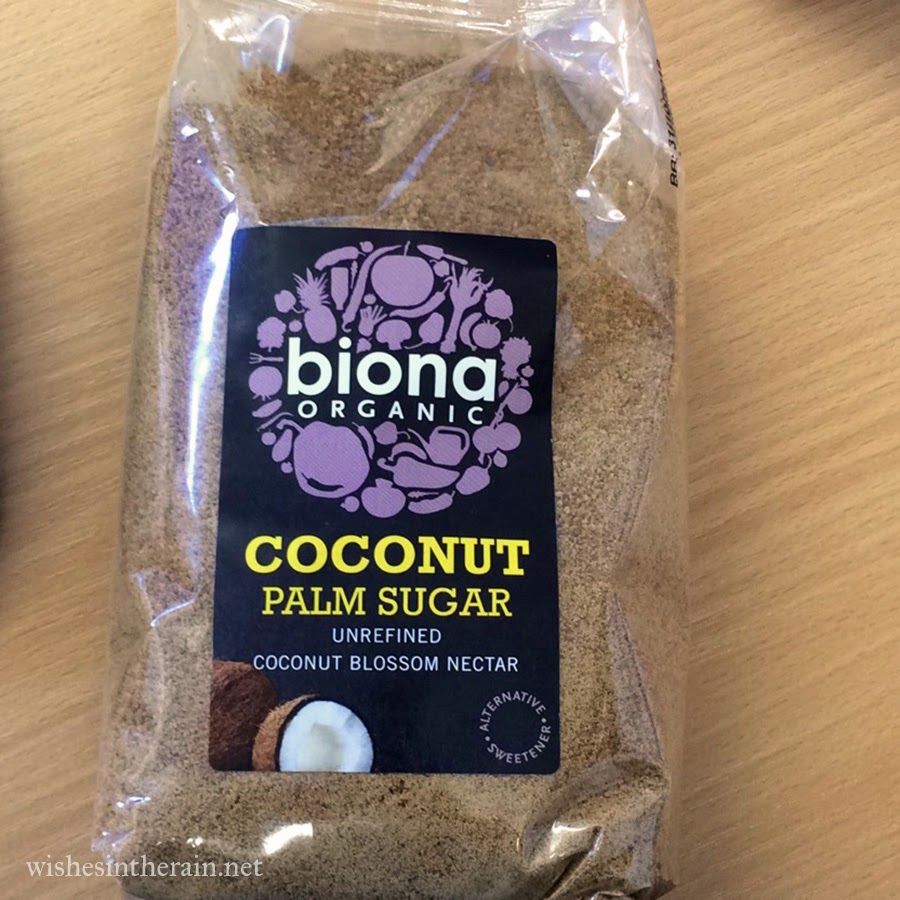
My friend Emily and I thought it would be nice to bake a Simnel cake for our flute group practice this week. She can't have gluten, dairy, or (in my view) worst of all, chocolate, and another girl in the group is vegan and is currently not allowed to have sugar except coconut sugar.
This was a challenge! I checked with our sugar-free friend and she wasn't even allowed to have dried fruit. So a regular Simnel cake was out, and we thought we would bake a spice cake instead.
I searched for recipes and found this one for Chai Spice Cake with Vanilla Bean Buttercream from Veggie and the Beast. I liked that it called for raw sugar, because I thought the coconut sugar wouldn't be so different.
We only made the cake, not the icing. We had to make a few substitutions:
- Regular almond milk for vanilla (because the vanilla kind has sugar),
- 3 cups less 6 tbsps Dove Farms Gluten Free Plain flour, 6 tbsps cornflour and 1 1/2 tsps xanthan gum all sieved together a couple of times for the cake flour (you can't get normal cake flour in the UK, but 1 cup plain flour less 2 tbsps with 2 tbsps cornflour is the substitution I would normally use)
- coconut sugar for raw sugar
- vegetable oil for canola oil (another ingredient you can't get in the UK)
I was able to powder the sugar to an extent in the food processor, but not all that well. I also had to hand grind some cardamom seeds, which turned out to be much harder work than I anticipated! I baked the cakes in my oven 175°C (350°F) for about 30 mins, but I swapped shelves half way round so that both cakes had the chance to cook the same.
I confess I was a little nonplussed about how they came out initially! The surface cooked before the mixture had a chance to spread out, so they were all lumpy. I sent this picture to my friend Myshelle who runs Mamma that Makes and she suggested cutting round a plate placed over the cake to make it more circular when they were cool.
Cutting round a plate worked really well - it's the sort of thing I wish I'd thought of by myself. The cakes were still uneven but they were much better. I debated cutting the tops flat too but decided I'd rather have a bigger cake - my flute group friends would forgive me for it not looking perfect!
I tried a second time to powder the coconut sugar in the foodprocessor, thinking that it might work better with less sugar. It didn't! But the blender on the other hand was a different story- it powdered perfectly in about 20 seconds, though I gave it a second 20 seconds just to be sure.
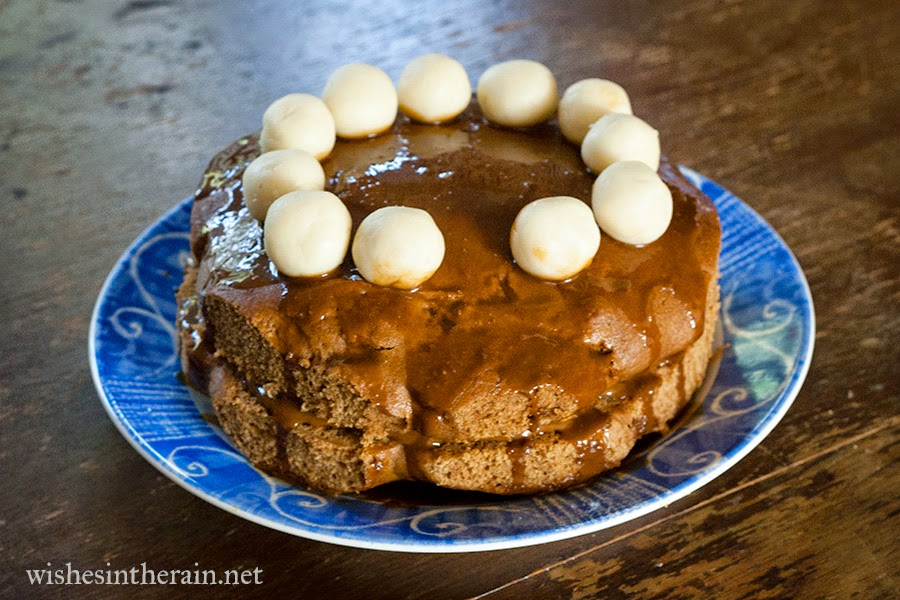
I made a water icing filling for the cake, mixing water into the powdered coconut sugar until it was a thick paste. I put a tiny bit of vanilla essence in but I don't think it was really needed - the sugar's flavour was enough. I topped it with thinner water icing, and balls of marzipan to make it a little like a Simnel cake (the marzipan had sugar in but was easy to remove from one piece).
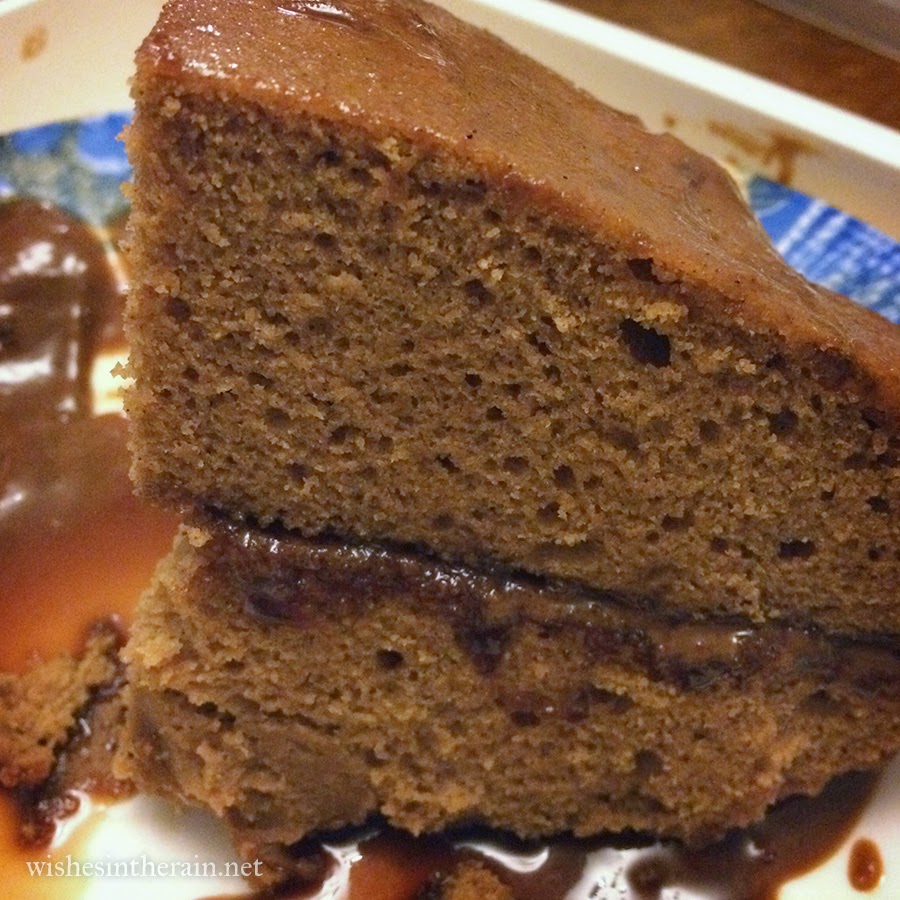
I think it looked all right in the end (though it took a little effort to get the marzipan to stay in place as you can probably tell!). But more importantly, flute group enjoyed it. It was very spicy and flavourful, and the texture was really nice too. I think that cake flour recipes may work well for being made gluten free because gf flour can be a little gritty, but some of that would be replaced by cornflour.
One friend said she wouldn't have known it was vegan or gluten free if I hadn't said, and my vegan friend was really happy, because she hadn't been able to have cake in six weeks since she's been not allowed sugar.
Should I make one too? I think this is a great recipe, so yes! If I make it again, I think I would use a little more tea as Emily says gluten free flour tends to absorb water more, and I would bake it for a bit longer at a lower temperature to allow the mixture time to spread out. But over all it tasted pretty good! I would definitely use coconut sugar again, too, although only in a recipe where it's flavour would complement the other ingredients. I think it would be good in apple muffins for example, and other things that would be spicy. And next time I think I'll try making coconut sugar buttercream.
I confess I was a little nonplussed about how they came out initially! The surface cooked before the mixture had a chance to spread out, so they were all lumpy. I sent this picture to my friend Myshelle who runs Mamma that Makes and she suggested cutting round a plate placed over the cake to make it more circular when they were cool.
I tried a second time to powder the coconut sugar in the foodprocessor, thinking that it might work better with less sugar. It didn't! But the blender on the other hand was a different story- it powdered perfectly in about 20 seconds, though I gave it a second 20 seconds just to be sure.
I made a water icing filling for the cake, mixing water into the powdered coconut sugar until it was a thick paste. I put a tiny bit of vanilla essence in but I don't think it was really needed - the sugar's flavour was enough. I topped it with thinner water icing, and balls of marzipan to make it a little like a Simnel cake (the marzipan had sugar in but was easy to remove from one piece).
I think it looked all right in the end (though it took a little effort to get the marzipan to stay in place as you can probably tell!). But more importantly, flute group enjoyed it. It was very spicy and flavourful, and the texture was really nice too. I think that cake flour recipes may work well for being made gluten free because gf flour can be a little gritty, but some of that would be replaced by cornflour.
One friend said she wouldn't have known it was vegan or gluten free if I hadn't said, and my vegan friend was really happy, because she hadn't been able to have cake in six weeks since she's been not allowed sugar.
![]() |
| Leftovers! |
Wednesday, 11 March 2015
What I made: Lara Doll and Dress
Hello. My name is Joanna, and I am sewing-machine phobic. When I was a young, my mum told me she did really well at her sewing classes at school by basically having her teacher do it, and when I tried using a sewing machine in school textiles classes it felt dangerous and out of control, and I managed to get my teacher to do a lot for me too.
This was all fine and dandy until I thought it would be a nice idea to make a gift for my niece, and a friend of mine suggested making her a dress, and a doll wearing a matching dress.
I discovered a new love when I made this: self cover buttons. If you don't know, they're metal or plastic buttons you get in pieces, and you wrap them in fabric, then clip them together and you have a button covered with the fabric you choose. It's a perfect way to make matching buttons for anything, or for custom accessories like hair clips etc. One thing I did find though was that following the instructions on the back of the packet didn't always work - I eventually found a tutorial like this which worked much better.
The doll for me was a lot easier! The pattern is Doll Elara by Jana Ganseforth. I named this doll Lara. It's such a cute pattern - I spent a long time looking at different dolls and this was my favourite by a long way. I didn't make the dress on the pattern, though; I used the same pattern as for my niece's dress. I guess that shows exactly how flexible it is! I used another cover button to make her hair ornament. I did use safety eyes for this even though it was for a two year old because I knew my niece would be supervised playing with Lara, and even if the worst happened and the eyes broke, it would be all right. But if you're concerned, don't use plastic eyes, just embroider them instead. The only thing I found hard about the doll was the hair - it took me a couple of tries to get it just right. But the tutorial is very clear, I think my problems were more from me not taking enough care.
I did make a hair clip for my niece as well, but it was a bit heavy and didn't work too well in her hair. I think I'll leave it until she's six or so until I try again.
Should I make one? Yes. A doll and dress combo is sure to be a winner, and you can make them as girly or not as you like by your choice of fabric. You can get something worthwhile out of the dress pattern even if you are completely hopeless at sewing like I am. Definitely worth spending the time for a little girl you care about!
Labels:
amigurumi,
dress,
gift,
sewing,
toy,
tried and tested,
what i made
Friday, 6 March 2015
What I made: Willow and Anya throws
Willow
Who couldn't love patterns named after Buffy the Vampire slayer characters? You can never watch that show too much; I frequently find myself losing hours at a time crocheting and watching it on TV. Willow is the character I identify with most too - she works hard, she's bright, but she's not all sweetness and light.
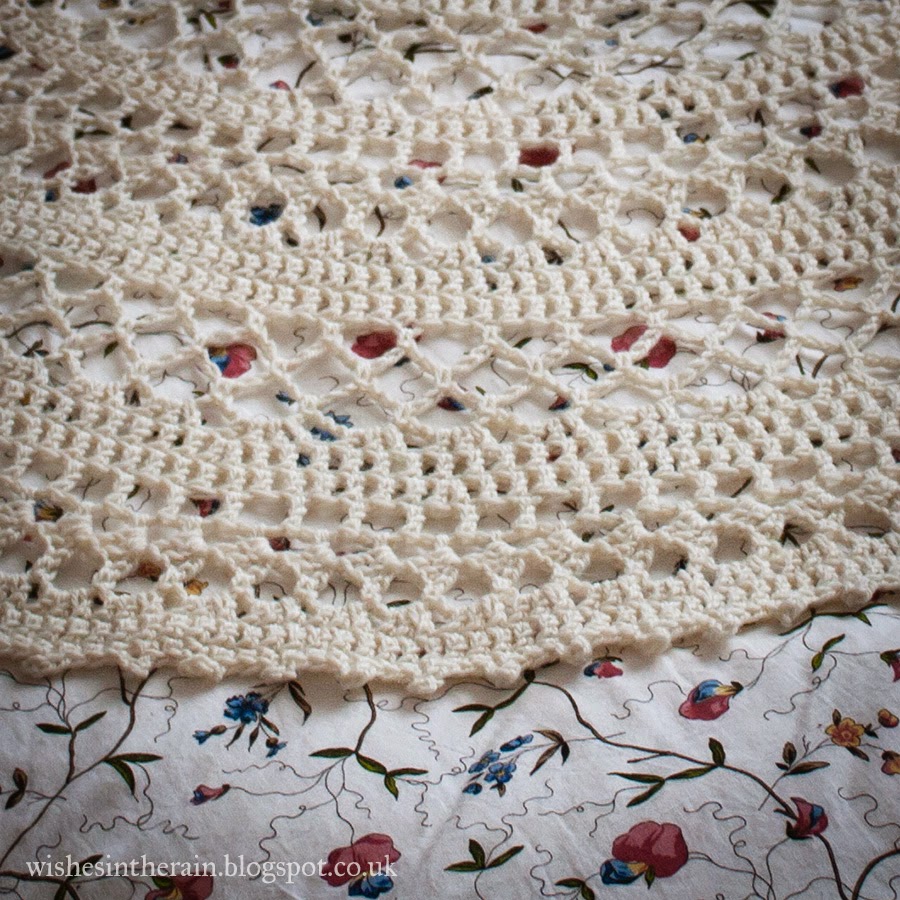
I crocheted the Willow (Doily Blanket) by Lisa Gutierrez as a goodbye present for a friend who was moving to London. I had had my eye on the pattern for a while, and I was really pleased to have a reason to make it, but sorry that I was losing a friend to the Big Smoke.
Making this pattern lived up to my expectations. It was the first time I'd done anything really lacy - I find the idea of crocheting with cotton and tiny hooks intimidating, though I do now have a 1mm hook so maybe I will try one of these days. I really enjoyed the way that every row added something new to the design. It was mostly pretty easy to do but frustrating at times since because it's in rounds, so unless you're very careful (something which I try to be but fail at quite often) you only find the error you make a round later, leading to a lot of frogging and re-doing, especially towards the end.
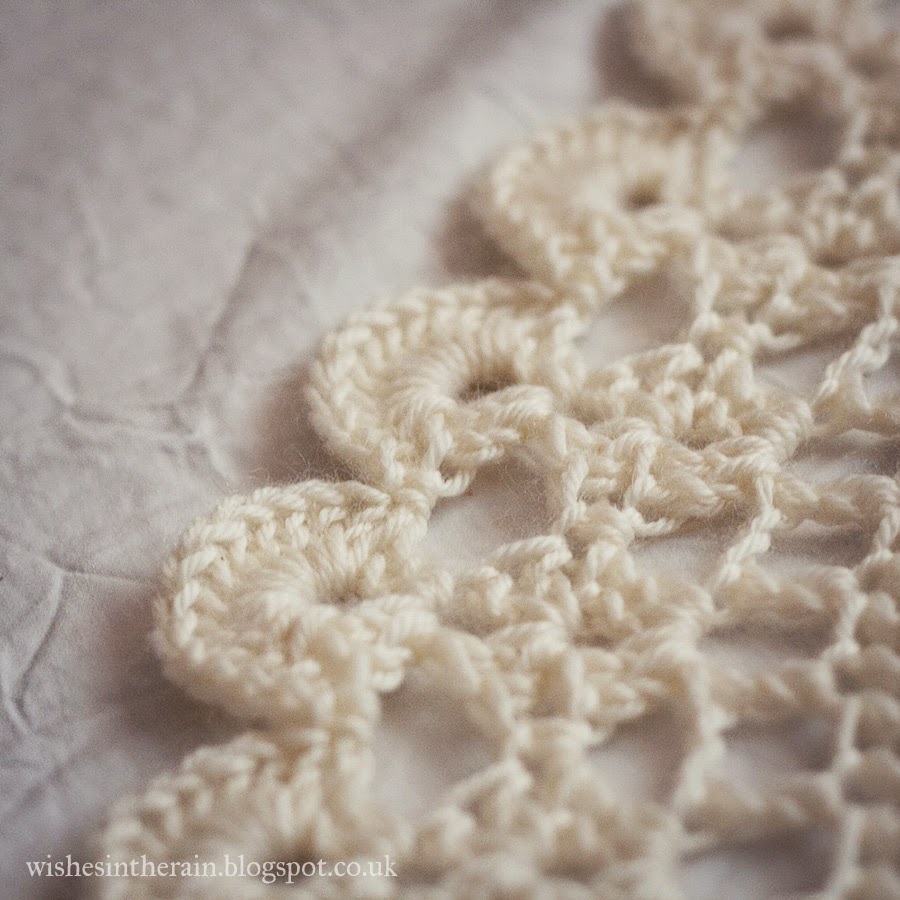
The edging on this throw was so pretty, even though it took a long time to do - there are a lot of stitches there. Circular things always start really quickly but the last rounds can seem endless. But this pattern really held my attention to the end.
The only sad part about it was having to give it to someone I wasn't going to see for a long time. Still, there's always facebook.
You can see details about which yarn and hook I used on my Willow Project page on Ravelry.
Anya Throw
After making the Willow throw, I was looking for an opportunity to make the Anya throw by the same designer. I really wanted to make them for my own home, but my two cats made me think that this would be a terrible idea. They've ruined about five throws that I've bought so far with their little claws, and I know that they would probably destroy all my hard work. And it took forever for anyone I knew to move house! So frustrating. But finally a friend of mine moved out of a flat into a house, so I immediately bought wool for a house-warming present.
Anya, probably true to the character on Buffy, was harder work! This throw is bigger, and therefore took longer than I was anticipating, since I had the memory of the fast progress I made on Willow in my mind. On the other hand, I think I made fewer mistakes on this one, so it was easier in that respect.
The edging on Anya is understated but elegant. I don't think you can really go wrong with picots.
I wasn't sure what furniture belonged to my friend and what belonged to her flat when she moved, so I had no idea about her décor. So I was delighted by how happy she was with her throw, and how good the neutral cream colour looked on her dark blue sofa. One of these days I'm going to make a Willow throw to go on her other sofa!
Should I make one too? These make great gifts, but probably not if your recipients have pets. They also wouldn't go with a more modern décor, but they're pretty flexible other than that. Willow is quicker than Anya to make.
Labels:
blanket,
crochet,
home,
throw,
tried and tested,
what i made
Saturday, 7 February 2015
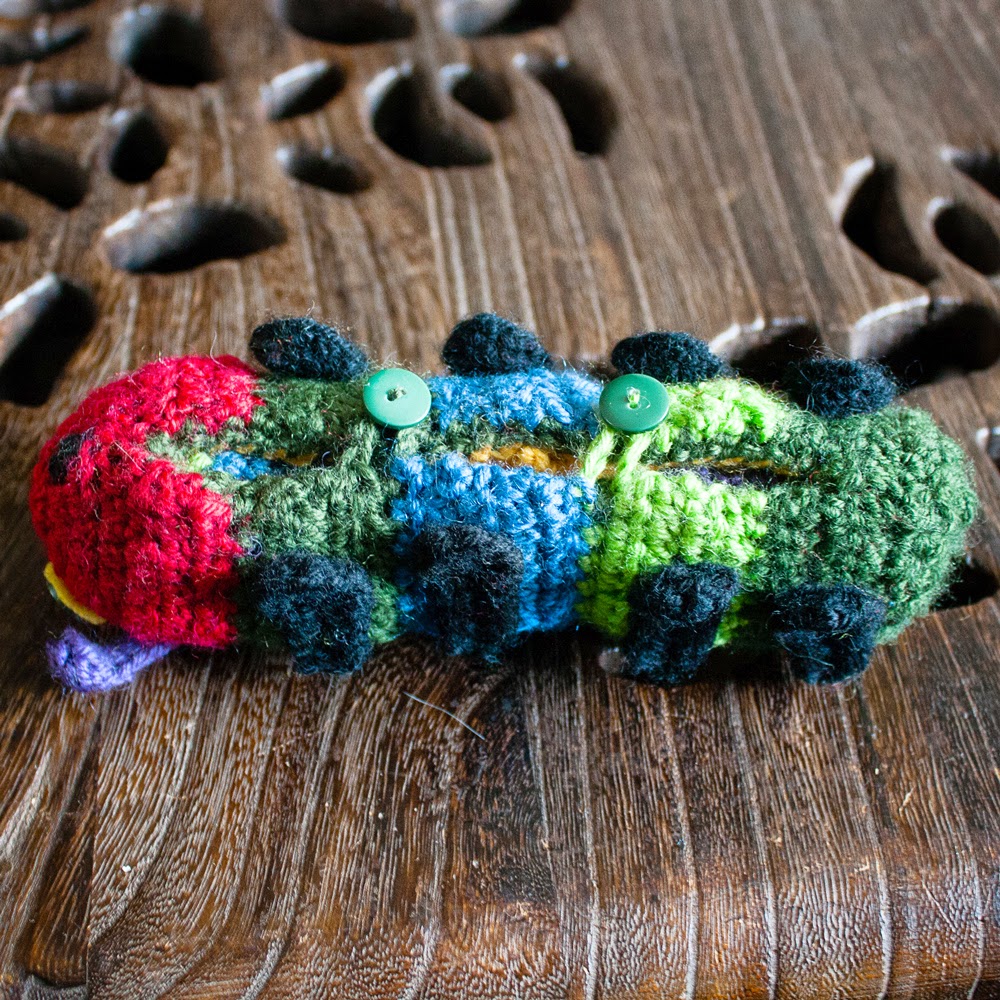
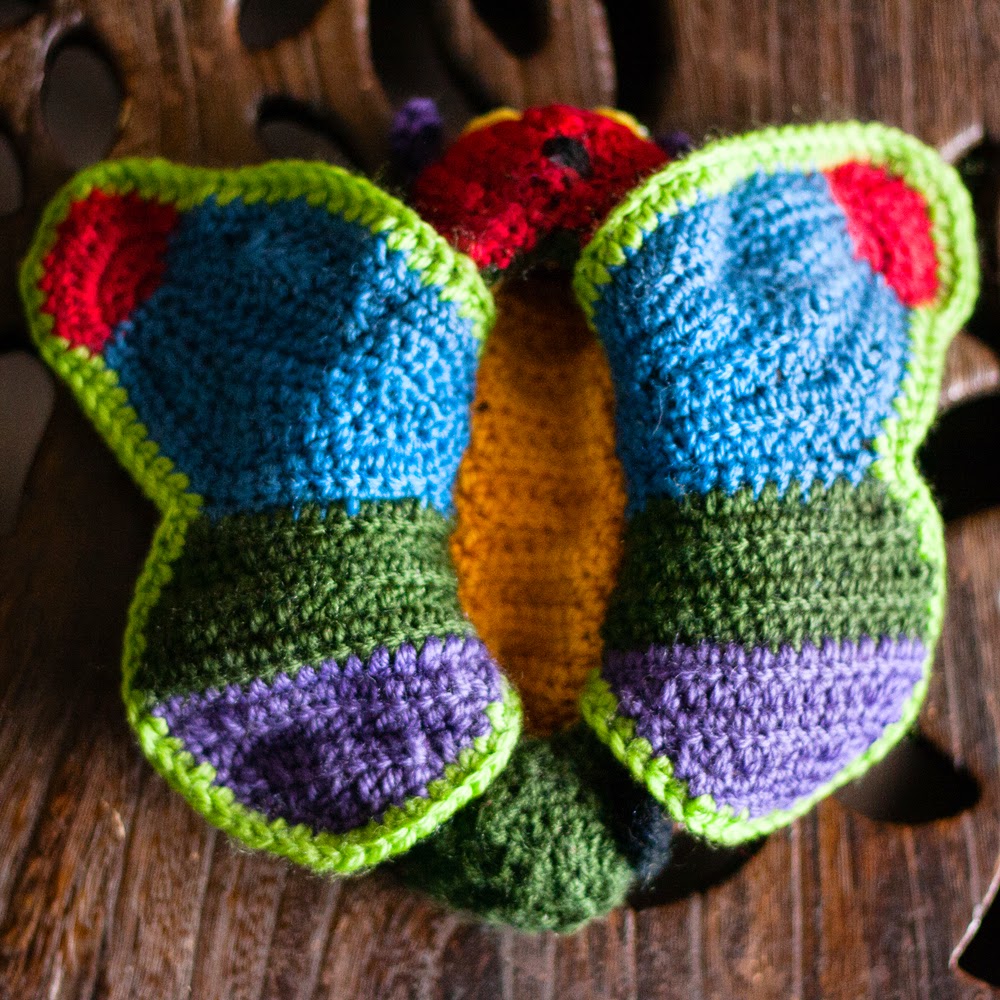
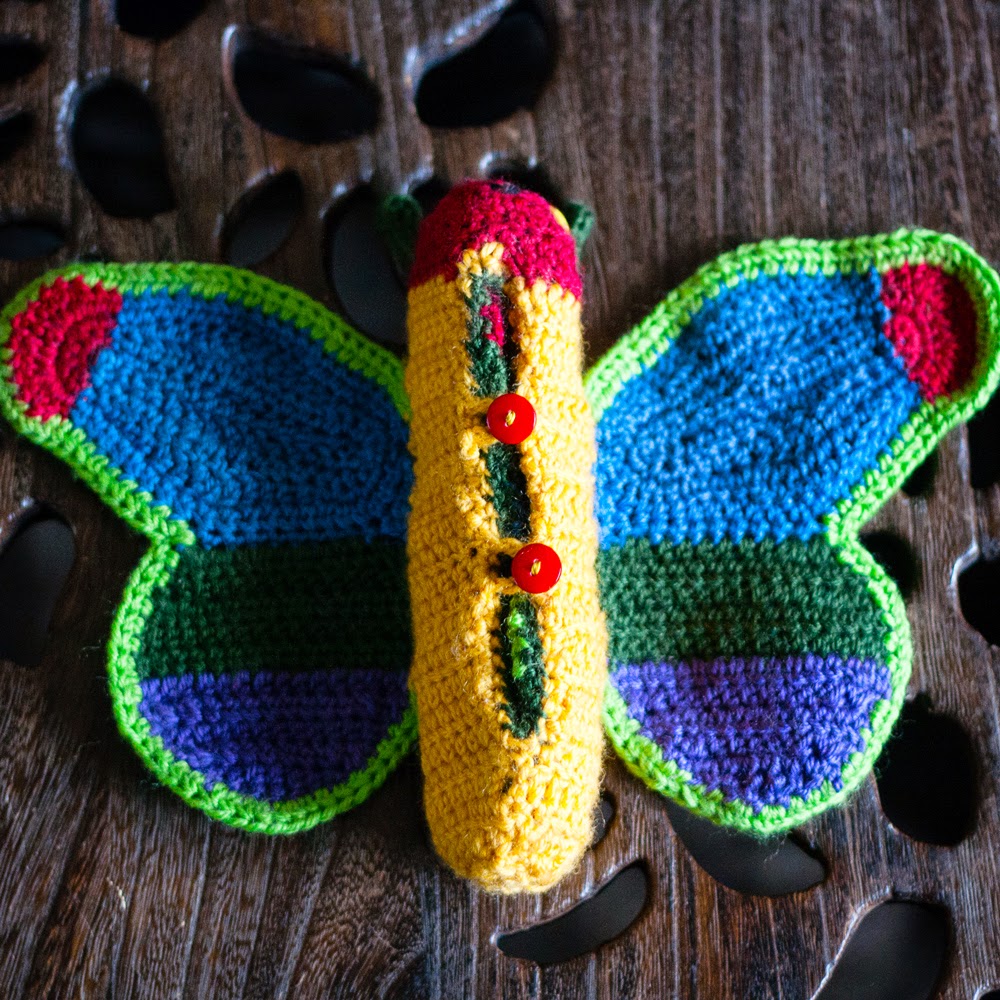
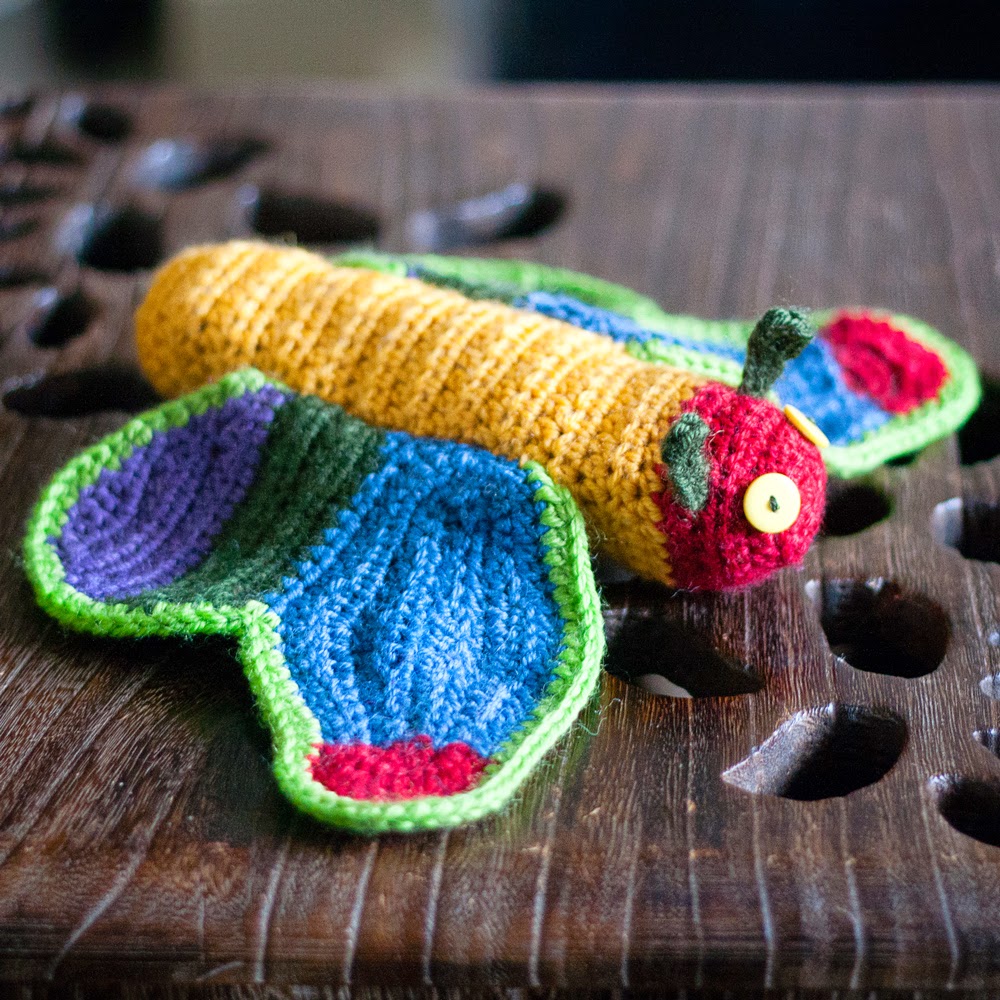
What I Made: Hungry Caterpillar/Butterfly
![]() |
| Hungry Caterpillar |
![]() |
| Caterpillar's under side |
![]() |
| Metamorphasis |
![]() |
| butterfly underside |
![]() |
| butterfly! |
I would definitely make one of these as a gift in the future, though maybe for a slightly older child who has enough finger strength to turn it inside out themselves
Should I make one too? Yes! It's a lovely idea regardless of colours, and if you have a Hungry Caterpillar fan in your life you have to make one for them.
Labels:
amigurumi,
crochet,
gift,
toy,
tried and tested,
what i made
Monday, 21 July 2014
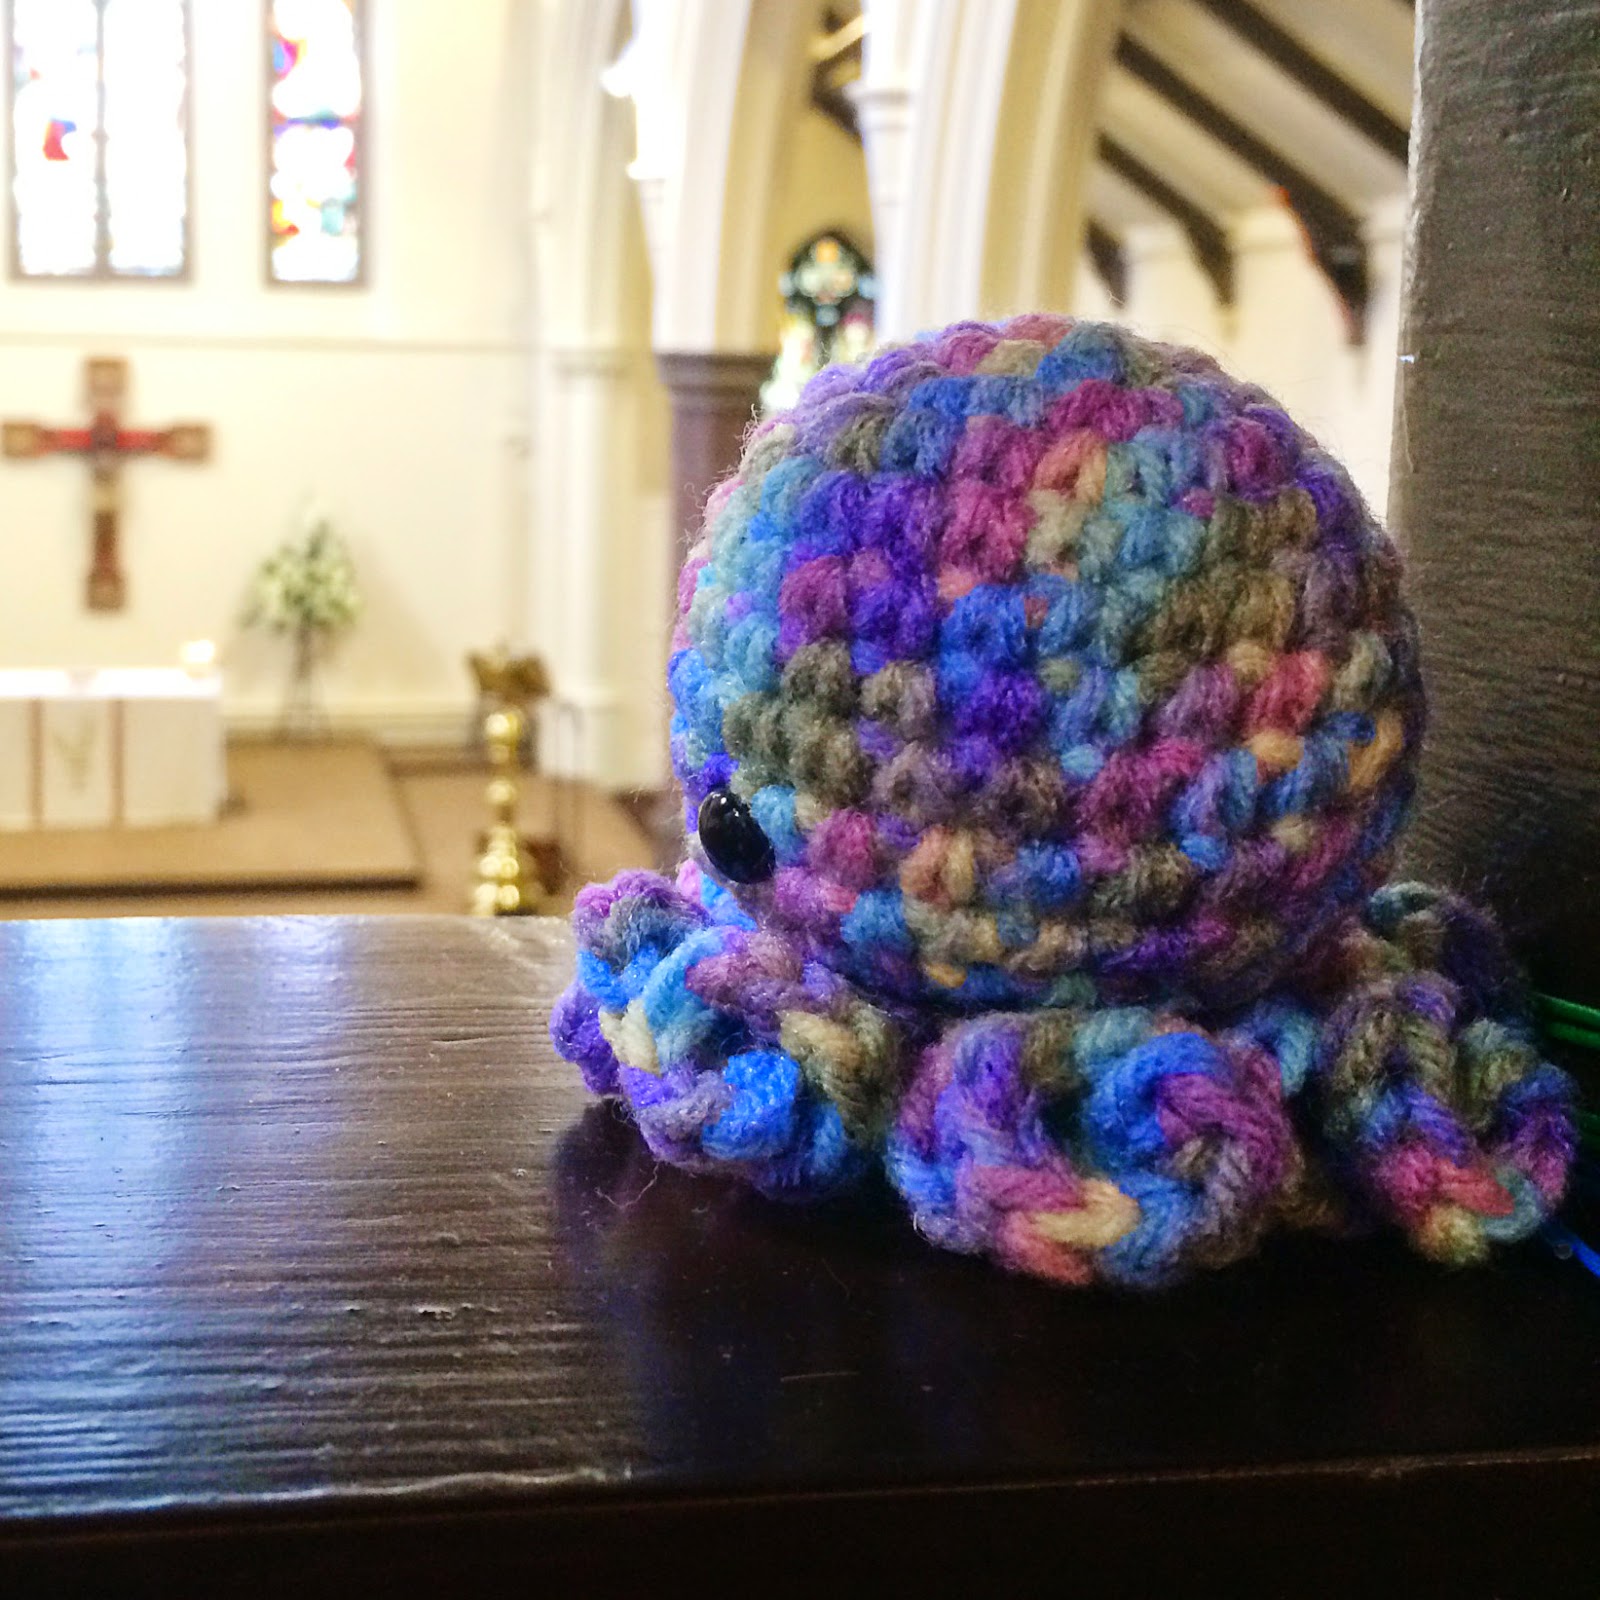
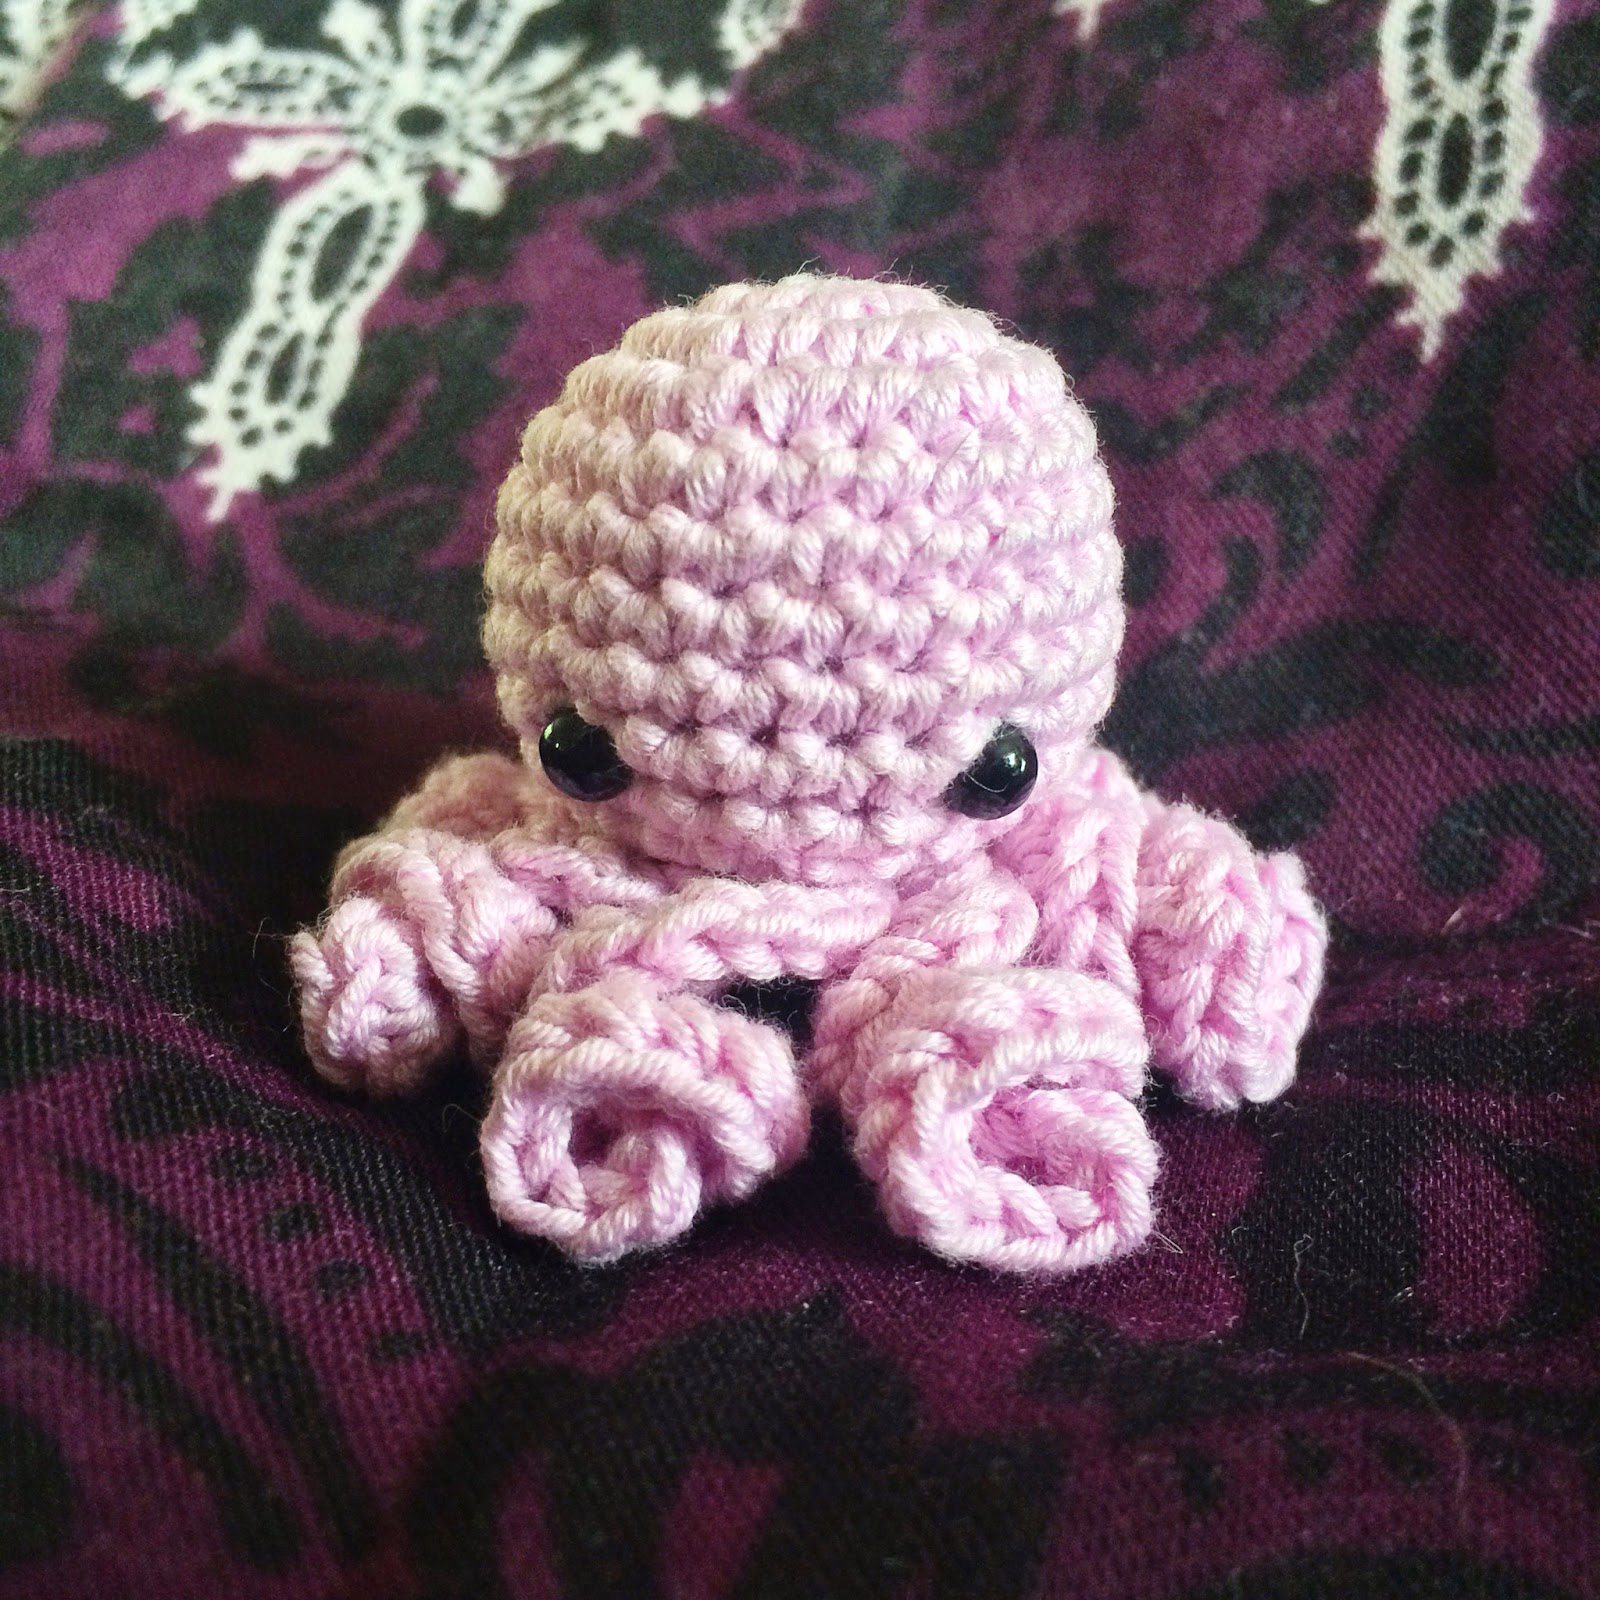
What I Made: kawaii octopus
![]() |
| octopus! |
![]() |
| octopus met his new owner at church |
Making the legs were a bit tricky but the photos in the pattern are really helpful. Overall, though, I was really pleased by how quick it was to make. So easy in fact that I made another - this is rare for me because normally I'm all about the new shiny!
![]() |
| little octopus |
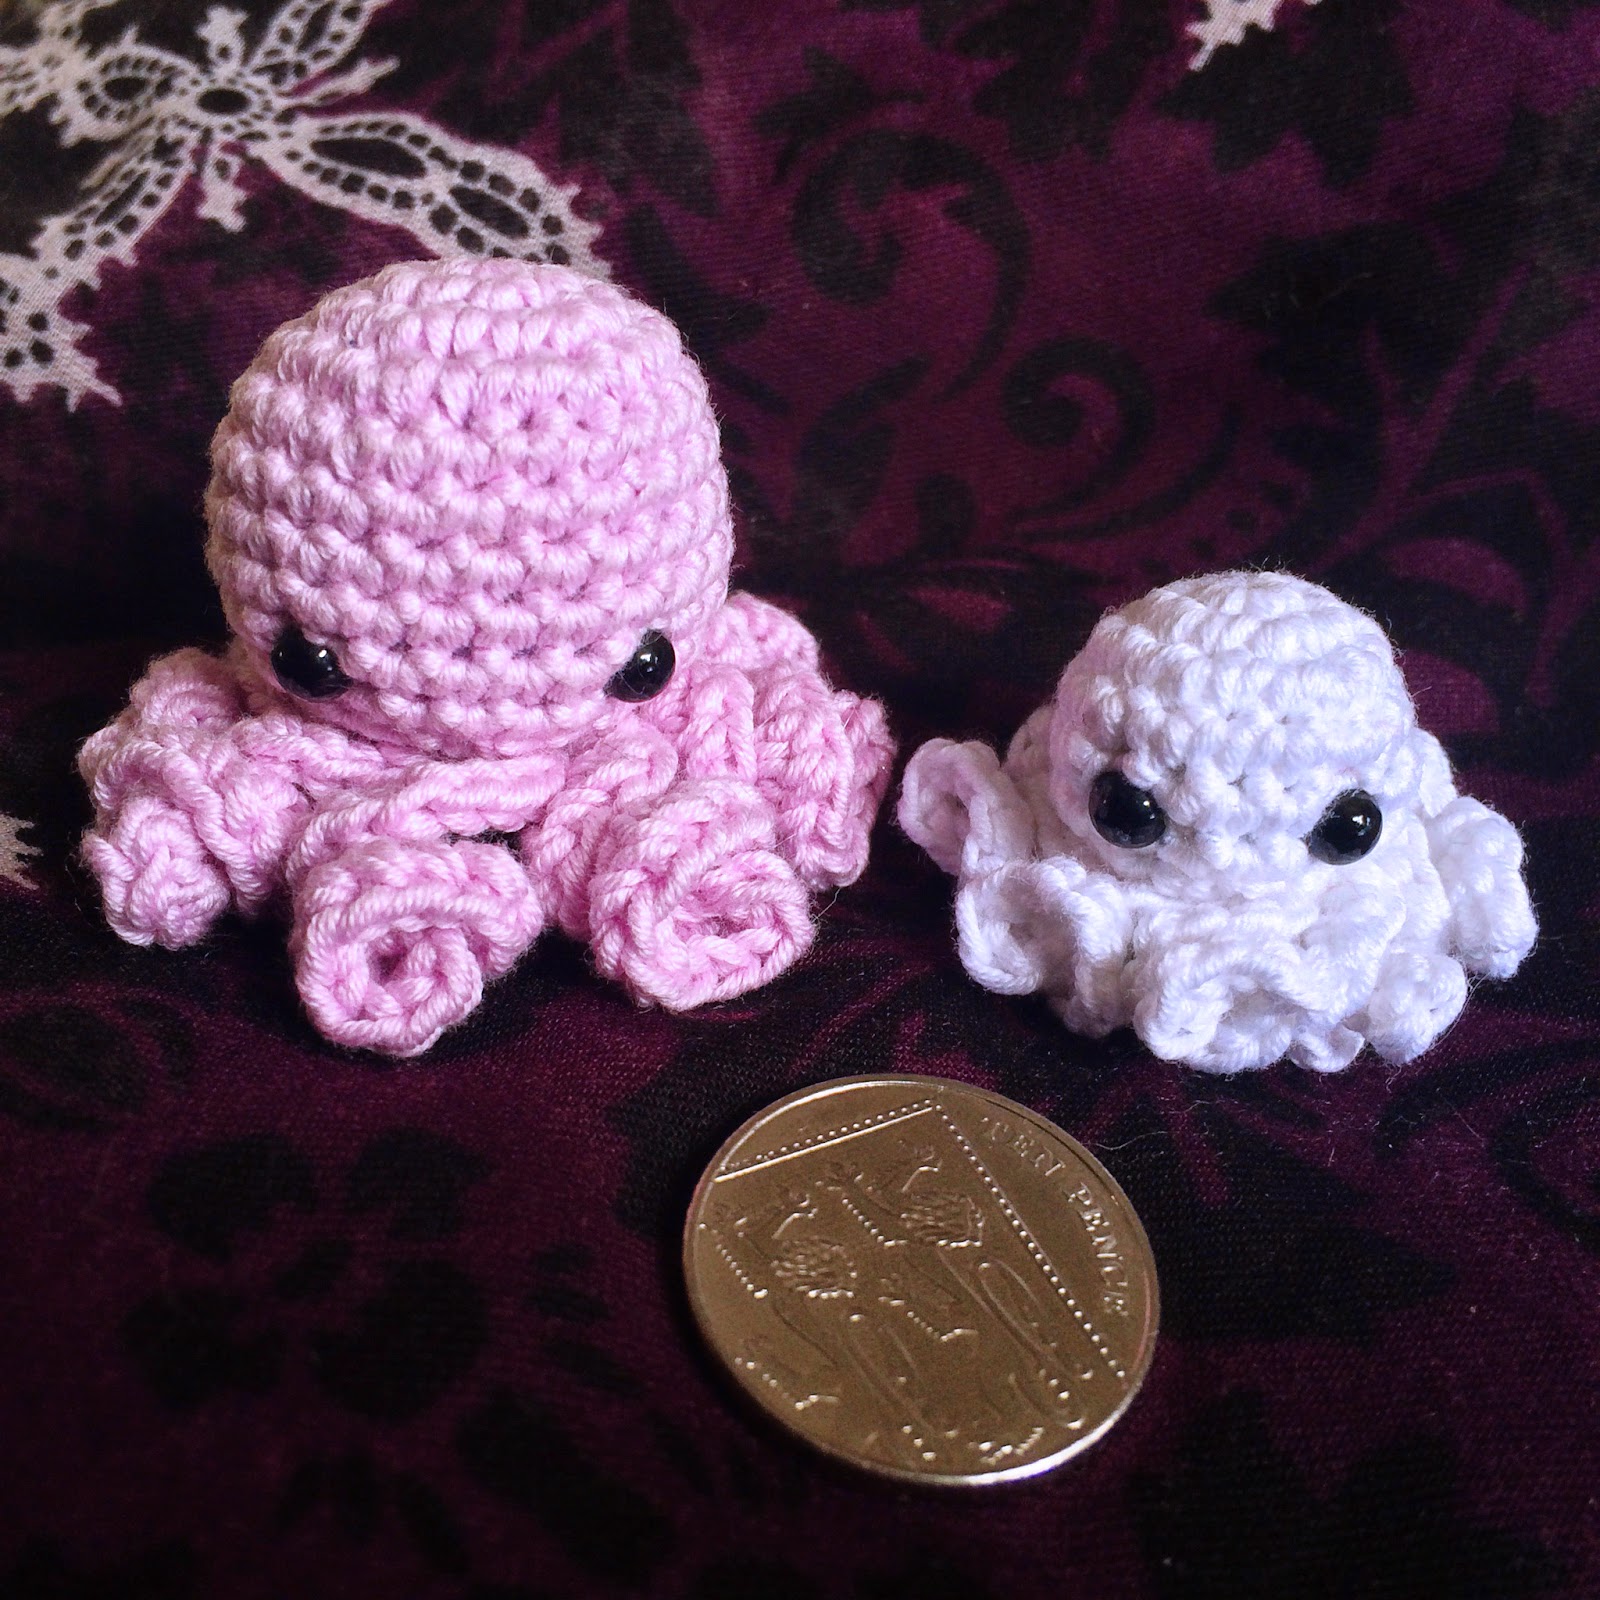
The second one I made was much smaller - I made him with a 2.5mm hook and DMC Natura Cotton which is 4 ply weight, and my new 3mm safety eyes that my friend UnicornReality kindly sent me. Then I saw the Baby Kawaii Octopus pattern.
![]() |
| little octopus and tiny baby octopus, with 10p for reference |
Should I make one too? Yes, especially if you need to make a last minute gift for a young child, but bear in mind, safety eyes are probably not safe for children under 3 unless you know they will be closely supervised when playing with the toy.
Labels:
amigurumi,
craft,
crochet,
toy,
tried and tested,
what i made
Sunday, 20 July 2014
What I Made: Autumn Flowers Shawl
I started off in cream but pretty quickly decided that the fingering weight yarn was too light, even though that's what others had used to make the shawl, so I dragged my husband to the yarn store again and got some green Wendy merino DK.
The first part of the shawl was deceptively easy, and while it took me a couple of evenings to complete, I'm sure if I'd concentrated I could have done it quicker. I then blocked that part because the edges were curling over.
![]() |
| flowers detail |
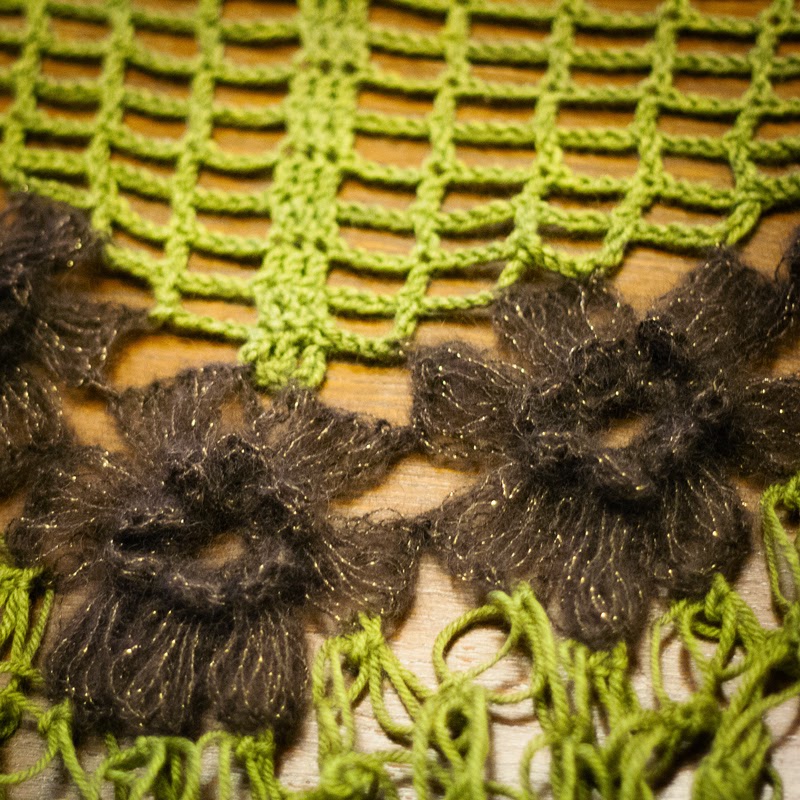
The flowers were more difficult, however. I think this was partly because it used a stitch I wasn't used to, but also because the Party Angel yarn is hard to work with- it's really hard to unravel mistakes and, in the colour I used, even see the stitches. I did them over two evenings and most of the weekend. They were extremely pretty when done though.
![]() |
| edging detail |
This is a lovely shawl, and I've continued to wear it on and off for a couple of years now. I've had a lot of compliments on it! I'd like to make another at some point, though possibly using an easier to handle yarn for the flowers. It took a little longer than I thought it would, but by comparison to the other patterns I've tried it's pretty fast.
Should I make one too? Yes, especially if you want to give someone a unique and eye-catching gift, something a little different from the average handmade shawl.
Wednesday, 24 April 2013
Lemon Mint Mini Cupcakes
I love baking, especially cakes, and I'm always eager to try new things and new flavours. I was hosting my flute group last week, and, armed with a new mini cupcake tin, I thought it would be nice to have a spring like flavour for our refreshments. So I went with lemon mint.
Naturally the first thing I did was google for ideas. I really liked the idea of infusing butter with mint flavour I saw on Stephen Andrew Jones' lemon mint cupcake recipe. I wanted to use ingredients I had in the house, though, so I decided to modify my current favourite basic cupcake recipe. I added a ton of different flavourings because I wanted the taste to be stronger as I sampled the batter. I'm very lazy and now I have a stand mixer I don't bother folding flour for small cakes, I just try not to mix the flour for long.
Ingredients (makes 12 cupcakes/36 mini cupcakes)
- 50g butter
- 100g margarine
- a few fresh mint leaves
- 150g sugar
- 3 eggs
- 150g self-raising flour, sifted
- 1/2 tablespoon lemon juice
- 1/2 tablespoon strong spearmint tea (Optional. I used 2 spoons of spearmint to about 100ml of boiling water. You could use peppermint tea or extra drops of peppermint extract.)
- 1/2 tablespoon lemon curd
- a few drops peppermint extract
- a few drops orange flower water
- 1/2 teaspoon of vanilla essence (Optional. I have to put vanilla in all the things. Even if only a tiny bit. Don't judge me.)
Preheat the oven to 175-180deg C, depending on your oven.
In a bowl, chop up the butter and the mint leaves, and put the bowl in a saucepan 1/3 full of water over a medium heat to melt it. Allow to sit for a few minutes (up to 15 - I did less as I was in a hurry) and take off the heat. Strain out the mint leaves and leave to cool (I hurried it up in the fridge).
Cream the butter and sugar in a stand mixer if you have one. Add each egg with a spoonful of flour to prevent curdling. After the third egg add the lemon juice, tea, lemon curd, peppermint extract, orange flower water and vanilla.
Turn the mixer down to low and add the flour. Mix until combined.
Spoon the mixture into cupcake or mini cupcake cases, and bake for 15-20 minutes until golden. Remove from oven and cool on a wire rack.
Icing
I made standard buttercream (150g butter, 300g icing, 2 tablespoons milk) but used single cream instead of milk and added equal amounts of lemon juice and spearmint tea (1/2 tablespoon of each) and equal amounts peppermint extract and orange flower water (a few drops each).
Everyone loved them - my flute group, my church group and some work colleagues. The flavour was strong enough to be distinguishable in the cake instead of coming just from the icing. A recipe I hope to make again.
Labels:
baking,
cake,
cupcake,
mini cupcake,
recipe,
tried and tested
Subscribe to:
Posts (Atom)