Wednesday, 24 April 2013

Lemon Mint Mini Cupcakes

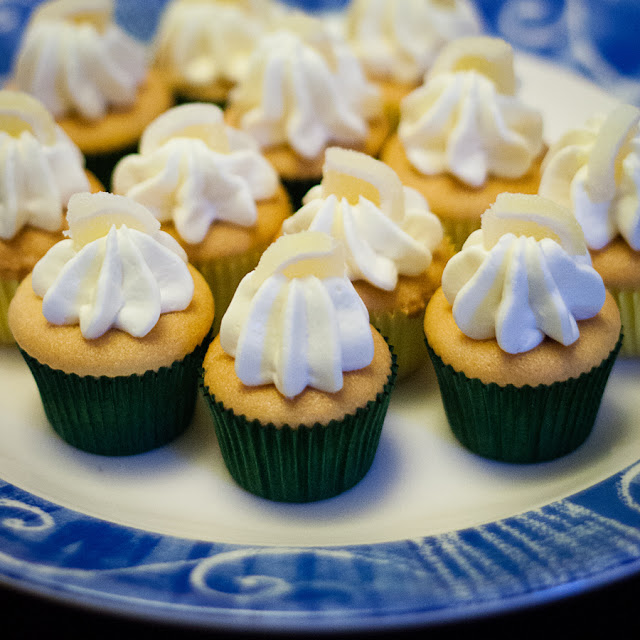
mini cupcaked iced with lemon decorations
I love baking, especially cakes, and I'm always eager to try new things and new flavours. I was hosting my flute group last week, and, armed with a new mini cupcake tin, I thought it would be nice to have a spring like flavour for our refreshments. So I went with lemon mint.

Naturally the first thing I did was google for ideas. I really liked the idea of infusing butter with mint flavour I saw on Stephen Andrew Jones' lemon mint cupcake recipe. I wanted to use ingredients I had in the house, though, so I decided to modify my current favourite basic cupcake recipe. I added a ton of different flavourings because I wanted the taste to be stronger as I sampled the batter. I'm very lazy and now I have a stand mixer I don't bother folding flour for small cakes, I just try not to mix the flour for long.

Ingredients (makes 12 cupcakes/36 mini cupcakes)
  • 50g butter
  • 100g margarine
  • a few fresh mint leaves
  • 150g sugar
  • 3 eggs
  • 150g self-raising flour, sifted
  • 1/2 tablespoon lemon juice
  • 1/2 tablespoon strong spearmint tea (Optional. I used 2 spoons of spearmint to about 100ml of boiling water. You could use peppermint tea or extra drops of peppermint extract.)
  • 1/2 tablespoon lemon curd
  • a few drops peppermint extract
  • a few drops orange flower water
  • 1/2 teaspoon of vanilla essence (Optional. I have to put vanilla in all the things. Even if only a tiny bit. Don't judge me.)
Method

Preheat the oven to 175-180deg C, depending on your oven.

In a bowl, chop up the butter and the mint leaves, and put the bowl in a saucepan 1/3 full of water over a medium heat to melt it. Allow to sit for a few minutes (up to 15 - I did less as I was in a hurry) and take off the heat. Strain out the mint leaves and leave to cool (I hurried it up in the fridge).

Cream the butter and sugar in a stand mixer if you have one. Add each egg with a spoonful of flour to prevent curdling. After the third egg add the lemon juice, tea, lemon curd, peppermint extract, orange flower water and vanilla.

Turn the mixer down to low and add the flour. Mix until combined.

Spoon the mixture into cupcake or mini cupcake cases, and bake for 15-20 minutes until golden. Remove from oven and cool on a wire rack.

Icing
I made standard buttercream (150g butter, 300g icing, 2 tablespoons milk) but used single cream instead of milk and added equal amounts of lemon juice and spearmint tea (1/2 tablespoon of each) and equal amounts peppermint extract and orange flower water (a few drops each).

Everyone loved them - my flute group, my church group and some work colleagues. The flavour was strong enough to be distinguishable in the cake instead of coming just from the icing. A recipe I hope to make again.

Thursday, 7 March 2013

Projects and ideas

I feel like I have a lot of projects on the go at the moment. I probably always do. Right now...

folded baby blanket tied with a ribbon

...I just finished a Baby Blanket.  The pattern is Classic Baby Blanket. I didn't follow the pattern exactly because I used dk weight yarn where it called for aran, and therefore a smaller hook, though perhaps not small enough. My blanket didn't wind up being all that ribbed, but it is pretty and very very soft after I washed and sort of blocked it. If you're interested in the yarn I used etc, you can check it out on my Ravelry Project Page.

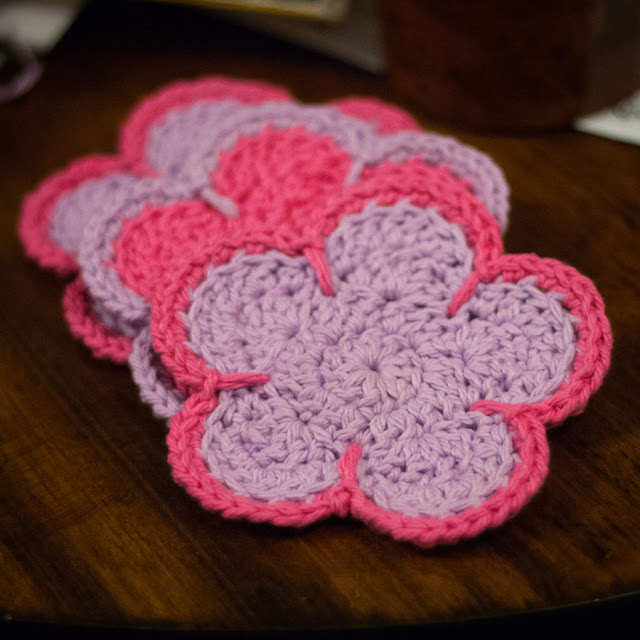
sunshine flower coasters

I am making Flower Coasters for Mothering Sunday, which is this Sunday in the UK. I am going to put the pattern on this blog when I'm finished, if you want to make some too. I don't think I'll get it done in time for Mother's day over here, but it should be done for Mother's day in the US at least!

work in progress crochet blanket
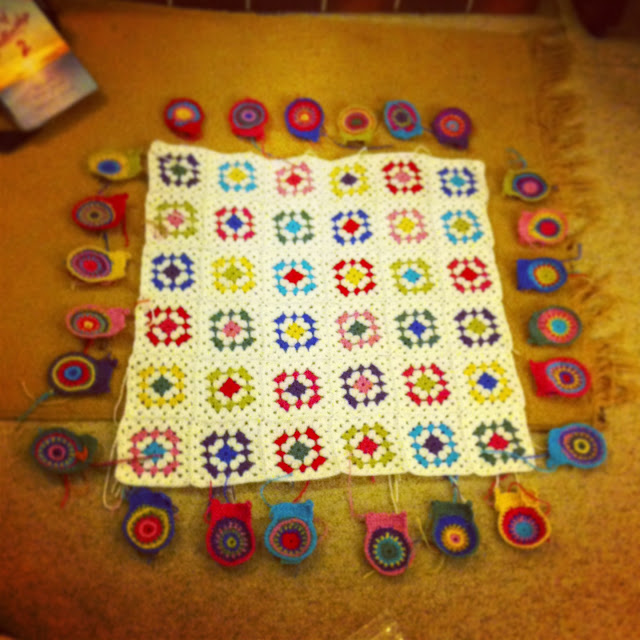
Instagram photo of the Owl Blanket I am making for my niece. She is two and she loves owls. It's so colourful! I need to get it done in the next week. There are so many ends to weave in D:

I keep eyeing up a recipe for Strawberry Milk Cake. I recently got some bright food colours (of which more in another post) and the idea of making a bright pink cake appeals. Rather too much. I rarely make big cakes - I normally go for cupcakes. So I might make this for my birthday next week, although I don't think I'll have anyone but my husband to eat it with on the day... I'll have to see.

Wednesday, 27 February 2013

Free Pattern: Once Upon a Time


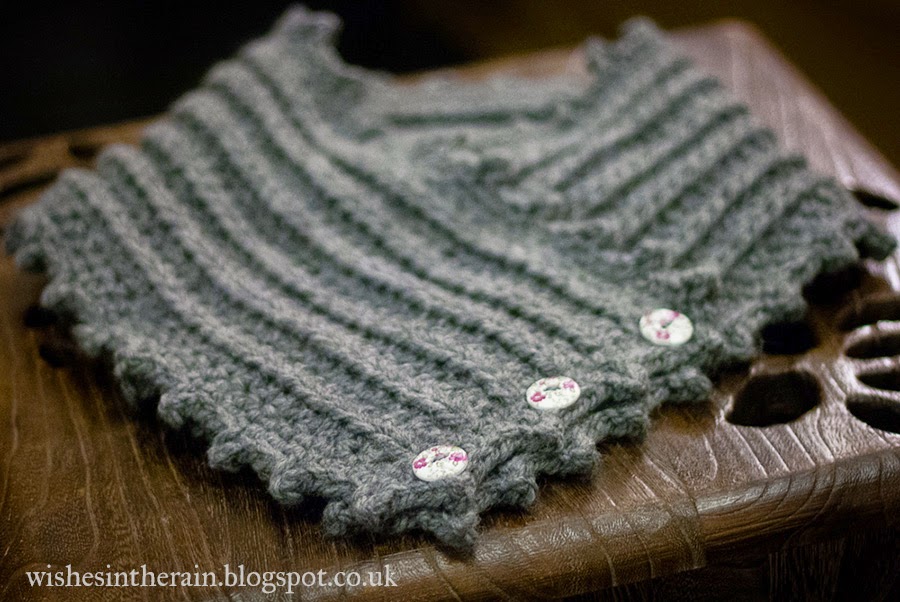
crochet cowl or scarflette with buttons


It's been very cold in the past few weeks, so logically, I needed to crochet a new scarflette. I had a lovely ball of grey King Cole Magnum Lightweight Chunky (which is in the running for my favourite yarn of the moment) and I thought I'd make something up. As I was making this I told my friend that I was at the point where if I were in a novel, I'd run out of yarn and the shop would be shut.

I think I jinxed myself.

I had done the main ribbed part, and just wanted to do the picots round the edge, when I realised I didn't have enough yarn. There was enough for three sides of picots, but not the forth. And I'd already made it a little narrower than I wanted in an effort to keep it to one ball.

So I had my novel-like setback. But! It was 4.30pm and the yarn shop didn't shut until 5.30pm, so I begged my husband and he went and picked up a second ball for me while I frogged the edge. And I think it worked out better in the end because I was able to make it wide enough, and do two rounds for the border instead of just one.

Pattern:
I made the pattern up as I went along, so it isn't precise. I cheat all the time if I don't quite have the right number of stitches for a repeating section - I insert an extra one at the end of the row for example. So, even though it's pretty easy, this might not be the pattern for you if you're a beginner and want very clear instructions! Even though I'm British, the pattern is in US terms.
You will need approx 150m/164yards of bulky weight yarn, 2 or 3 buttons, and a snap fastener. Crocheted on a 7mm hook.

I made 82 foundation hdcs for the first row, (you may want fewer - try it round your neck and check) and did rows of back-loop hdcs until it was wide enough (12 rows total for me). I did two turning chains and treated them as a stitch throughout.

I then did a row of sc all the way round the edge, joining the last stitch into the first with a sl st, and 1 ch to start the next row.

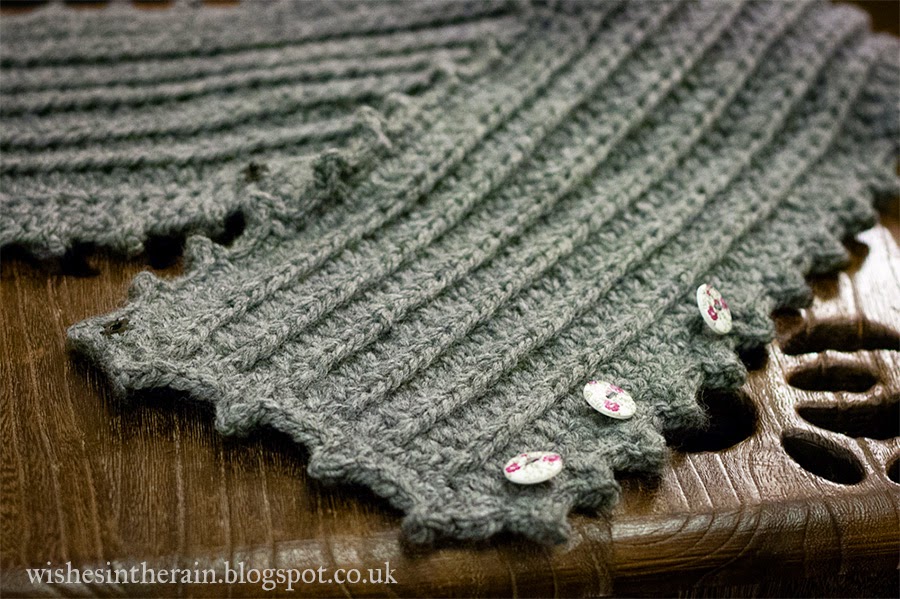
To make a picot I did sc, chain 3, sl in the first chain. On the long edges I did 1 pc, 2 scs, and on the short edges, 1pc, 3 scs. I folded the scarflette into the position it is in the first photo, and sewed on the buttons making sure they were in positions where I could push them through the stitches. With it buttoned in position I sewed a snap fastener on to the opposite corner of the scarflette to where the buttons are (see below), and to the edge of the bit that folds over, to help keep the ends in position.

crochet scarflette unfolded


It's so comfy! I think I'll be wearing it until the weather gets warmer.